Happy S‘mores Day!
I’ve never sat by a campfire and roasted s’mores before. I’m 27 – is that weird? As much as I try to avoid camping, I absolutely looooove s’mores (and the smell of the campfire). It wasn’t until a few months ago did I have my very first roasted marshmallow on a stick over an open flame… and that was just using the leftover flames from the grill. You’d probably think that I’m sheltered – I would probably agree with you on that.
Summer is the perfect season for s’mores and any kind of dessert that involves the trio of marshmallows, chocolate, and graham crackers – last time I checked, the Blizzard of the Month flavor at DQ was a S’mores Blizzard (!). I can’t exactly pinpoint why I adore s’mores-flavored anything so much. I think it’s something with the combination of the marshmallows and chocolate and the combination of the different textures – sweet, rich chocolate paired with roasted ooey gooey marshmallows sandwiched between crunchy graham crackers…. just thinking about it is making my mouth water. There really isn’t a dessert flavor combination I love more (well, mint chocolate does win by just a teeny tiny bit…) – I have a whole board on Pinterest dedicated to s’mores desserts to prove it!
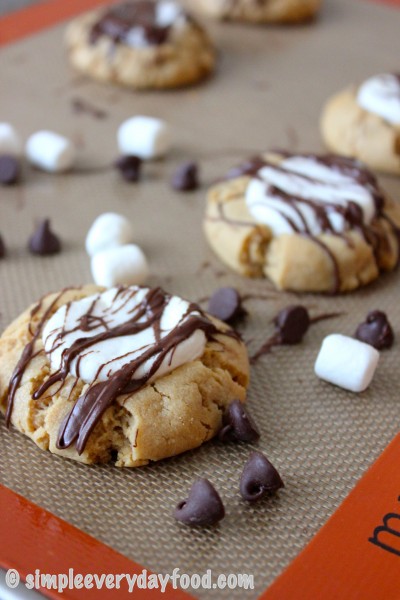
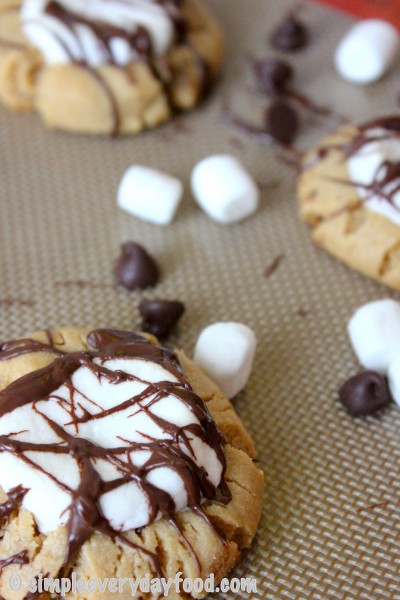
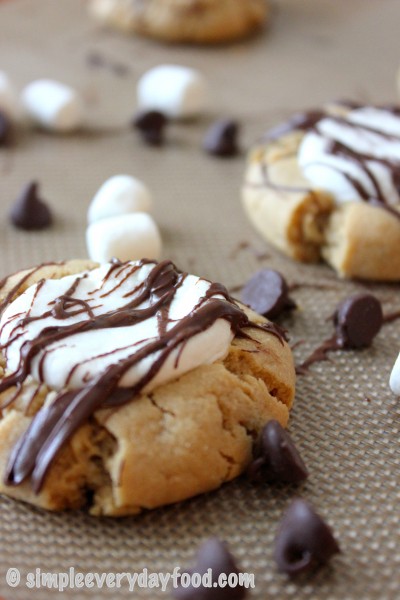
When I saw this recipe a few days ago, I knew I had to make it. It’s a spin on the traditional s’mores – we’re using a peanut butter cookie as a base instead of graham crackers. I promise it tastes even better! It’s the perfect cookie for those who are peanut butter & chocolate fans and those that are s’mores fans as well. You just can’t go wrong with it!
Brian who doesn’t even care for s’mores, was a fan of this cookie! I think he loved the peanut butter cookie base that won him over. These cookies are so soft that it’ll be hard not to leave any crumbs behind!
- 1/2 cup salted butter, softened to room temperature
- 1/2 cup light brown sugar
- 1/4 cup sugar
- 3/4 cup creamy peanut butter
- 1 large egg
- 1 teaspoon vanilla extract
- 1/2 teaspoon baking soda
- 1 and 1/4 cups all purpose flour
- 10-12 large marshmallows, cut in half length wise
- 8 oz chocolate chips
- In an electric mixer, cream the butter and sugars together on medium speed. Add in the peanut butter. Mix. Then add the egg. Mix. Finally, add the vanilla extract. Beat until combined. Slowly add in the baking soda and flour, scraping down the sides as needed. Place in refrigerator and chill for 30 minutes to an hour.
- Preheat the oven to 350 degrees. Line 2 baking sheets with parchment paper or a silicon baking mat. Roll 1.5 tablespoons of dough into balls. Bake for 7 minutes. Take the cookies out, gently press a marshmallow onto the cookie. Bake for another 3-4 minutes, until marshmallow is slightly brown on top.
- Remove from oven and let cool. In the meantime, melt the chocolate chips on a double boiler. Using a spoon or a fork, drizzle the chocolate over the cookies.
- Store in airtight container for 7 days.
- Makes 20-22 cookies
Of course, no one said you have to wait til the chocolate and cookie are cooled to eat these! I wasn’t patient enough to wait and accidentally had a few right away… oops.
If you happen to have any left after they’re completely cooled, place them in an airtight container and store for a week… if they even last that long. :)
Enjoy!
Recipe from Sally’s Baking Addiction
© Simple Everyday Food. All images & content are copyright protected. Please do not use any of my images without prior permission. If you want to republish this recipe, please re-write the recipe in your own words, or kindly link back to this post for the recipe.


