everyday food made simple

Warning: if you’re not a big dog person, this post might not be for you…..

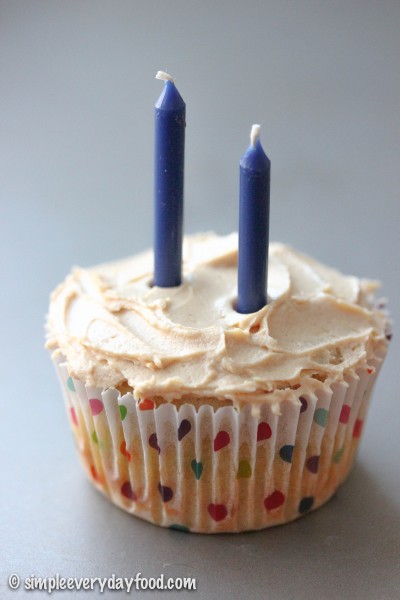
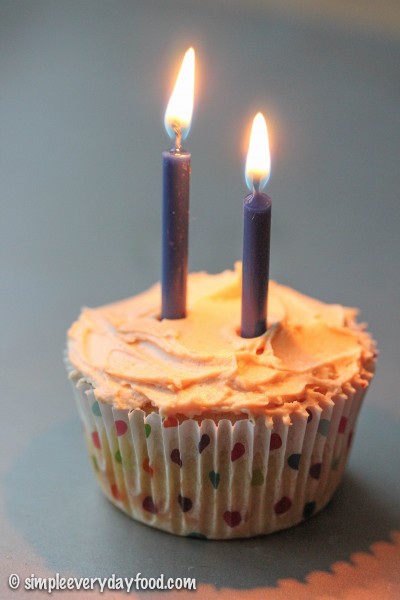
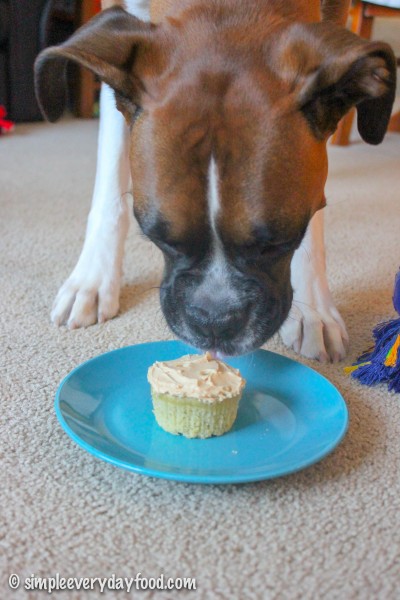
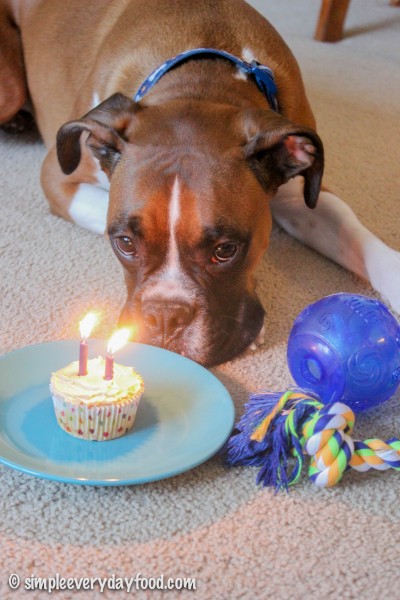
My baby boy turned TWO today! And I made him cupcakes to celebrate.

IMG_2904 copy

IMG_2929 copy

IMG_2941 copy

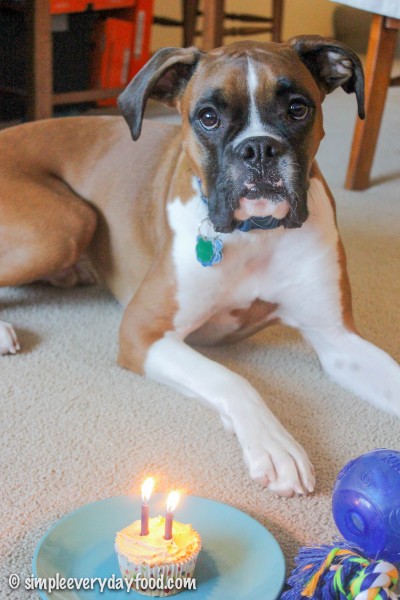
….please tell me I’m not the only one who makes cupcakes for their dog’s birthday…..

It really seemed like not that long ago we were making the trip to Hutchinson to bring our first ever puppy home… he was so tiny! Brian and I never owned a puppy before, so we weren’t really sure what we were getting ourselves into. Despite a few rough patches along the road, we are extremely pleased at how great of a dog we have raised together.

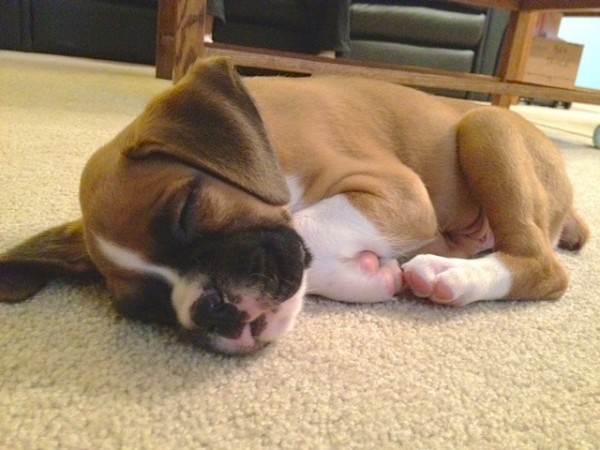
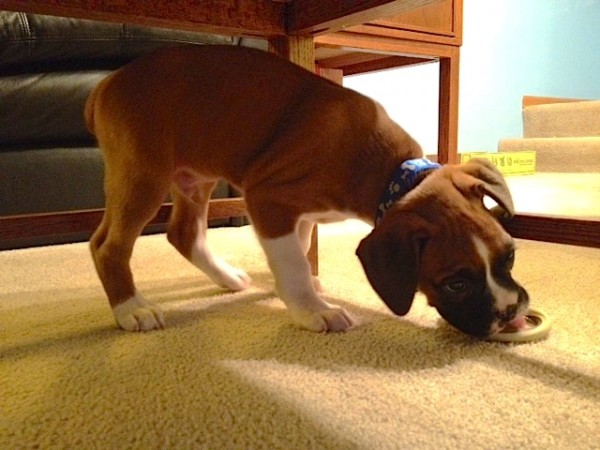
Bentley was only 7 weeks when we brought him home, and a few of his favorite things included sleeping…

sleeping 2

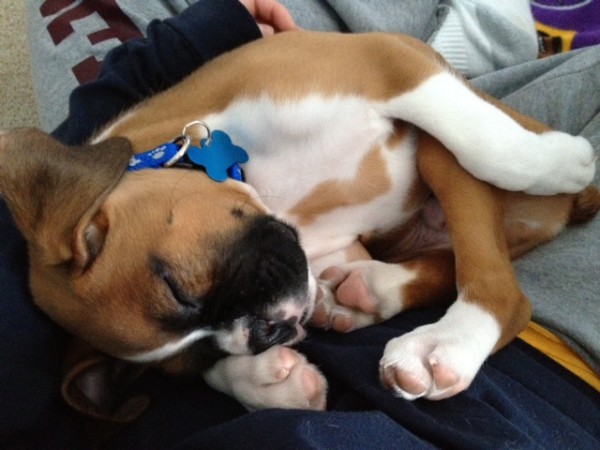
…sleeping, sleeping, and more sleeping.

sleeping

sleeping 3

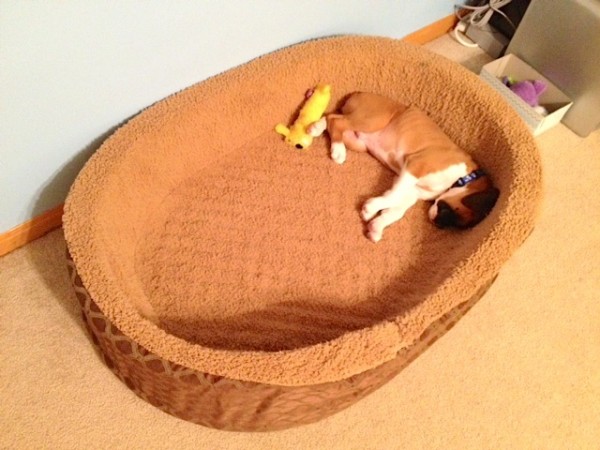
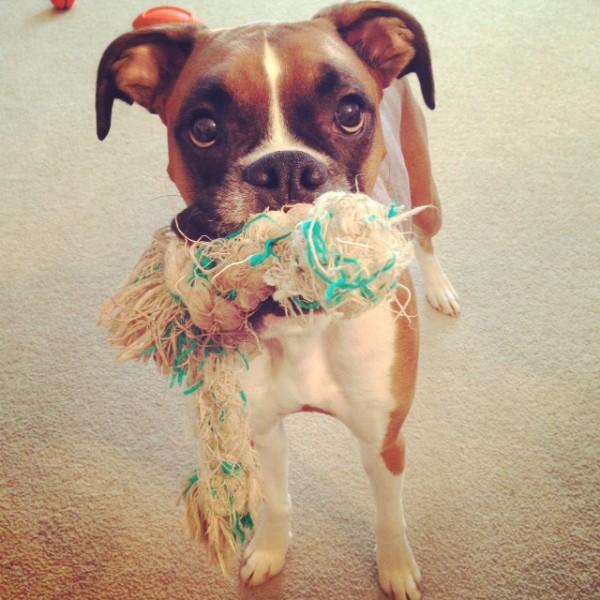
And during the rare hours he would be awake, he’d be busy playing with his toys.

george

ring

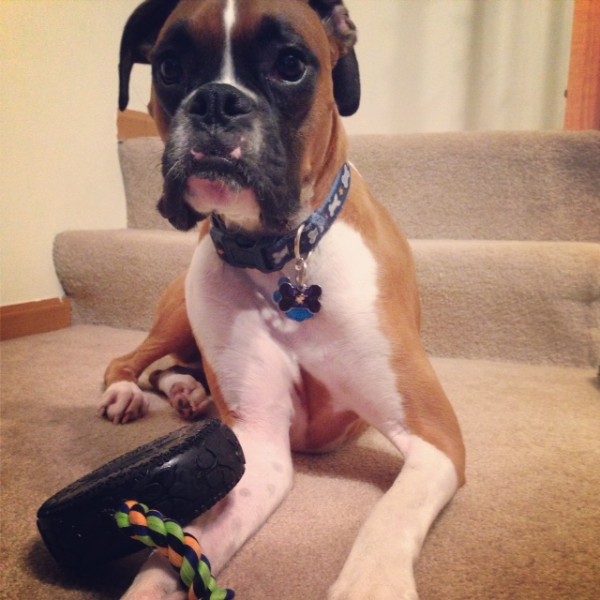
Fast forward two years later, the little sleepy boxer puppy we once had has grown into a petite 55-lb dog with endless energy with a cheerful happy attitude, a protective instinct, endless curiosity, and the desire to play for hours.

rope

tire

pretzel

floppy ears

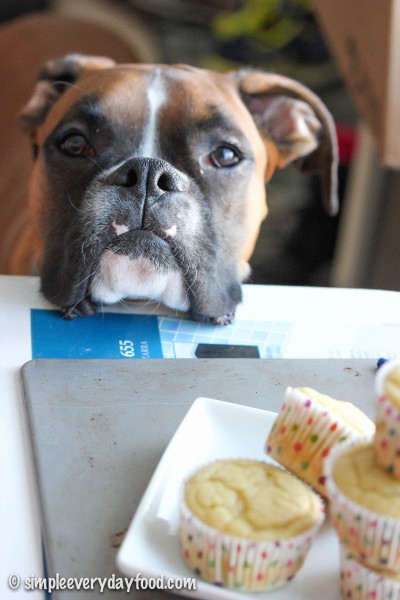
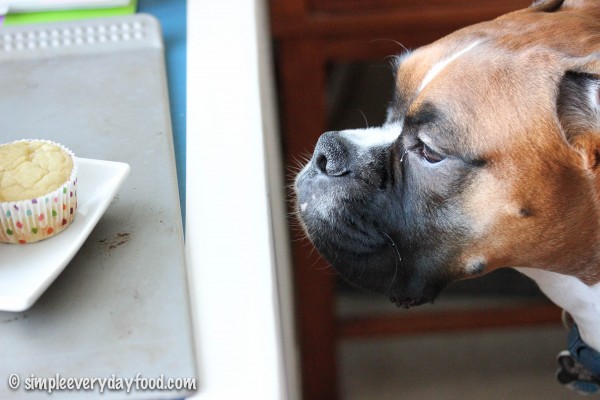
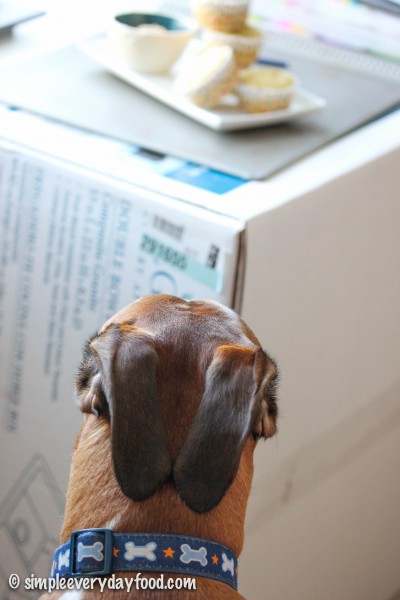
He does his best to be my little helper in the kitchen when I’m cooking and baking, so today I wanted to make something special for my little guy to celebrate another year of being part of our family.

IMG_2902 copy   IMG_2898 copy

IMG_2926 copy

IMG_2934 copy

IMG_2950 copy  IMG_2973 copy

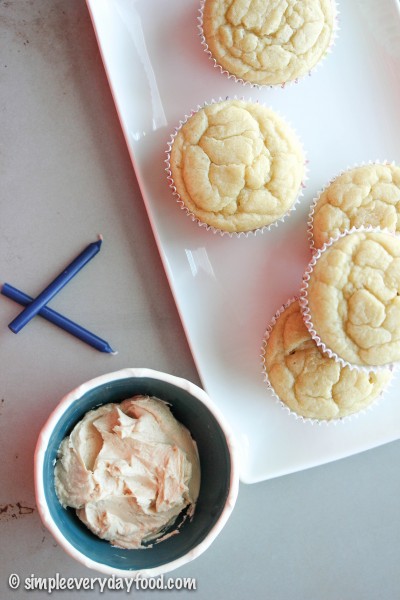
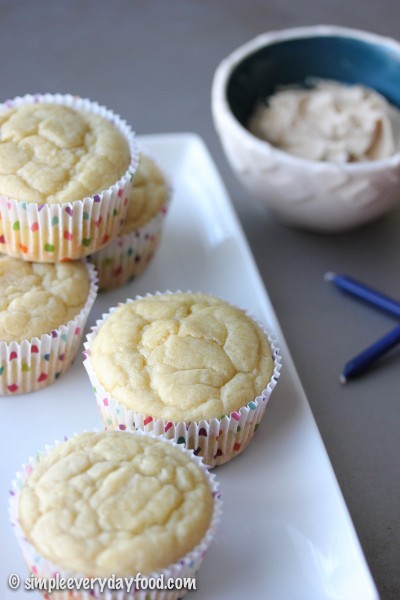
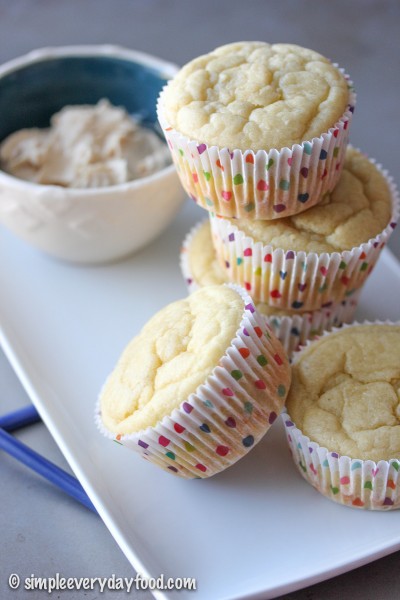
These cupcakes are super easy to make – it only requires one bowl and a whisk. Add everything in the bowl in no particular order, whisk until combined, spoon into cupcake liners, bake in the oven, and you’re done. It’s that easy. This recipe only makes 5 decent sized cupcakes, which is great because 1. no dog in the world needs to eat that many cupcakes at once, and 2. it’ll be easier to store them later on. I usually just share the treats I make with Bentley’s puppy friends so there will be less of it sitting around the house.

Oh, and please please please don’t feed your dog all 5 cupcakes in one sitting – it can cause tummy upsets and can potentially make your dog very sick (just think of the last time you inhaled 5 cupcakes in a row… I bet you didn’t feel too good afterwards). And if your dog has certain dietary restrictions, please consult your veterinarian before making these :)

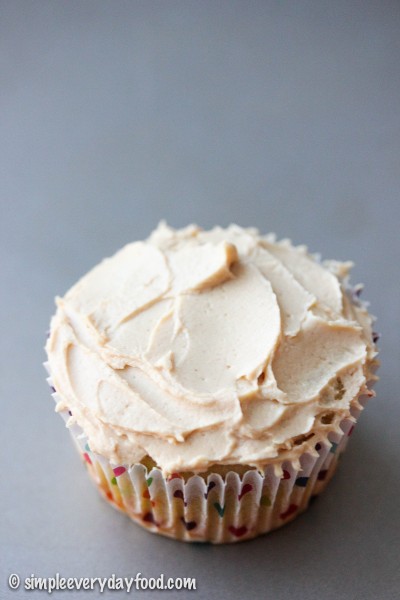
Bake these in the oven for about 15-17 minutes, and make the frosting while you’re waiting. It is important that the cupcakes and the frosting get stored separately. The frosting contains Greek yogurt, which cannot be left out in room temperature for long, so store it in the fridge, while the cupcakes can be stored at room temperature. Simply frost the cupcakes right before serving – your dog will love you forever…. I promise.

IMG_2943 copy

doggie cupcakes with peanut butter frosting
Print
For the cupcakes
  1. 1/2 cup all-purpose flour
  2. 1 teaspoon baking powder
  3. 1/3 cup no sugar added applesauce
  4. 1/3 cup canola oil
  5. 1 egg, at room temperature
  6. 1 tablespoon honey
  7. A pinch of cinnamon
For the frosting
  1. 3 tablespoons low-fat plain Greek yogurt
  2. 1 and 1/2 tablespoons peanut butter
Instructions
  1. Preheat the oven to 350 degrees. Line 5 cupcake wells with cupcake liners and set aside.
  2. In a medium bowl, combine all the ingredients and whisk until thoroughly mixed. Spoon cupcake batter into the cupcake liners, filling each well about 3/4 full.
  3. Bake for 15-17 minutes, or until an inserted toothpick comes out clean. Let cupcakes cool for at least 10 minutes, then remove onto wired cooling rack to cool completely.
  4. While the cupcakes are cooling, make the frosting by mixing the yogurt and the peanut butter together until smooth.
  5. Store cupcakes and frosting separately*, and frost cupcakes right before serving.
  6. Makes 5 cupcakes
  7. *store cupcakes in an airtight container in a dry cool place for up to 5 days. Store frosting in a separate airtight container in the refrigerator.
Adapted from The Scrumptious Pumpkin
Simple Everyday Food https://www.simpleeverydayfood.com/
The hardest part of this recipe is listening to your dog whine as these cupcakes cool. It’s seriously like they know these cupcakes were made specifically for him.

IMG_2916 copy

IMG_2918 copy

IMG_2920 copy

Happy birthday Bentley! Thank you for being such a great puppy the past two years – we sure are lucky to have you in our lives!

IMG_2947 copy

photo(1)

Recipe adapted from The Scrumptious Pumpkin

© Simple Everyday Food. All images & content are copyright protected. Please do not use any of my images without prior permission. If you want to republish this recipe, please re-write the recipe in your own words, or kindly link back to this post for the recipe.

Sharing is caring! Email this to someonePrint this pagePin on PinterestShare on YummlyShare on FacebookShare on Google+Tweet about this on Twitter

This past season marks the last season the Minnesota Vikings will be playing in the Metrodome. In the next few months, they’re tearing it down and will be building a brand spankin’ new stadium in downtown Minneapolis. I sure hope the new stadium has better food than the Metrodome! So for the next few seasons, die-hard Vikings fans will have to brave the elements and the freezing temperatures if they want to watch their beloved Vikings play. No thank you – I’ll only watch football outdoors if it’s above 50 degrees. If it’s below 50, then I’d rather sit in the comfort of my own home in my PJs watching the game where the commentators tell me what’s going on, there are lines drawn on the screen to tell me where the yard lines are at, and I don’t have to wait in line just to use the bathroom.

This chili recipe is a perfect game day food! It’s perfect for that football party you’re hosting this playoff season or for tailgating outside (you know, if you’re into standing outside in the sub-freezing temperatures thawing out your beer by holding it over a fire).
IMG_2619 copy

This is the only chili recipe I have ever used. I don’t know if I would ever consider trying out a new recipe, simply because this one is already perfect (in my opinion)… so why fix something if it ain’t broke? If you’re like me and already have a tried and true chili recipe, I won’t blame you if you’re not up to changing things up. Kudos to you if you’re all for trying new things, though. However, if you’re still out there searching for a good chili recipe, you should totally give this a try!

IMG_2611 copy

simple (and super delicious) turkey chili
Print
Ingredients
  1. 2 tablespoons EVOO
  2. 1.25 pounds ground turkey
  3. 1 medium onion, diced
  4. 1 green bell pepper, diced
  5. 2 cloves garlic, minced
  6. 1/4 cup chili powder
  7. 2 teaspoons dried oregano
  8. 1 and 1/2 teaspoons cumin
  9. Two 15-oz reduced sodium red kidney beans, drained and rinsed
  10. One 28-oz can petite diced tomatoes
  11. One 15-oz can reduced sodium tomato sauce
  12. One 10-oz bag frozen corn
  13. Salt and pepper
  14. Toppings such as sour cream, shredded cheese, if desired
Instructions
  1. Heat the EVOO in a large Dutch oven over medium-high heat. Brown the turkey, breaking it up into small pieces with a wooden spatula until cooked through. Then add the onions, bell peppers, and garlic into the pot. Cook until onions turn translucent, about 5 minutes. Add in the chili powder, oregano, 1/2 teaspoon each of salt and pepper. Stir and cook for another minute.
  2. Stir in the diced tomatoes, tomato sauce, beans, corn, 1.5 cups of water, and 2 more teaspoons of salt. Simmer over low heat for 30-45 minutes, or until beans are cooked through. Add more chili powder if needed.
  3. Ladle the chili into serving bowls. Top with toppings, if desired
  4. Serves 6
Adapted from Food Network Magazine
Simple Everyday Food https://www.simpleeverydayfood.com/
IMG_2617 copy

I used ground turkey instead of ground beef to make it a little healthier. I like to use products that claim “reduced sodium” or “no salt added” on the package to keep things on the healthier side. If you can’t find reduced sodium products, no worries either – the final product will taste just as good! I also added a few cans of red kidney beans because 1. chili just has to have beans in it, and 2. it’s cheap and filling and is a good source of protein and fiber. If you have a bean-hater in the house, simply omit it… or you can divide the chili into two pots prior to simmering everything and add just one can of beans (instead of two) in one of the pots. That way you’ll get two pots of chili – one with beans and one without beans :)

IMG_2613 copy

If you’re making this for hosting a football party, you can keep it warm by throwing it in a Crockpot and setting it on “warm”. Toppings are completely optional too – oyster crackers, shredded cheese, green onions, sour cream…. you can have a little “make your own chili” station for your guests to completely customize their bowl of chili.

Recipe adapted from Food Network Magazine

© Simple Everyday Food. All images & content are copyright protected. Please do not use any of my images without prior permission. If you want to republish this recipe, please re-write the recipe in your own words, or kindly link back to this post for the recipe.

Sharing is caring! Email this to someonePrint this pagePin on PinterestShare on YummlyShare on FacebookShare on Google+Tweet about this on Twitter