everyday food made simple

Just a few weeks ago, we finally decided to re-join a gym. I figured with all the cupcakes, cookies, and bars that come out of my kitchen, it would be a matter of time until my pants start to get tighter and the number of the scale to go upwards… okay okay, I lied. All that was actually starting to happen and I was horrified one day when I put on my jeans and realized they were getting slightly snug around the hip and waist and thigh area.

So with the new year and multiple gyms offering “New Year Resolution” rates, the mister and I joined a local gym for only $1 each and made a pack that we would go at least 3 times a week, Monday-Friday, alternating between cardio and lifting. I’m happy to say that a few weeks into it, we’ve been staying strong and going almost everyday after work and I definitely feel better about myself afterwards.

Since Valentine’s Day is just around the corner (errr, I mean, tomorrow) and with us trying to live a healthier lifestyle, today I bring to you an easy, quick, cheap, relatively-healthier Valentine’s Day recipe that will satisfy your sweet n’ salty tooth but not break the bank at the same time.

IMG_5504 copy

IMG_5448 copy

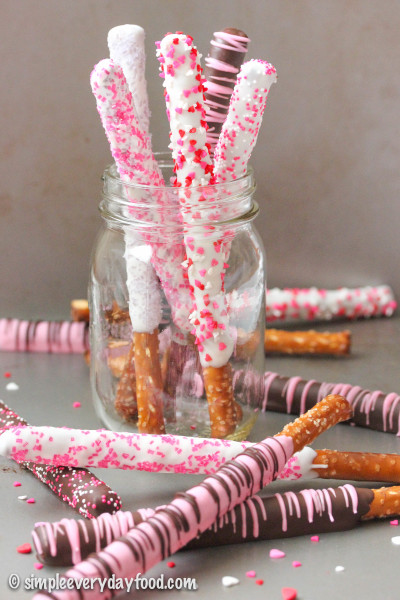
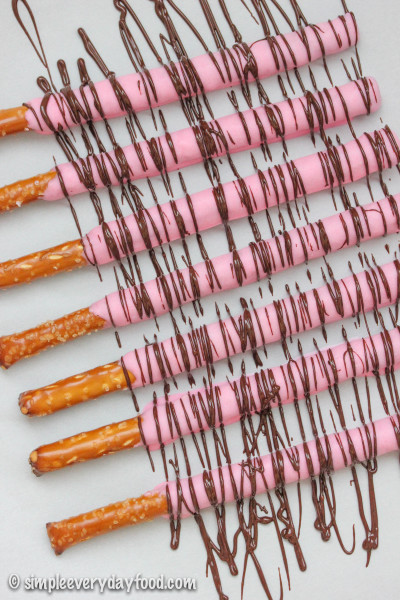
If you just realized that tomorrow is Valentine’s Day and have started to panic about what to get your significant other, you should totally make these pretzel rods because even though they’re easy and cheap to make, they look beautiful and your honey will think you spent a good fortune on them at the store.

IMG_5426 copy

IMG_5509 copy

IMG_5493 copy

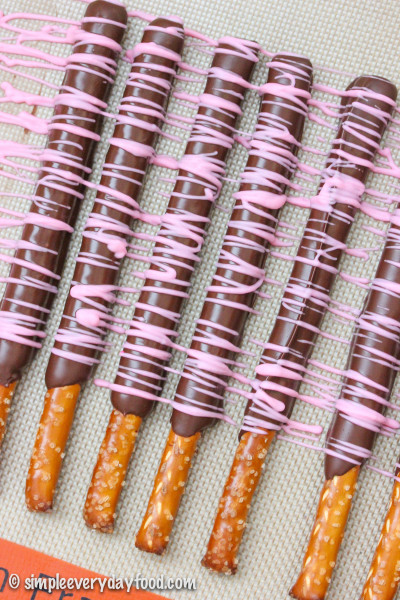
Plus, you can always customize them to however you want them – dark chocolate, milk chocolate, white chocolate… chocolate drizzle, sprinkles (always say yes to sprinkles), crushed candy/nuts, or just plain (but that’s soooo boring!). Add a few drops of gel-based food coloring into the melted white chocolate for special occasions. The combinations really are endless and it can always be a fun little project for you and the little ones (if you have little ones) on a snowy day.
IMG_5423 copy   IMG_5418 copy

IMG_5478 copy

IMG_5440 copy

The trick to dipping these is to pour the melted candy melt/almond bark into a tall skinny glass for easy dipping. Swirl the pretzel rods in it, leaving a few inches on the end to hold on to, then let the excess drip back into the glass and place the pretzel rod on a parchment paper-lined baking sheet. If your candy melt starts to harden again, scrape it back into the saucepan and reheat until melted. See? Suuuuuuper simple. Sprinkle your garnishes on right away before the chocolate coating hardens, otherwise you’re left with plain old boring chocolate-covered pretzels. And why have plain pretzel rods when you can have ones with sprinkles?!

IMG_5495 copy

chocolate covered pretzel rods
Print
Ingredients
  1. 20 pretzel rods
  2. 16 oz vanilla-flavored candy coating
  3. Assorted sprinkles for decorating
  4. Gel food coloring, optional
Instructions
  1. Line two baking sheets with silicone baking mats or parchment paper. Set aside.
  2. In a medium saucepan, melt the candy coating over low heat, stirring occasionally until melted (you can also use a double boiler if you have one).* Transfer the melted candy coating into a tall, narrow glass or container for easy dipping. Carefully dip pretzel rods into the candy coating, leaving a few inches at the end uncoated. Gently tap off the excess and sprinkle the sprinkles over the coated pretzel rods, if desired. Place on baking sheets and let the candy coating harden completely. Pretzel rods can be stored in an airtight container at room temperature for up to one week.
Notes
  1. * Squeeze a few drops of gel food coloring into the completely melted candy coating until you reach the desired color.
Simple Everyday Food https://www.simpleeverydayfood.com/
© Simple Everyday Food. All images & content are copyright protected. Please do not use any of my images without prior permission. If you want to republish this recipe, please re-write the recipe in your own words, or kindly link back to this post for the recipe.

Sharing is caring! Email this to someonePrint this pagePin on PinterestShare on YummlyShare on FacebookShare on Google+Tweet about this on Twitter

Is anyone else sad that it’s already mid-August and summer is coming to an end? Where did my summer go? I made a whole list of summer to-dos at the beginning of the summer, and there are so many things I haven’t got to cross off the list yet!

But let’s try to be positive here – even though summer is ending, it doesn’t mean that it’s going to be 20 degrees and snowing the next day (but you just never know in Minnesota). There’s always the Minnesota State Fair, all things pumpkin and apples and cinnamon, the beautiful fall foliage, and plenty of crisp fall days ahead of us!

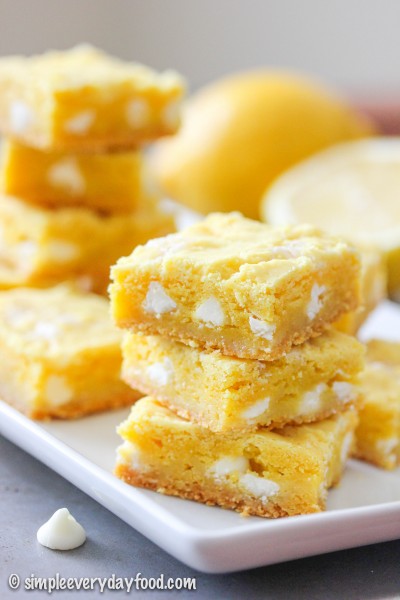
But as long as it’s 80 and sunny, I will be clinging on to every last day of summer. This includes the making of all things that scream summer that are bursting in summer flavors! Like this lemon gooey bar.

IMG_3451 copy

IMG_3462 copy    

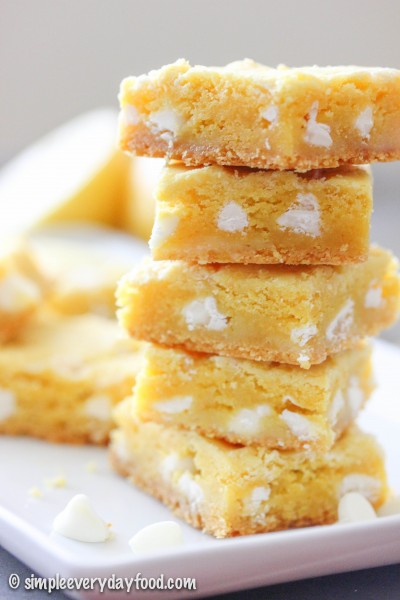
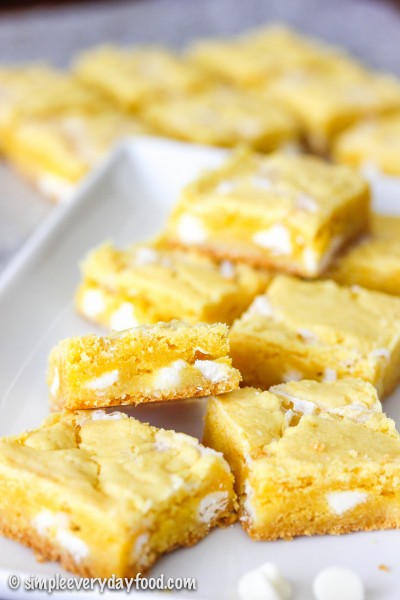
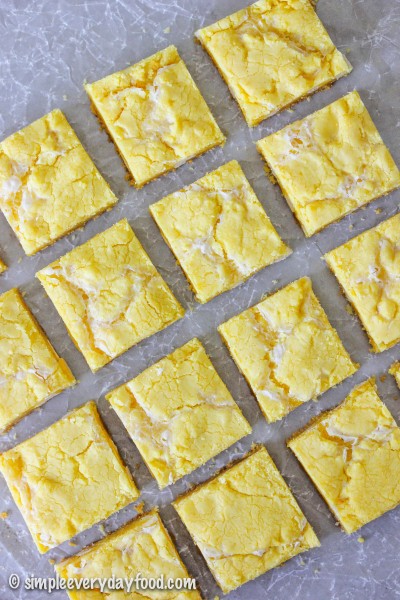
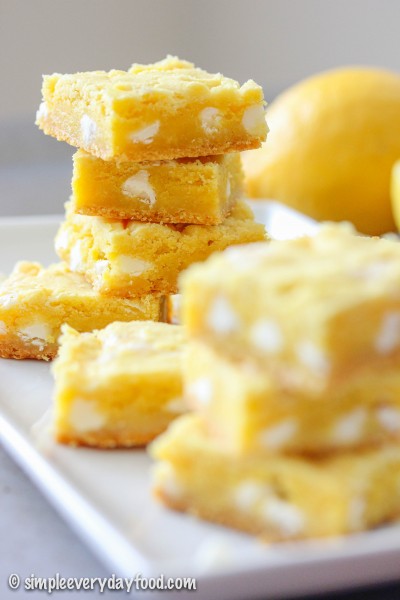
This lemon gooey bar tastes exactly what it sounds like – lemony and gooey. If I could’ve called it “The Amazingly Delicious Soft and Gooey Melt-In-Your-Mouth Lemon Bars”, I totally would’ve. Soft lemon bars sprinkled with plenty of white chocolate chips… every bite is melt-in-your-mouth amazing! I brought some to work to share with some lemon-loving coworkers and I’m pretty sure the pan was gone within the hour. Word sure travels fast around the hospital when there are sweets involved!

IMG_3465 copy

IMG_3438 copy

These bars are made in a similar manner to the peppermint gooey bars I made last winter. If you haven’t tried those yet, I do highly recommend you do so sometime!

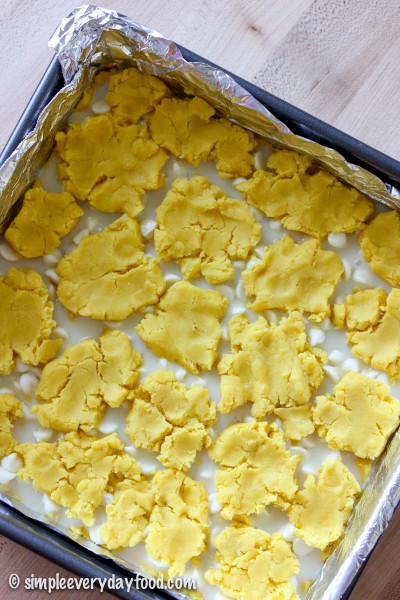
So you’re going to make the dough first, pressing half of it into the bottom of the pan. Then do a little bit of drizzling of some sweetened condensed milk and a bit of sprinkling of some white chocolate chips. Tear the rest of the dough into little pieces, pressing them on top. Don’t worry if the pieces don’t cover the whole pan completely – they will expand and stretch out once you put them in the oven.

IMG_3426 copy

IMG_3433 copy

The entire process is super straightforward and simple, but you know what the most difficult thing about making these bars is? The waiting. I hate waiting, but believe me when I tell you these taste way better when you actually wait patiently for them to cool completely. I highly recommend running a few errands and getting out of the house while they cool so you’re not tempted to check on these bars every 3 minutes (not that I’m speaking from personal experience or anything… ahem).

IMG_3458 copy

lemon gooey bars
Print
Ingredients
  1. 1/2 cup (1 stick) unsalted butter, softened to room temperature
  2. 1 box (16.25 oz) lemon cake mix (I used Duncan Hines)
  3. 1 egg, at room temperature
  4. 1/2 cup sweetened condensed milk
  5. 1/2 cup white chocolate chips
Instructions
  1. Preheat oven to 350 degrees. Line a 9x9" baking pan with aluminum foil and spray generously with nonstick cooking spray.
  2. Using an electric mixer, stir butter over medium speed until fluffy. Mix in the cake mix and egg. Beat until texture resembles cookie dough.
  3. Place about half of the dough in the bottom of the pan, press to form the crust, making sure all corners and sides are covered with dough. Sprinkle the white chocolate chips evenly over the dough and drizzle with the sweetened condensed milk. Drop balls of remaining dough evenly over the top. Press lightly. Don't worry if the entire surface isn't covered by the dough balls - the dough will expand once cooked in the oven.
  4. Bake for 28-32 minutes, or until the tops are slightly browned. Cool completely before cutting into squares. Once completely cooled, bars can be stored in an airtight container for up to 5 days.
Adapted from Crazy for Crust
Simple Everyday Food https://www.simpleeverydayfood.com/
Recipe adapted from Crazy for Crust

© Simple Everyday Food. All images & content are copyright protected. Please do not use any of my images without prior permission. If you want to republish this recipe, please re-write the recipe in your own words, or kindly link back to this post for the recipe.

Sharing is caring! Email this to someonePrint this pagePin on PinterestShare on YummlyShare on FacebookShare on Google+Tweet about this on Twitter