


I always seem to hop on the holiday baking train a few days late. Rarely do I ever find myself getting ahead of the game and baking things in anticipation of the upcoming holiday. Don’t ask why – it has always been a problem and I don’t think I plan on fixing that problem anytime soon. I have too many things to take care of, and right now baking ahead of schedule just isn’t as important as things such as studying for boards, spending time with family, working a full-time job, making sure everyone is fed and happy at the dinner table, and squeezing in time to run errands and do housework (I absolutely despise doing laundry).
[It’s soooo hard to work full-time and find time to cook, bake, photograph, edit, write, and post blog posts! I’m open to any advice, tips, and tricks anyone can give me!]
To me, this blog isn’t about making and posting a number of holiday desserts in anticipation of a holiday… don’t get me wrong, I admire (and am a little jealous of) all the talented food bloggers out there that are able to do so, and if I ever have the opportunity to make a full-time income off of SEF, I’d do it in a heartbeat. However, my current lifestyle simply does not allow such extensive food blog planning, so you guys will just have to put up with whatever my little heart felt like making at the moment… even if that means making Valentine-y red velvet desserts days and days after the holiday is over :)
So, about these whoopie pies.
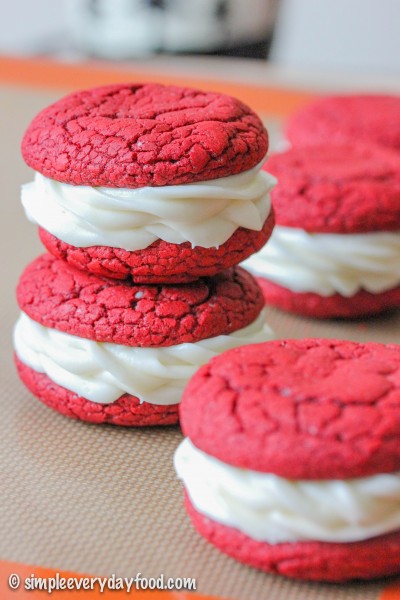
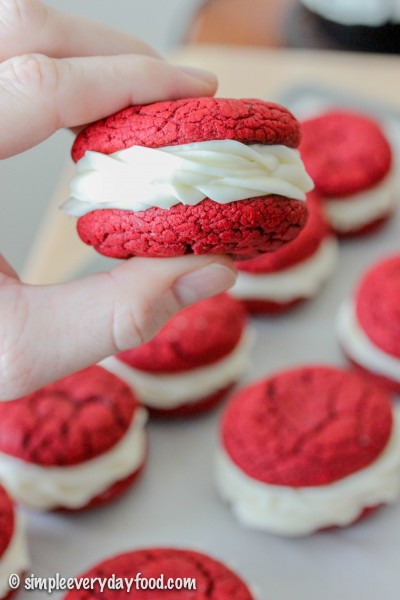
I always like to think of whoopie pies as soft, puffy, big fat Oreos. Except these are thicker and softer than an Oreo cookie and has at least twice as much filling. And they’re soooo easy to make! I was itching to bake something the other day and just wanted a super simple recipe that didn’t require a long list of ingredients and a bunch of steps to follow. These really are not that complicated at all. The directions can be condensed into 6 simple steps:
1. Make cookies
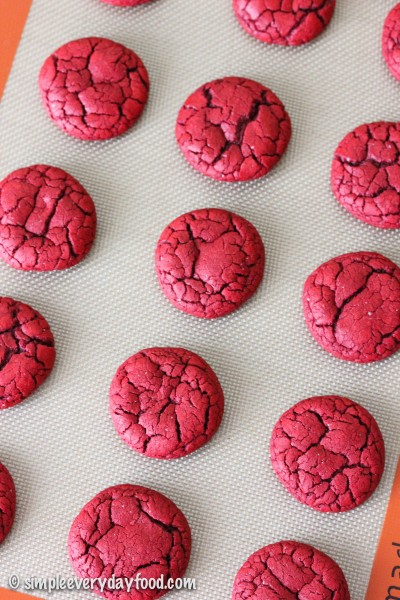
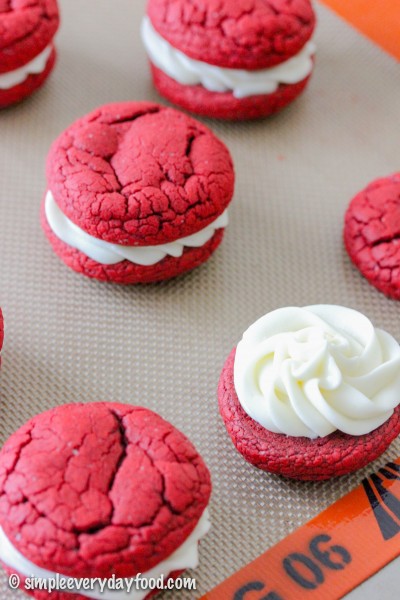
(Oooh… those crinkles. I absolutely looooove crinkly cookies!!)
2. Bake cookies
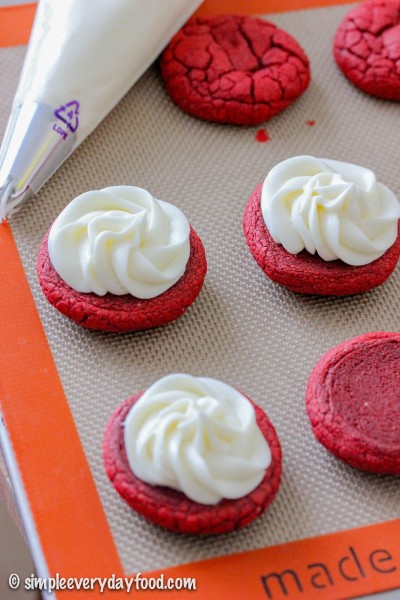
3. Make filling
4. Pipe filling
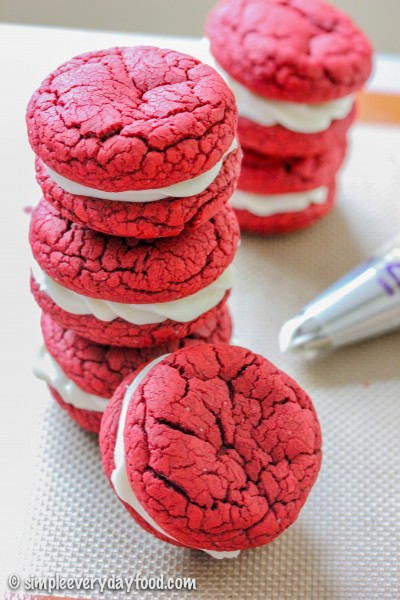
5. Sandwich cookies
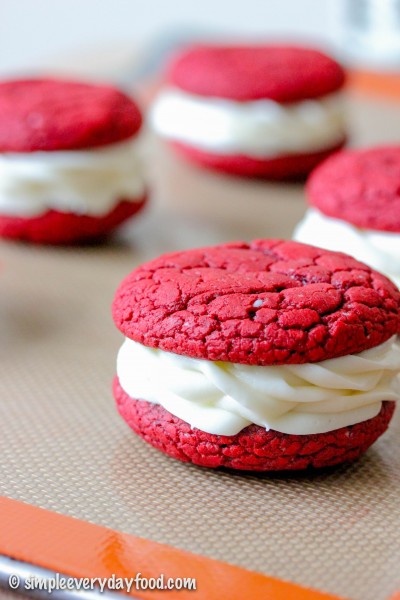
6. DEVOUR! (with a big glass of ice cold milk is highly recommended)
See? Simple. So simple that a monkey can do it. Okay, maybe not a monkey, but it is a really straight-forward recipe. l I even made these a “double stuffed” whoopie pie by generously piping the cream cheese frosting on BOTH cookies, because well, who doesn’t like extra frosting?! If you don’t have a piping bag, you can also just smear the frosting on the bottom of the cookies using a spoon, knife, spatula, or any kind of kitchen utensil you have handy before sandwiching them together.
I think I could’ve probably eaten the cookies by themselves without the cream cheese frosting – they were so soft and so moist and so good! They even remained soft and moist in an airtight container three days later! My favorite way of eating them was twisting them open and eating each half of the sandwich with a little bit of cookie and a little bit of frosting.
- One 16.25-oz box of red velvet cake mix
- 2 eggs
- 1/2 cup vegetable oil
- 1/4 cup (1/2 stick) butter, softened to room temperature
- 8 oz cream cheese, softened to room temperature
- 2 teaspoons milk
- 1 teaspoon vanilla extract
- 3 cups powdered sugar
- Preheat oven to 375 degrees. Line two baking sheets with parchment paper or silicone baking mats and set aside.
- Using an electric mixer, combine all the ingredients for the cookies until well mixed. Roll the cookie dough into dough balls 1" in diameter. Place dough balls ~2" apart and bake for 8 minutes, or until the tops of the cookies start to crack. Remove from oven and let cool completely.
- While the cookies are cooling, make the frosting: combine the butter, cream cheese, milk, and vanilla extract in a large bowl. Then add the powdered sugar, one cup at a time, making sure the mixture is well-mixed in between each addition.
- Spread a generous amount of frosting on the bottom of all the cookies*, and pair cookies up together, pressing gently to sandwich them together. Store an an airtight container for up to 5 days.
- Makes about 13 cookies
- *I spread the frosting on the cookies using a piping bag and a starred tip. If you don't have piping supplies, you can also simply spread the frosting onto the bottom of the cookies with a knife, offset spatula, a regular spatula, or whatever kitchen utensil you have handy.
© Simple Everyday Food. All images & content are copyright protected. Please do not use any of my images without prior permission. If you want to republish this recipe, please re-write the recipe in your own words, or kindly link back to this post for the recipe.


