Have you ever set a list of goals of what you need to accomplish by a certain day, only to realize that you’ve gotten little to none of it done when the day comes?
Here’s the thing: When my quarter break started, I wrote down a list of things that I wanted to get done before the new quarter started. Well, my break has been over for almost a week, the new quarter has started already, and more than half of the things on my list still hasn’t been crossed off yet. The garage is still a mess, the vacuum and Keurig filters haven’t been cleaned, I have piles and piles of laundry that needs to be done, and I haven’t gotten a chance to spend quality time with my Kindle (i.e. read a book).
Where the heck did my time go? More importantly, what have I been doing with my time?! Well, I guess having a list of 3-4 recipes I wanted to make during break doesn’t really make matters better either.
Oh well. Baking comes first. Studying and laundry can come second (until I run out of socks).
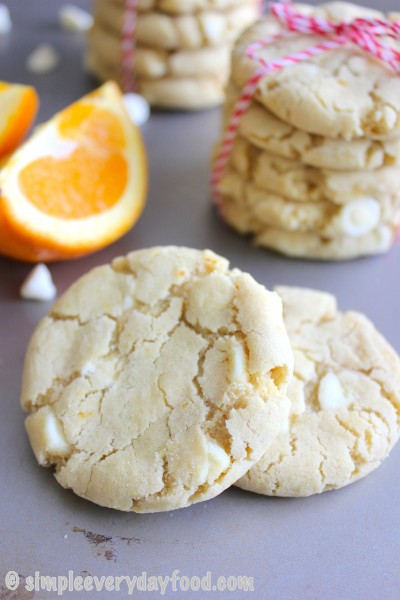
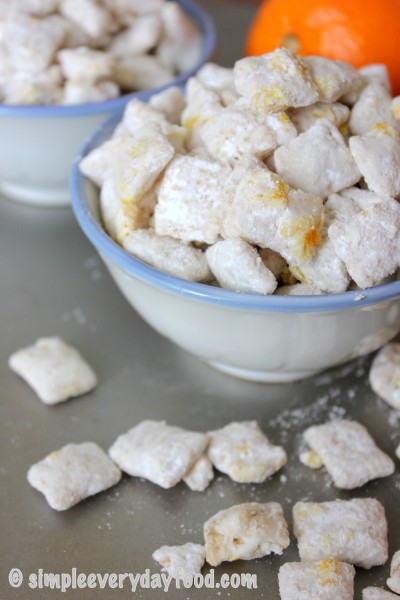
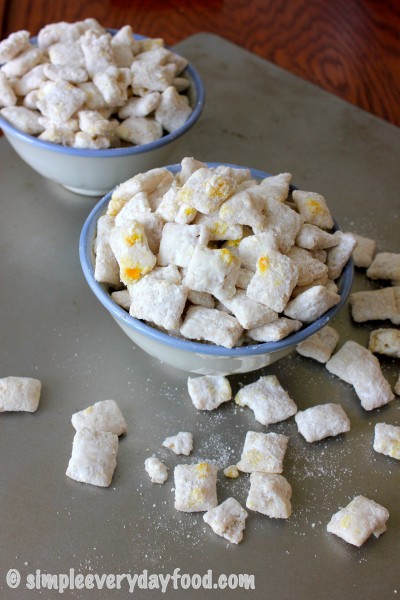
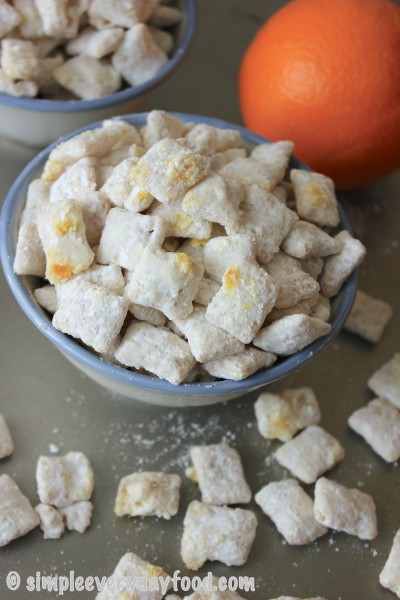
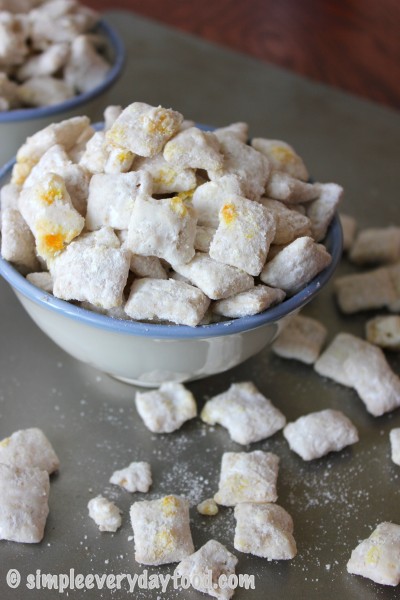
Good thing these cookies are super easy to make! And what’s even better is that they taste great too!! Remember about a month ago I made these orange creamsicle puppy chow? Well, I turned them into a cookie, and they taste equally as good – or in Brian’s words, “the best cookie [I’ve] ever made”.
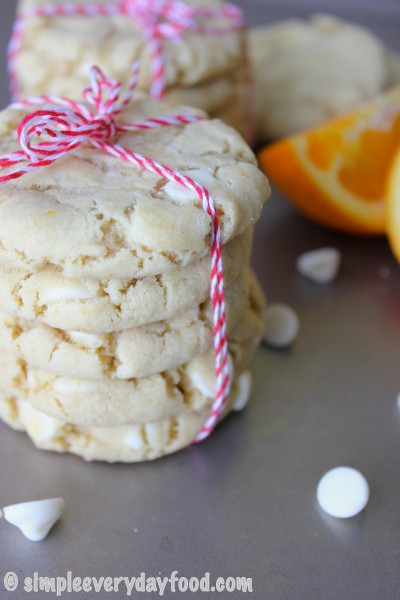
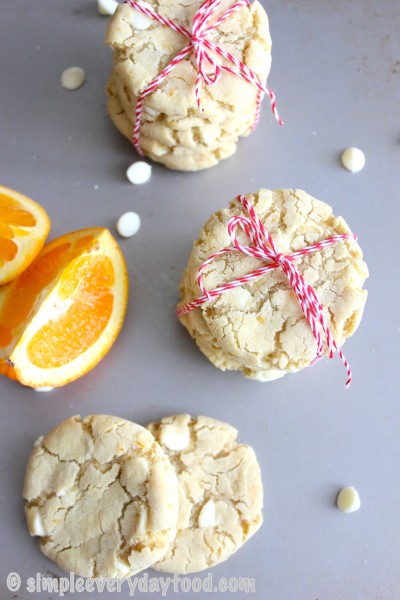
These cookies are soft and chewy, bursting with bright citrus-y flavors, and white chocolate chips are guaranteed in every single bite. Seriously, when I was rolling these into little dough balls, there were times I thought I was rolling balls of white chocolate rather than balls of cookie dough… As with my pumpkin chocolate chip cookies, I baked these for 8 minutes, slightly flattened them out with the back of a spoon, and baked them for another 1-2 minutes. Flattening the cookies out in between gives them the cracks and crinkles that I adore so much in cookies.
- 2 and 1/2 cups all-purpose flour
- 3/4 teaspoon baking soda
- 1/2 teaspoon salt
- 1 cup unsalted butter, softened to room temperature
- 1/2 cup granulated sugar
- 1/2 light brown sugar
- 1 large egg, to room temperature
- 1 teaspoon vanilla extract
- 2 tablespoons orange zest
- 1 (12 oz) bag white chocolate chips
- Preheat oven to 375 degrees. Line baking sheets with parchment paper or silicone baking mats.
- In a medium sized bowl, combine the flour, baking soda, and salt. Set aside.
- Using an electric mixer, cream the butter and sugars until light and fluffy. Beat in the egg and vanilla extract, then gradually add in the dry ingredients. Mix under medium speed until combined. Stir in the orange zest and chocolate chips.
- Using a medium cookie scoop (I used one that holds about 1.5 tablespoons of dough), scoop dough out onto the prepared baking sheet. Roll into balls with your hands.
- Bake cookies for about 8 minutes, take them out of the oven, slightly flatten them with the back of a spoon, then bake for another 1-2 minutes or until they start to slightly brown around the edges. Let cool on baking sheet for 5-10 minutes, then transfer to a wired cooling rack for them to completely cool.
- Store in airtight container for up to 7 days.
- Yields 30-32 cookies.

So when you’re missing summer this fall/winter season, make these! Or you can make these too. Or you can make both, because you can never have too many cookies, right?
Recipe from The Girl Who Ate Everything
© Simple Everyday Food. All images & content are copyright protected. Please do not use any of my images without prior permission. If you want to republish this recipe, please re-write the recipe in your own words, or kindly link back to this post for the recipe.


