


I know I’m a little late in the game, but I finally watched Big Hero 6 and I loved it! Have you seen it yet? I’ve heard so much about it when it first came out, but never really put too much thought into it until a coworker of mine brought it for me one day and told me it was her daughter’s new favorite movie.
There were definitely parts of the movie that I totally wasn’t expecting to happen, but there were also a lot of other parts of it that were cute and made me smile.
Baymax totally reminded me of a giant walking talking marshmallow, which in turn reminded me that I needed to share these ridiculous bars I made a while ago that involved sticky gooey marshmallows….
Marshmallow treat bars are probably one of the easiest things to make – they only require a few ingredients, they don’t require any special equipment or powering on the oven, and a batch of these things is usually enough to feed a crowd. Cheap, quick, and easy is the kind of desserts I like to bring to a potluck.

I’m sure we’ve all had terrible marshmallow treats before. You know, the kind that may have sat out for a few days too long? The kind that’s not at all soft and gooey when you bite into it? The kind that scrapes a layer of epithelial tissue off the roof of your mouth that leaves the top of your mouth raw and sore for days? Yeah… if you’re looking for that kind of a marshmallow treat (WHYYYYYY would you ever want a rock hard marshmallow treat would be beyond me), this recipe is not it.
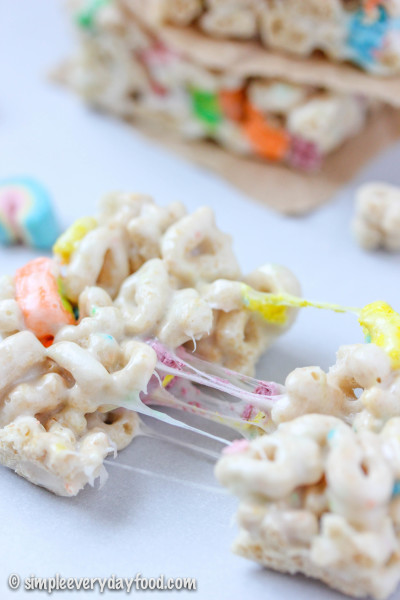
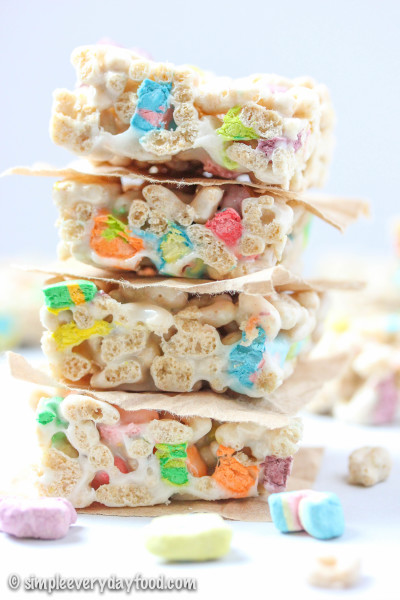
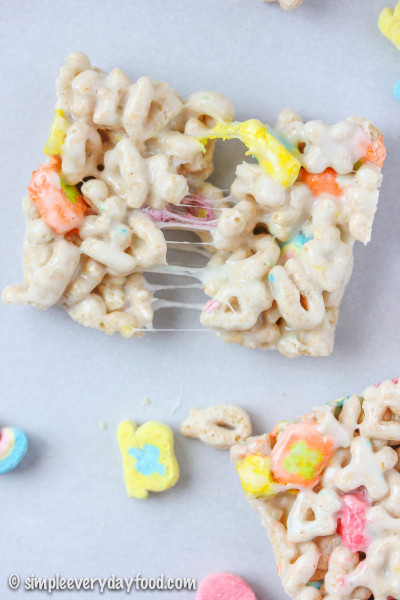
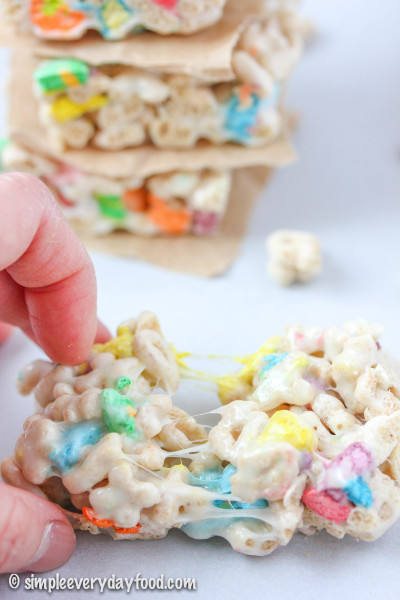
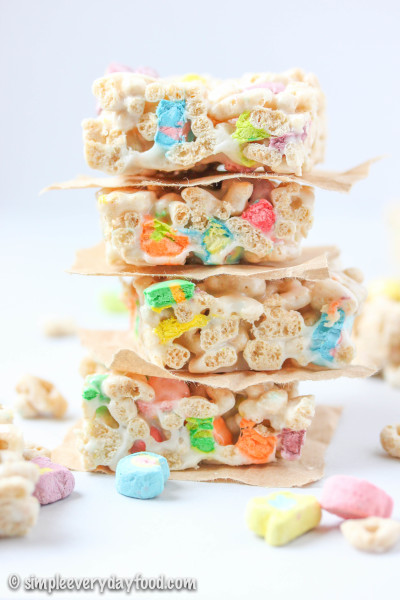
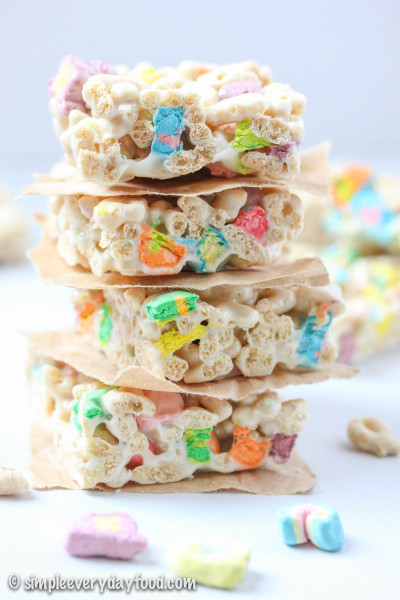
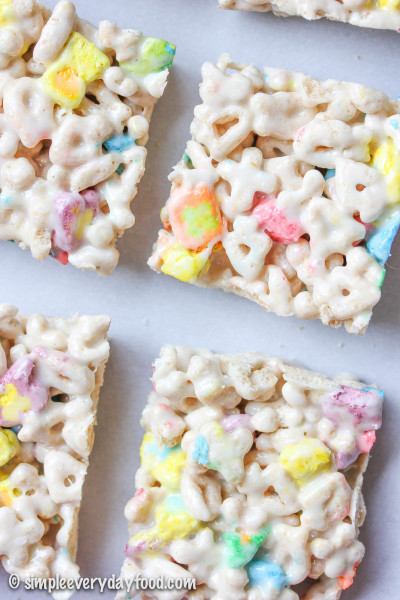
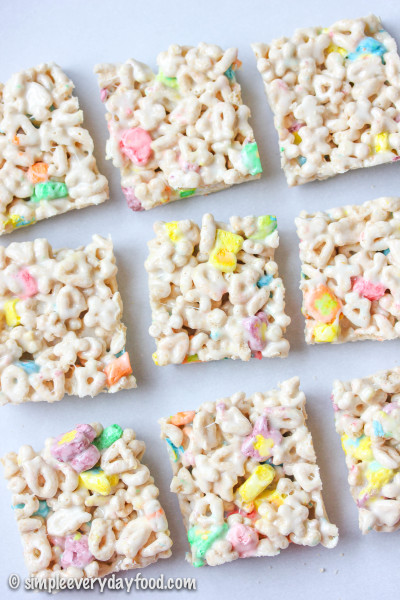
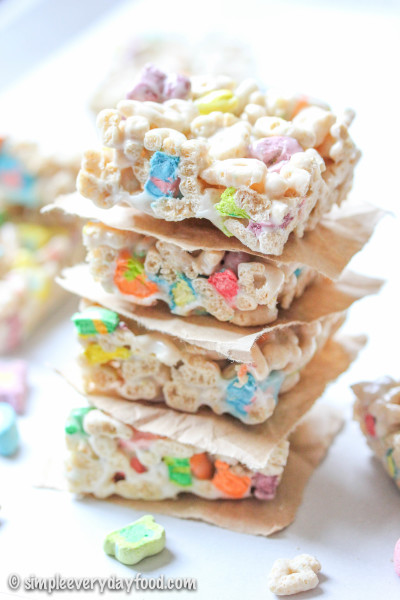
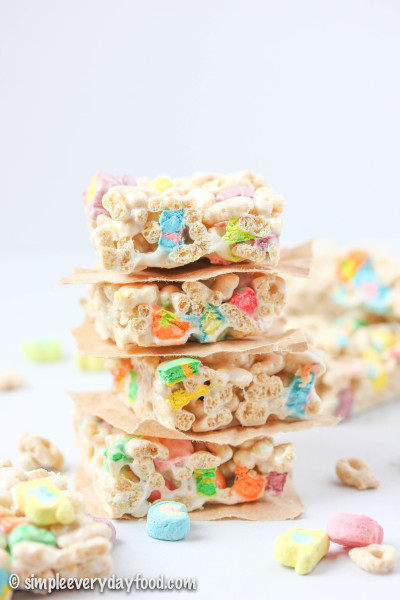
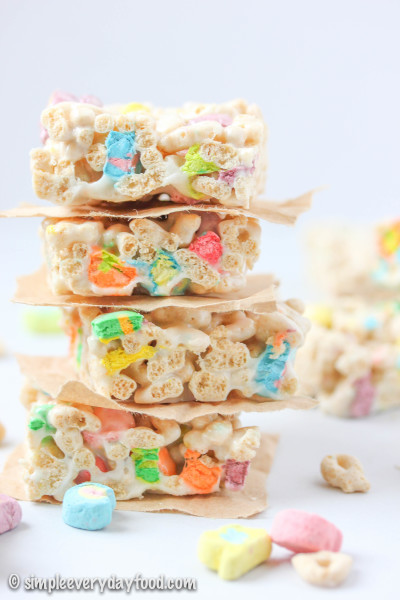
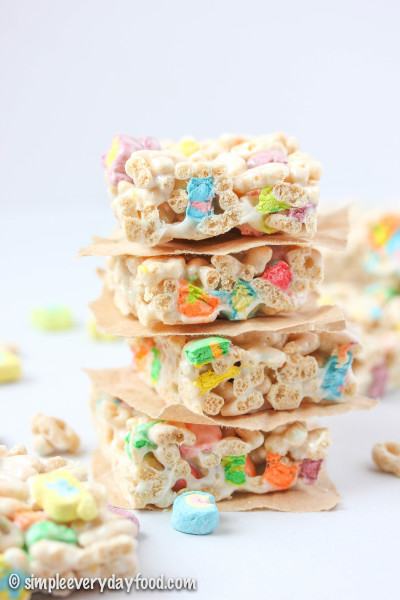
They’re oh so soft, so chewy, so gooey, so sweet, and so so so delicious. Not to mention on top of the 5 cups of marshmallows that goes into it, there’s more than plenty colorful Lucky Charms marshmallows in them, which makes them yummy to eat, and even prettier to look at.
This was only the second time I’ve ever made marshmallow treats. The last time I made them a few years ago, I’m pretty sure I got sticky marshmallow goo all over my hands and hair, my bars were hard, and Brian landed himself a trip to the ER that ended with 7-8 stitches on his toes… but that’s a whole ‘nother story for a different day.
Although my marshmallow bars weren’t a huge success that day, I did learn a few things that day about making these treats that I’m going to share with you, so listen up!
The single most helpful tip I learned was to grease EVERYTHING that will be coming in contact with the cereal/marshmallow mixture – that includes every single inch of the pan, the spatula you’ll be stirring with, and your hands if you’re using them to press the cereal treats into the pan rather than wax paper.
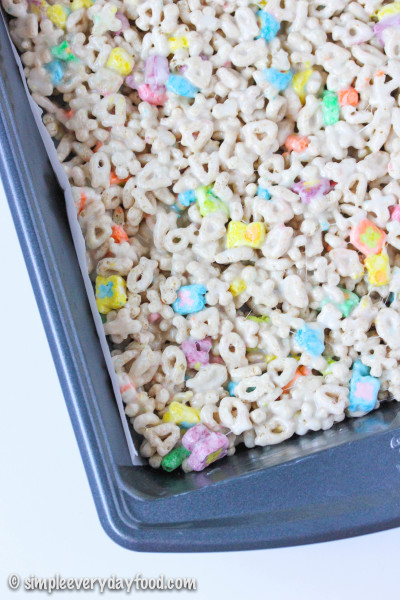
I actually lined my baking pan with parchment paper for easy removal of the bars once they cool. That way you can lift the entire pan of marshmallows onto a cutting board to cut them into squares rather than trying to cut them up while they’re in the pan.

When you’re pouring your cereal/marshmallow treats into the pan, don’t press them too hard into the pan. The more you try to cram them together, the denser they’ll get, and the harder they will become once they cool. If you’re not into greasy hands, you can also gently press them in with a sheet of wax paper.


These really do taste best if you eat them the same day they’re made, but they will still taste great the day after. I wouldn’t recommend storing them for more than two days, unless you’re purposely trying to end up with dry, hard marshmallow bars.
Sorry for the photo overload, my friends. I was having an indecisive day!
- 4 tablespoons unsalted butter, plus more for greasing the pan
- 5 cups mini marshmallows
- 6 cups Lucky Charms cereal
- Lightly coat a 9x13" baking pan with butter, line with parchment paper (the butter will help the parchment paper stick to the pan), then grease the parchment paper with another thin coat of butter. Set aside.
- Melt butter in a large pot over low heat. Add the marshmallows and stir until the marshmallows are completely melted. Remove from heat and stir in the Lucky Charms with the buttered spatula until combined.
- Pour cereal mixture into the prepared greased baking pan, pressing the tops gently with waxed paper* and let cool. Remove the bars from the pan using the parchment paper and transfer onto a cutting board. Cut into squares and serve. Bars can be stored at room temperature in an airtight container for up to 2 days.
- Makes one 9x13" pan
© Simple Everyday Food. All images & content are copyright protected. Please do not use any of my images without prior permission. If you want to republish this recipe, please re-write the recipe in your own words, or kindly link back to this post for the recipe.


