everyday food made simple

Hey guys! Guess what?

Today we’re celebrating a special day that’s coming up tomorrow and I’m quite excited about it.

IMG_5398 copy

I’ll give you a few hints:

  1. It’s going to be a two-year celebration
  2. It involves something that started out as an idea, which turned out to be a hobby
  3. It involves food (lots and lots of food), lots of time in the kitchen, hours of time spent on learning photography and techie things, and a little space I own here on the internet

That’s right, you guessed it! Tomorrow will be Simple Everyday Food’s 2nd blogiversary! Can I get a whoop whoop?!

IMG_5402 copy

IMG_5409 copy

This little site of mine started out as an idea, and after a few encouragements from the mister, I bit the bullet two years ago, signed up for my own domain name, and BOOM! SEF was born. Fast forward throughout the years, this little corner of mine here on the world wide web has slowly became my happy place where I get to temporarily run away from everyday stresses, let loose, and be creative. I still have so much to learn in regards to the food blogging business, but SEF wouldn’t be able to continue to grow without all my supporters and those that I constantly learn from every single day.

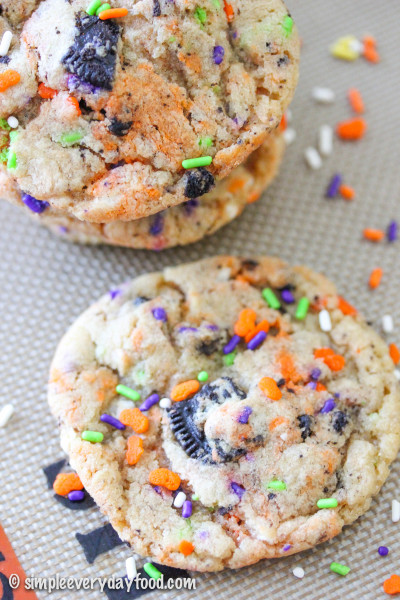
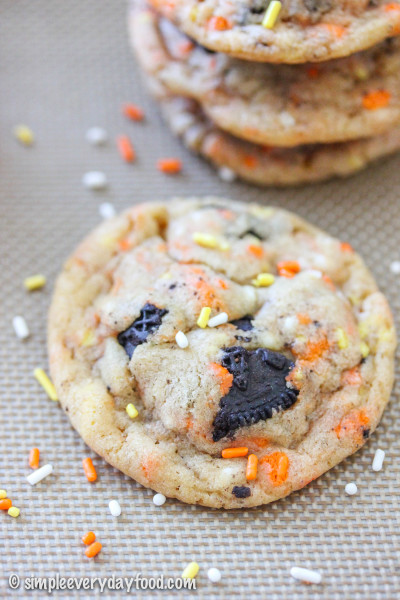
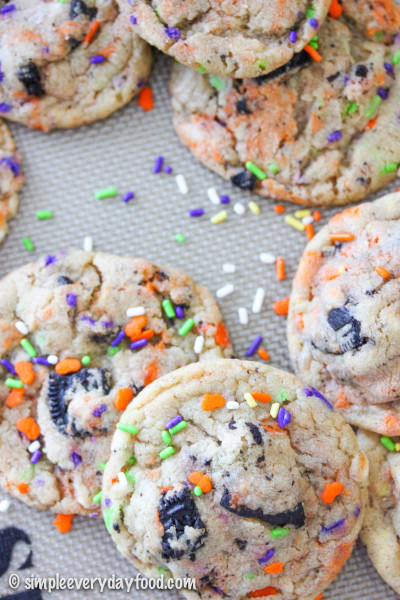
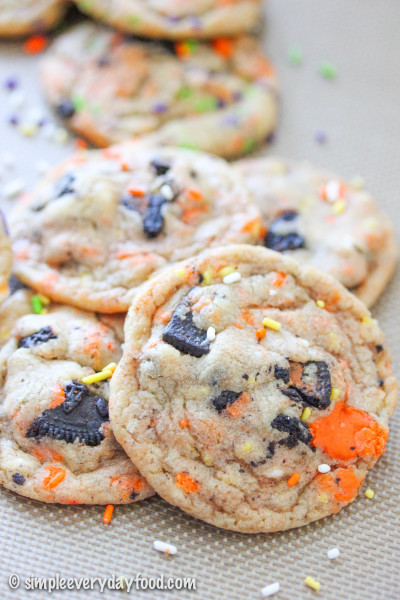
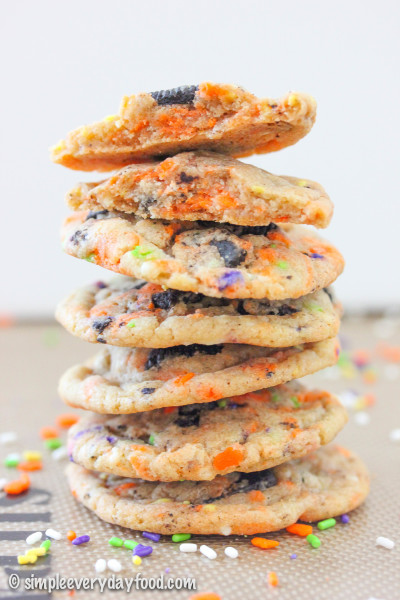
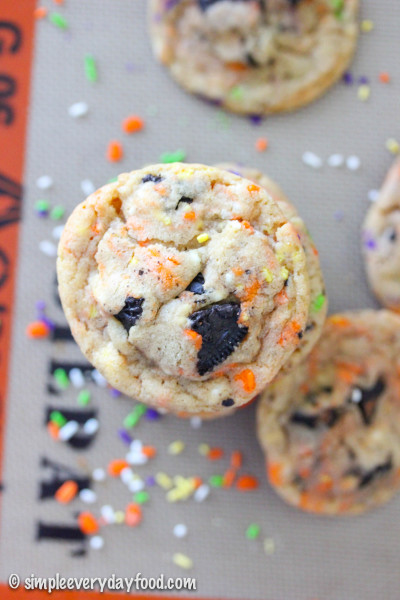
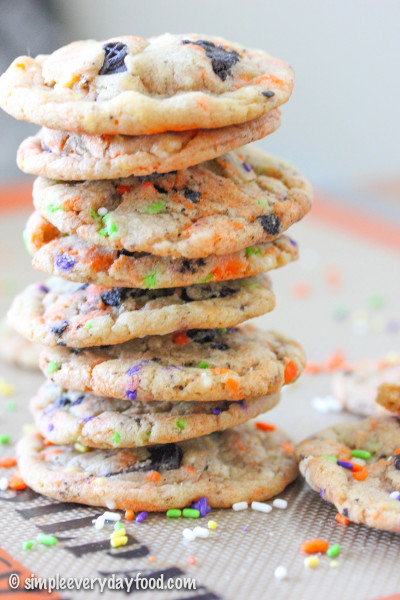
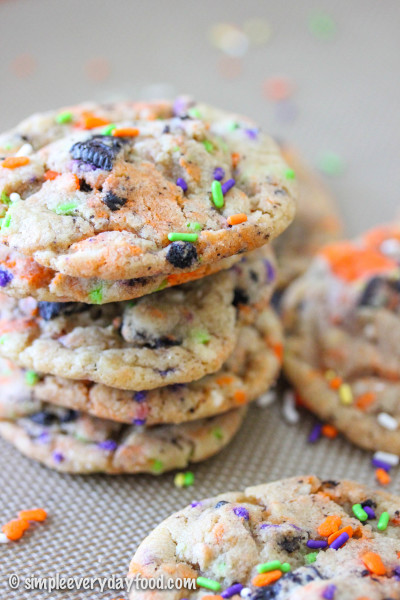
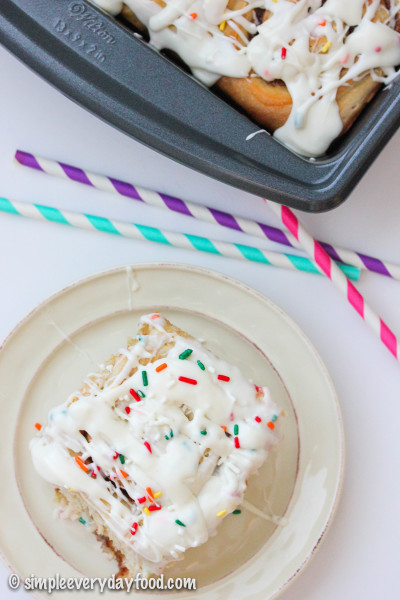
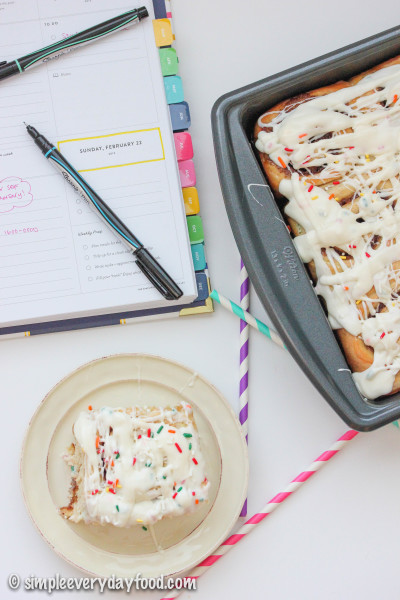
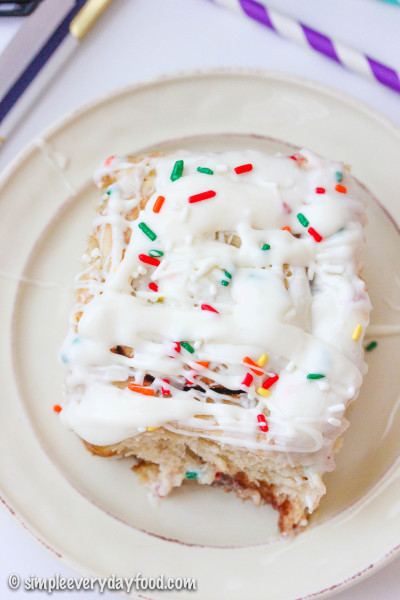
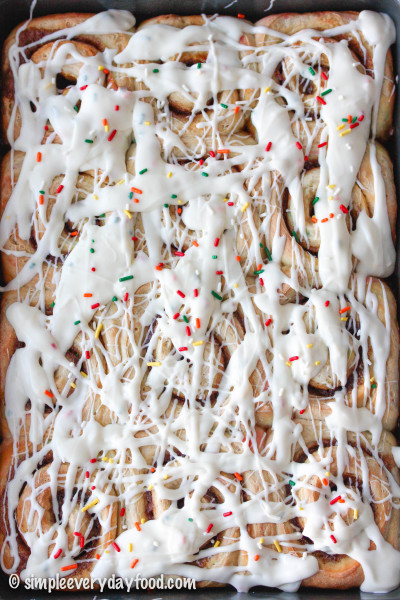
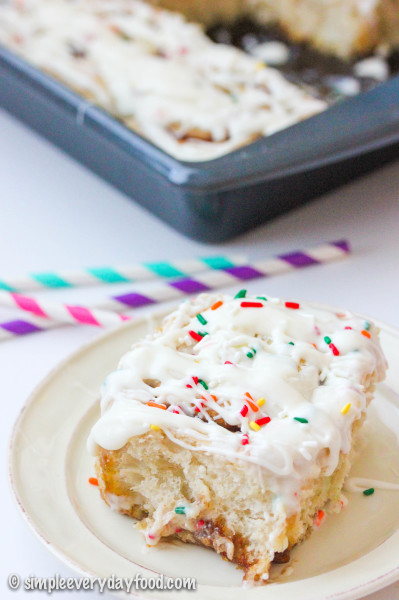
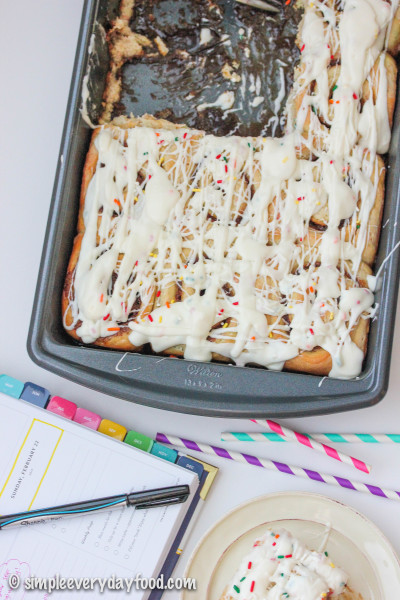
So it’s only appropriate that we celebrate this special occasion with sprinkles. Lots and lots and looooots of sprinkles. And instead of a cake, we’re celebrating with some soft and fluffy cinnamon rolls. Homemade cinnamon rolls dotted with plenty of sprinkles baked to melt-in-your-mouth perfection, generously drizzled with a sweet and creamy cream cheese frosting with sprinkles, to be exact.

IMG_5374 copy

IMG_5388 copy

IMG_5396 copy

A big thank you to all of you who have been part of this journey – I wouldn’t be here without you guys! xoxo

IMG_5415 copy

overnight funfetti cake batter cinnamon rolls
Print
For the rolls
  1. 2 and 1/2 cups water
  2. 1 tablespoon active dry yeast
  3. 1 teaspoon salt
  4. 1 box funfetti cake mix (I used Pillsbury)
  5. 5-6 cups all-purpose flour, plus more for dusting
  6. 1 teaspoon vanilla extract
For the filling
  1. 1 stick (8 tablespoons) unsalted butter, melted and cooled
  2. 2 and 1/2 cups dark brown sugar
  3. 2 tablespoons ground cinnamon
For the glaze
  1. 2 and 1/2 oz light cream cheese, softened to room temperature
  2. 3 tablespoons milk
  3. A splash of vanilla extract
  4. 1 and 1/2 cups powdered sugar
  5. rainbow sprinkles for garnish, if desired
Instructions
  1. Heat water in a microwave safe bowl until it reaches ~120-125 degrees F. Sprinkle in the yeast and salt and give it a good stir. Let sit for 5 minutes until foamy.
  2. In the bowl of an electric mixer, combine the cake mix and the 5 cups of flour, stir to combine. Using a dough hook attachment, slowly add in the yeast mixture and vanilla extract. Turn on the mixer and mix on low, gradually increasing the speed to medium-low. Knead the dough for about 5 minutes or until the dough is elastic and pulls away from the sides of the bowl. If the dough is still too sticky, add in additional flour, 1/4 cup at a time, until it no longer sticks to you hand (I only used about 1/2 cup of extra flour). Remove dough and place in a lightly greased bowl, cover and let rise until it doubles in size, about 1-2 hours.
  3. In the meantime, combine the brown sugar and cinnamon in a medium bowl and set aside. Grease two 9x13" baking pans and set those aside as well.*
  4. Once the dough has risen, divide the dough into two portions so it's easier to work with. Turn half of the dough onto a lightly floured surface and roll into a rectangle, approximately 11x15" (or in my case, my dough always turns out to be a large blob instead). Brush half of the melted butter onto the dough, covering every single inch if possible. Then generously sprinkle half of the brown sugar/cinnamon mixture evenly on top.
  5. Starting on the long end, tightly roll up the dough and cut dough into 10-11 slices, about 1.5-2" thick each. Place into prepared baking pan. Repeat with the other half of the dough.
  6. Cover baking pans and let rise overnight on your kitchen counter.
  7. The next morning, bake rolls in a 400 degree oven for 15-20 minutes or until golden brown (mine took exactly 15 minutes). Remove from oven and let cool.
  8. While the rolls are cooling, make the glaze: beat the cream cheese in an electric mixer until smooth and creamy. Add in the milk and vanilla extract and beat until incorporated. Slowly add in the powdered sugar and beat until smooth. Drizzle over rolls and sprinkle with additional rainbow sprinkles, if desired. Rolls taste best the same day, but can be stored in an airtight container at room temperature for up to 5 days**.
  9. Makes 20-22 rolls
Notes
  1. * If you only have one 9x13" baking pan like me, you can always use a 9" pie plate along with the baking pan.
  2. ** You can always freeze one pan of the rolls after they've cooled from the oven, then wrap well and freeze. Thaw out in the refrigerator or at room temperature, make the glaze, and heat rolls in microwave until warm.
Adapted from Something Swanky
Simple Everyday Food https://www.simpleeverydayfood.com/
Recipe adapted from Something Swanky; glaze recipe adapted from Well Plated

© Simple Everyday Food. All images & content are copyright protected. Please do not use any of my images without prior permission. If you want to republish this recipe, please re-write the recipe in your own words, or kindly link back to this post for the recipe.

Sharing is caring! Email this to someonePrint this pagePin on PinterestShare on YummlyShare on FacebookShare on Google+Tweet about this on Twitter

I had originally planned on posting this recipe next week, but these cookies turned out so pretty (and delicious) that I couldn’t help but share it with you guys a week early!

IMG_4157 copy

IMG_4132 copy

Brian is a fan of the holiday Oreos. He swears that they taste better than the regular ones, and has tried convincing me that the Halloween ones are the best, despite the fact that I personally think they are the same thing and taste exactly the same (except for the different designs and different colored filling)… but I don’t think he believes me.

I think it’s all mental. I think somewhere in Oreo’s headquarters dwells researchers that have conducted market research that show people are more likely to buy “new” products if they change the look of the product and make them “limited edition”, even if they keep the recipe the same.

Do you think the Halloween Oreos taste better than the regular ones?

Since Halloween is just around the corner and my local grocery store has strategically placed all these tempting Oreos right by the checkout aisles, I caved and bought myself a pack of them. I knew they would make the perfect cookie with some of the Halloween sprinkles I bought at the craft store a few weeks back.

You know I’m a sucker for all things sprinkles!

IMG_4212 copy

IMG_4126 copy

I purposely made a big batch of these cookies earlier this week, knowing that I had my one-month post-LASIK checkup on Friday, and wanted to bring a couple dozen of these for the staff at the Whiting Clinic to show my appreciation of how wonderful they have been. I hope they liked them!

If you don’t want to make so many cookies at once, you can halve the recipe… although these cookies do freeze well and it never hurts to have frozen cookie dough in case of any late night cookie emergencies. Also, you can definitely use regular Oreos for this recipe (or any flavor for that matter). And it’s definitely not limited to just Halloween sprinkles either – use your favorite kind, none at all, or mix all your favorite sprinkles together to make it one colorful cookie – the possibilities are endless.

I decided to divide the batter in half since I had two different Halloween sprinkles I wanted to use – a spooky green/purple/orange one, and a candy corn colored one… the perfect pairing with some orange cream-filled Oreos! But dividing the batter into two also resulted in a lot of “transferring of the doughs”, which would’ve been a lot easier if I had two electric mixers…

IMG_4121 copy   IMG_4124 copy

IMG_4118 copy   IMG_4114 copy

Basically you’ll be making one basic cookie dough and mixing in the add-ins separately. And trust me when I tell you that your arms will thank you if you use an electric mixer – it saves time and muscle and mixes everything better since the batter will be pretty sticky. The chopped Oreos may come apart while you mix them in and that’s totally okay! You’ll get swirls of the orange filling throughout the dough which will give the cookies a beautiful festive look.

IMG_4196 copy

IMG_4150 copy

About 1.5 hours after you chill the dough, make sure to take it out and roll them into dough balls. If you chill them for too long, the dough gets hard, making it difficult to roll. Once they’re rolled into balls, you can refrigerate them up to 3 days if you don’t plan on making them right away.

I normally prefer a thick puffy cookie rather than a thin one, but these turned out so good! They’ll look slightly puffy when you take them out of the oven, but they’ll flatten out a bit as they cool. The outer edges are slightly crunchy, but the insides are oh so soft and chewy with tons of chopped Oreo cookies laced in between each bite.

IMG_4180 copy

IMG_4136 copy

So. Frickin’. Good.

halloween cake batter oreo cookies
Print
Ingredients
  1. 2 and 1/2 cups all-purpose flour
  2. 2 and 1/2 cups vanilla cake mix (I used Betty Crocker)
  3. 1 teaspoon baking soda
  4. A pinch of salt
  5. 1 and 1/2 cups unsalted butter, at room temperature
  6. 1 cup granulated sugar
  7. 1 cup dark brown sugar, packed
  8. 2 eggs, at room temperature
  9. 3 teaspoons vanilla extract
  10. 1 cup Halloween sprinkles*
  11. 20 Halloween Oreos, roughly chopped**
Instructions
  1. 1. In a large bowl, sift together flour, cake mix, baking soda, and salt. Set aside.
  2. 2. Using an electric stand mixer with the paddle attachment, cream the softened butter and sugars together on medium speed until creamy and smooth. Add in the eggs, one at a time, beating well in between each addition. Then add in the vanilla extract and mix until combined, scraping down the sides in between if needed.
  3. 3. Slowly stir in the dry ingredients to the wet ingredients and gradually increase the speed to low-medium until everything is combined.
  4. *** If you plan on using only one kind of sprinkles, go on to Step 4 ***
  5. *** If you plan on using two different kinds of sprinkles, skip to Step 5. ***
  6. 4. Add in the sprinkles and mix on low. Then add in the chopped Oreos and mix on low until everything is evenly distributed.
  7. 5. Divide the batter in half (approximately is fine), and place one half of the dough in a separate bowl (we'll call this Dough #2). Add in Sprinkle #1 to the dough that is still in the mixer bowl, mix on low and then add in the chopped Oreos until combined. Remove Dough #1 into a bowl and set aside. Put Dough #2 into mixer bowl, mix in Sprinkle #2 and chopped Oreos until combined.
  8. 6. Cover bowl(s) with plastic wrap and refrigerate dough for at least 1.5 hours. Roll dough into balls (I used a 1.5 tablespoon cookie scoop) and place in a tupperware, cover tightly, and refrigerate until ready to bake. Cookie dough can be refrigerated up to 3 days.
  9. 7. Preheat oven to 350 degrees and line baking sheets with silicone baking mats or parchment paper. Bake for 10-12 minutes and let cookies cool on the baking sheet for 5 minutes before removing them onto a wired cooling rack to cool completely. Store cookies at room temperature in an airtight container for up to 7 days.
  10. Makes 60 cookies
Notes
  1. *If you plan on using two different kinds of sprinkles like I did, you'll need 1/2 cup of each
  2. **If you plan on making two different batches, divide the roughly chopped Oreos into two separate bowls
Adapted from Sally's Baking Addiction
Simple Everyday Food https://www.simpleeverydayfood.com/
Recipe adapted from Sally’s Baking Addiction

© Simple Everyday Food. All images & content are copyright protected. Please do not use any of my images without prior permission. If you want to republish this recipe, please re-write the recipe in your own words, or kindly link back to this post for the recipe.

Sharing is caring! Email this to someonePrint this pagePin on PinterestShare on YummlyShare on FacebookShare on Google+Tweet about this on Twitter