The Big Game is tomorrow – are you ready?!
For all your last-minute party planners that are in need of a last-minute appetizer ideas, I’ve got you covered today! Here are some of the most popular game day recipes here on SEF:
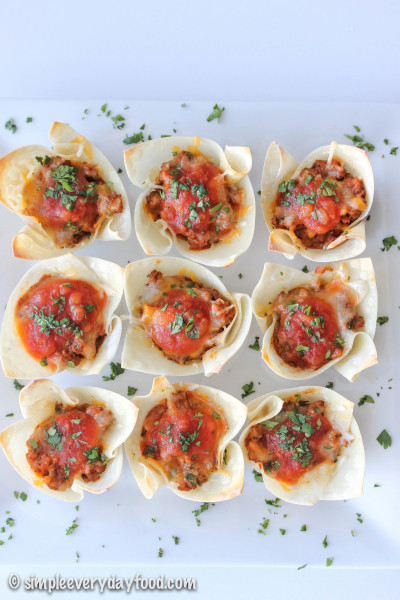
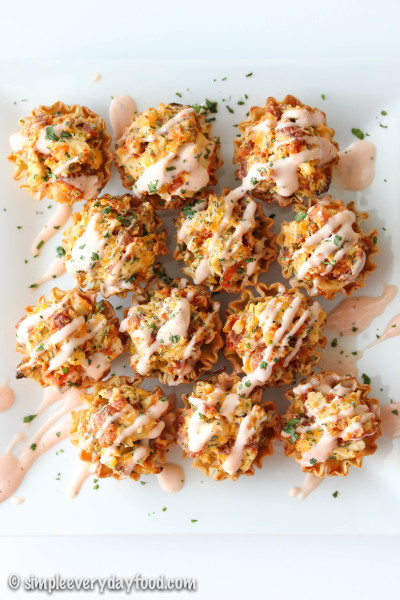
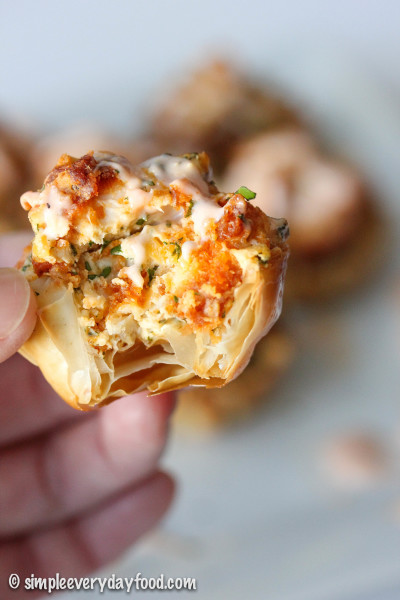
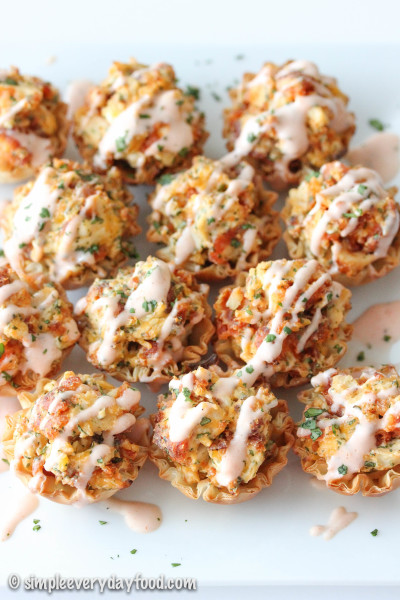
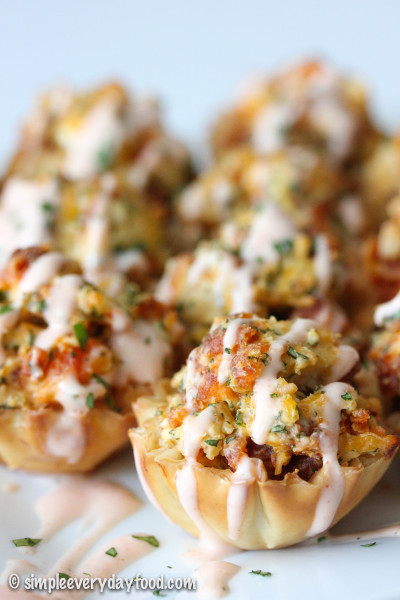
>> Buffalo ranch chicken cups
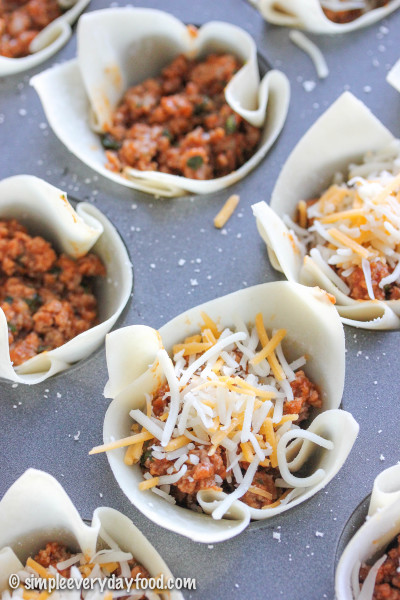
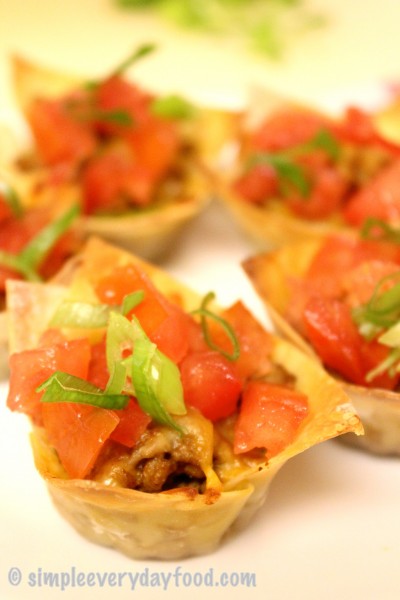
>> Mini taco cups
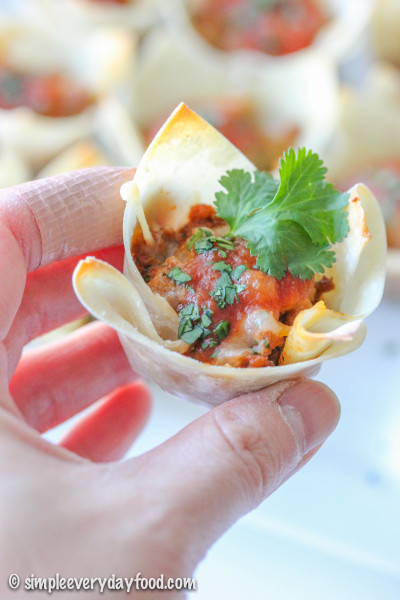
>> Mini taco cups, 2.0
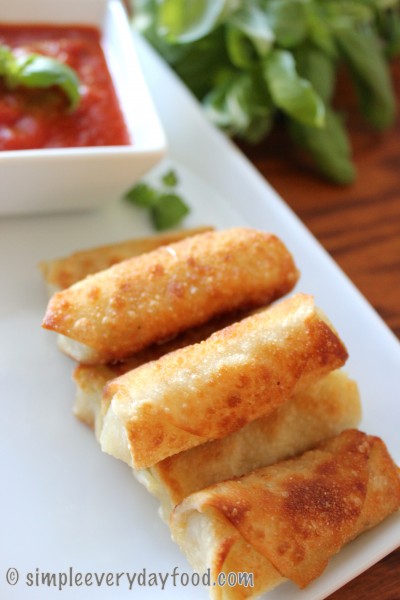
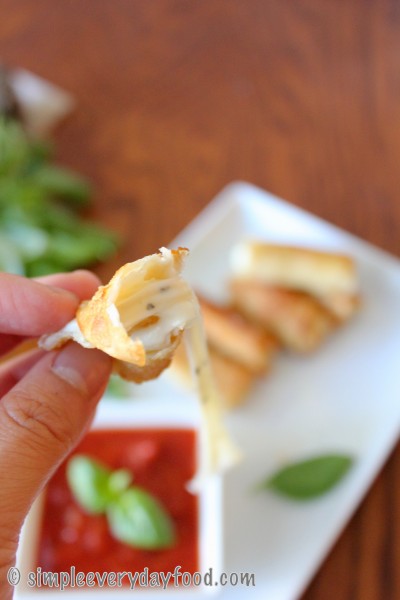
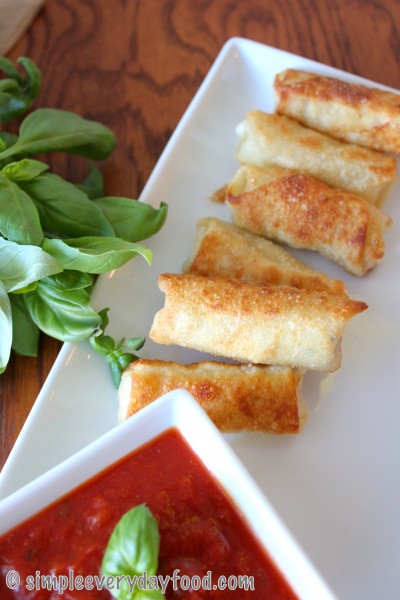
>> Wonton wrapper wrapped mozzarella sticks

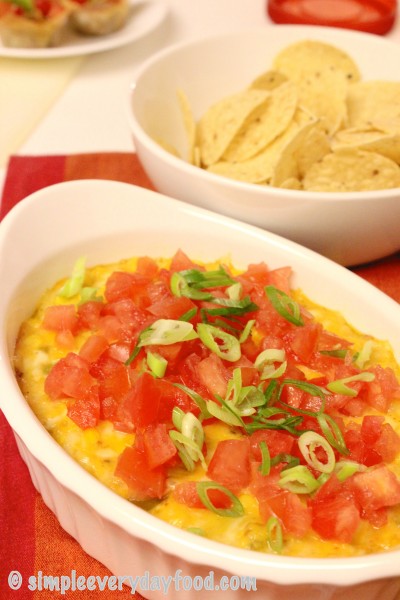
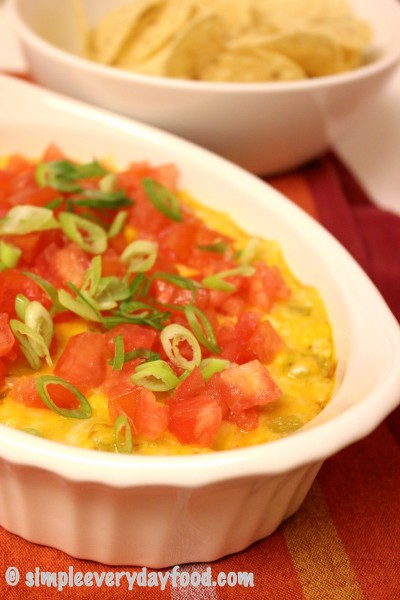
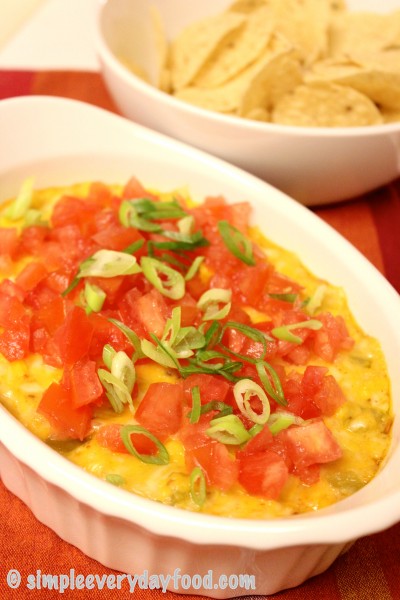
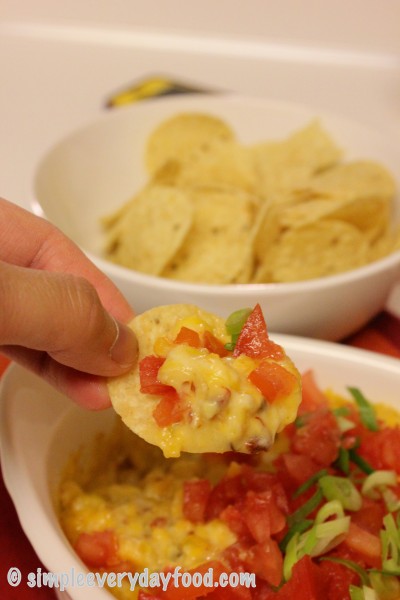
>> Chipotle hot corn dip

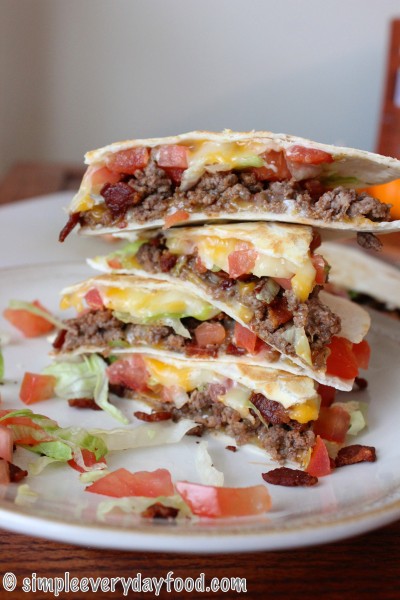
>> Bacon cheeseburger quesadillas
>> Tailgate turkey chili

(can you tell which of these pictures were from a few years ago when I knew nothing about food photography?)
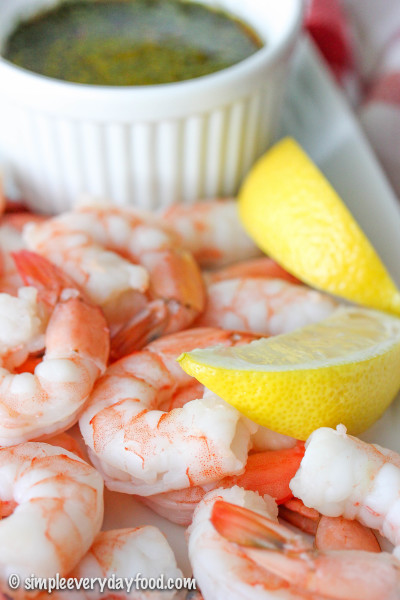
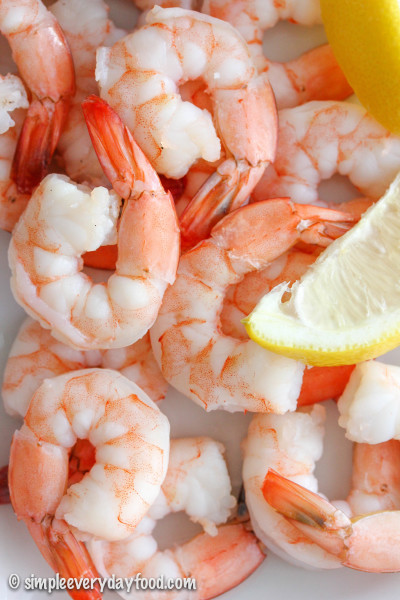
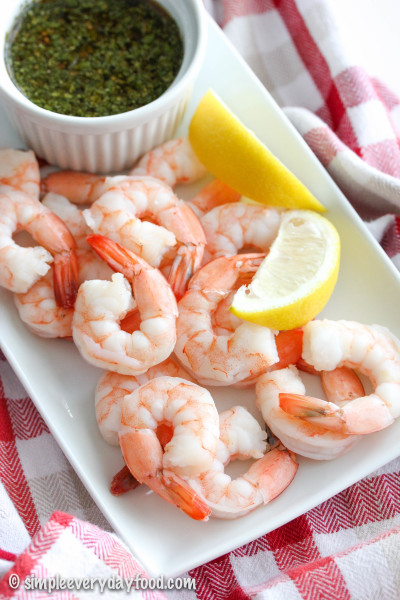
Plus I even have a new super quick and simple shrimp cocktail recipe for you to satisfy all your seafood-loving party guests.
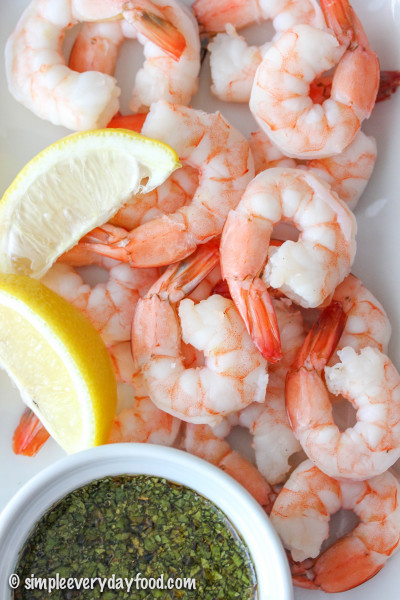
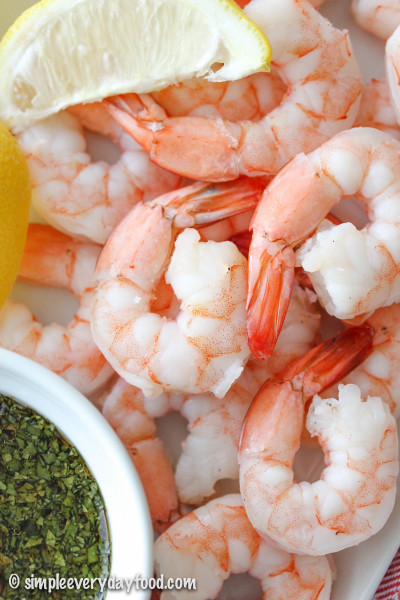
Instead of the traditional cocktail sauce, I made a soy-ginger sauce to go with them instead. Because you know, I can never seem to make anything “traditional”. That’s just how I roll, yo.
This dish comes together easily within an hour and there’s really not a whole lot of prep work that goes into it – the most work you’ll have to do is mince some herbs and grate some garlic and ginger. Otherwise it’s just a lot of “throwing the ingredients in a bowl”, boiling, chilling, mixing, and more chilling. Not a lot of labor involved so you can spend more time watching the game and spending time with friends.
Whether you’ll be rooting for the Seahawks or the Patriots tomorrow, or if you’re just going to parties just for the food – I hope everyone has a fabulous time spending the day with family and friends!
- 2 bay leaves
- 1 lemon, quartered, plus more for serving
- 1 tablespoon whole black peppercorns
- 1 tablespoon coriander seeds
- 2 tablespoons salt
- 1 pound large uncooked shrimp, peeled and deveined, tails intact
- 1/3 cup low-sodium soy sauce
- 3 tablespoons cilantro, finely chopped
- 1 green onion, green parts only, minced
- Juice of 1 lemon
- Juice of 1 lime
- 1 tablespoon finely grated ginger
- 1 teaspoon sesame oil
- 1/4 teaspoon granulated sugar
- 1/4 teaspoon grated garlic
- In a large pot, combine 8 cups water, bay leaves, quartered lemon wedges, peppercorns, coriander seeds, and salt. Bring to a boil, then reduce the heat to medium-low. Add the shrimp and simmer until the tails curl slightly and the shrimp is just cooked through, about 3-4 minutes. Using a slotted spoon, remove the shrimp onto a plate and chill in refrigerator for at least 1 hour.
- While the shrimp is chilling, make the sauce by combining all the sauce ingredients with 3 tablespoons of water in a small bowl. Mix to combine and refrigerate for at least 1 hour prior to serving.
- Shrimp can be stored in an airtight container in the refrigerator for up to 2 days.
© Simple Everyday Food. All images & content are copyright protected. Please do not use any of my images without prior permission. If you want to republish this recipe, please re-write the recipe in your own words, or kindly link back to this post for the recipe.