Ever since I was little, I hated sharing food. This doesn’t mean I don’t like sharing food that I make (it’s quite the opposite, actually); I just simply hated sharing whatever food I had on my plate. If it’s on my plate, more often than not I would really prefer not to share it.
Let me give you an example: Back in elementary school, whenever my dad would take us to McDonald’s as a rare treat, he would always finish his meal first and patient watch us eat. Occasionally he would reach across the table and steal a few fries off my tray. Me being the selfish potato-loving child as I was, would always whine and tell him that it was mine and he wasn’t allowed to eat my fries. My poor father, who is always so accommodating and patient with us, would always just laugh and apologize, despite the fact he just spent his hard-earned money to take us out for a treat.
I can always laugh about it and refer back to a particular FRIENDS episode, which coincidentally also involved french fries.

I knew Joey had always been my favorite for a reason……
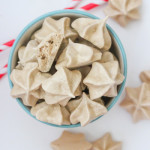
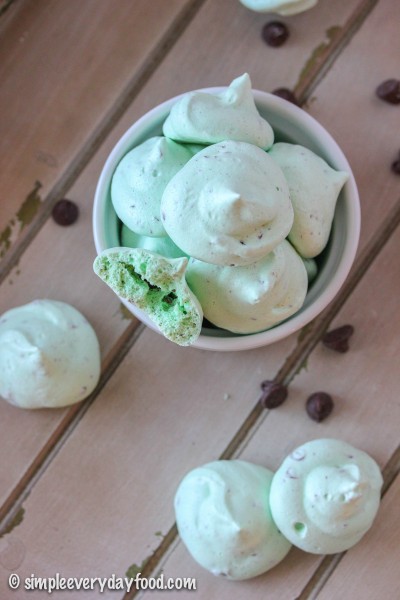
One good thing about these meringue cookies is that it makes so many that you won’t feel bad about sharing them!
After failing three miserable times trying to make meringue cookies in the past, I have finally picked up a few tips and tricks:
- Don’t cut corners. You may think using just egg whites is a waste of egg yolks, and decide to buy some “egg whites in a carton” at the store – DON’T. This may or may not have happened during one of my failed attempts…
- Be patient. Let the egg whites thoroughly come to room temperature. Find something to distract yourself, whether it’s Facebook, Instagram, Pinterest, cleaning, running errands, or enjoying the nice weather outside.
- Warm your mixing bowl and whisk right before you start beating the egg whites. I actually turned on our fireplace and stuck the mixing bowl right in front of it until it was warm to the touch – it worked really well!
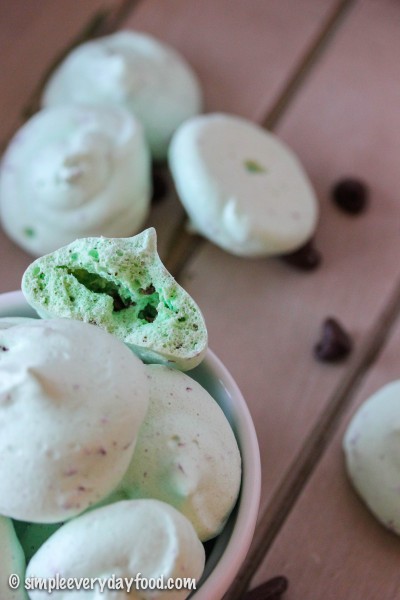
- If you’re adding things to your meringue batter (in this case, mini chocolate chips), make sure the mix-ins are small enough to go through your decorative piping tips. I initially had the perfect idea of using the star tip for these to make them into cute little pretty shapes, but realized that the chocolate chips were clogging the tips and had to dump all my batter out, switch tips on my piping bag, and then start all over..
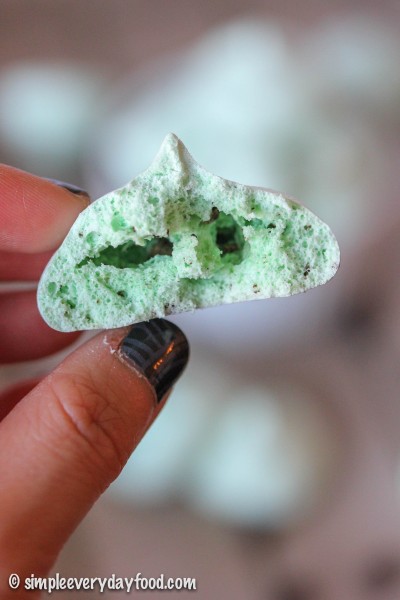
Bake these babies low and slow in the oven. Once the cooking time is up, turn the oven off and let the meringue cookies sit in the oven to cool overnight. They’ll turn nice and melt-in-your-mouth-crispy the next morning. Another thing I learned was to store these in a cool, dry place – if the temperature is too warm, they actually start to get a little sticky.
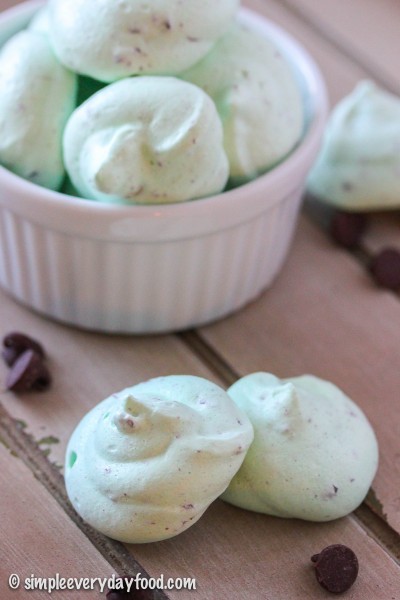
So go make a batch of these! They’re simple to make, but they look (and sound) fancy, and your friends will think you’re amazing for making these yummy delicate treats. And there will be more than plenty to go around for everyone :)
- 2 egg whites, at room temperature
- 1/4 teaspoon cream of tartar
- 1/4 teaspoon salt
- 2/3 cup granulated sugar
- 1/8 teaspoon mint extract
- ~7 drops of green food coloring (more or less depending on how green you want your meringues to be)
- 1/3 cups mini chocolate chips
- Let egg whites come to room temperature and make sure your mixing bowl and whisk are just slightly warmer than room temperature (I placed mine in front of the fireplace for a few minutes).
- Preheat oven to 225 degrees. Line two baking sheets with parchment paper and set aside.
- Using an electric mixing bowl with the whisk attachment, beat egg whites, cream of tartar, and salt on high speed until soft peaks form*.
- Add in the sugar, about one tablespoon at a time, beating continuously until stiff peaks form**.
- Beat in the mint extract and green food coloring. Gently fold in the chocolate chips.
- Transfer the meringue to a pastry bag with a large round open tip. Pipe meringues about 1" apart and bake for 60 minutes. Turn off the oven and let the meringues stand in the closed oven overnight. Store in an airtight container in a cool dry place.
- *Soft peaks = tips curl when you lift the whisk straight up
- **Stiff peaks = tips stand straight up when you lift the whisk straight up
© Simple Everyday Food. All images & content are copyright protected. Please do not use any of my images without prior permission. If you want to republish this recipe, please re-write the recipe in your own words, or kindly link back to this post for the recipe.