everyday food made simple

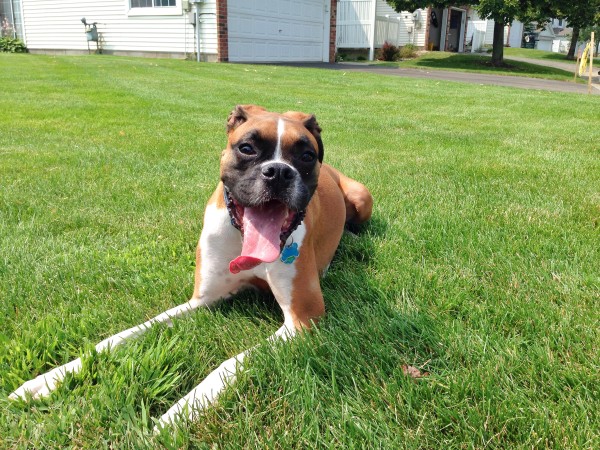
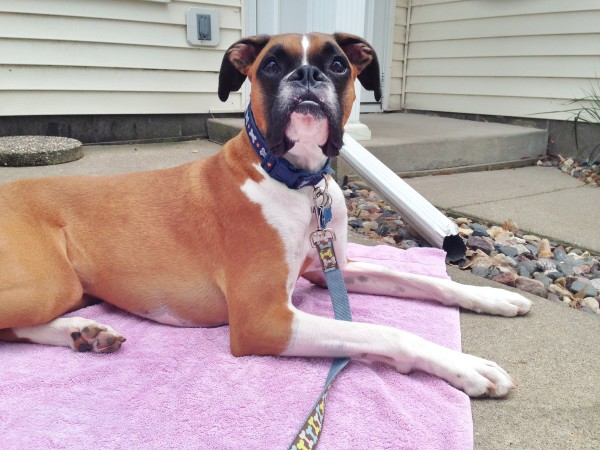
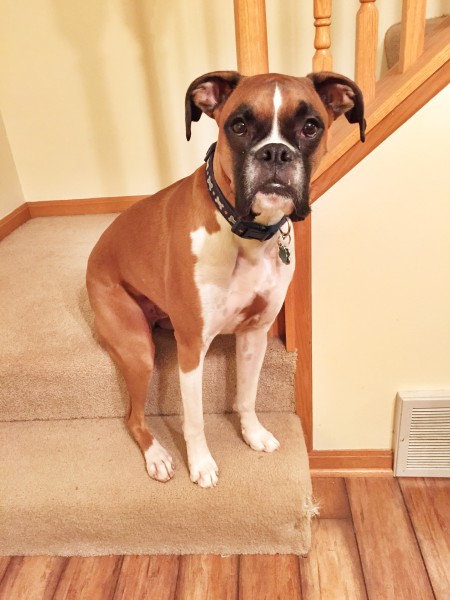
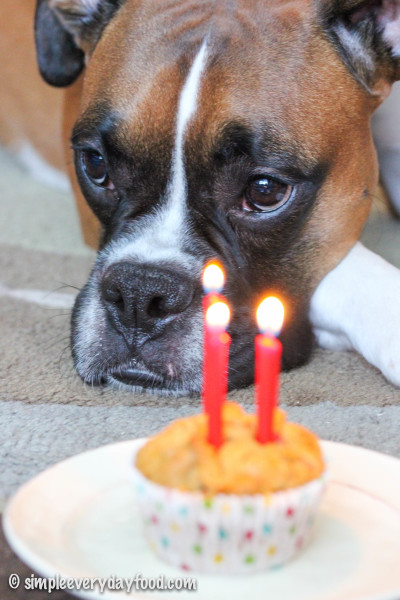
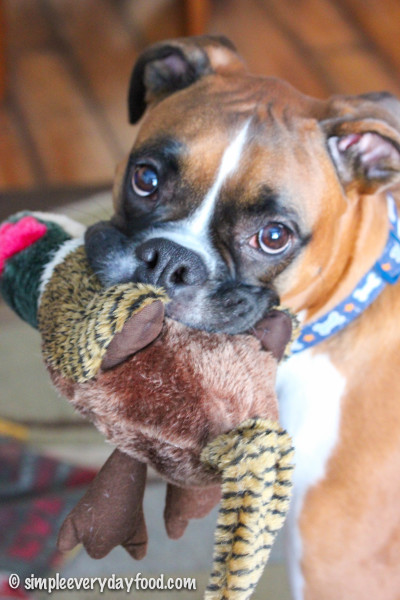
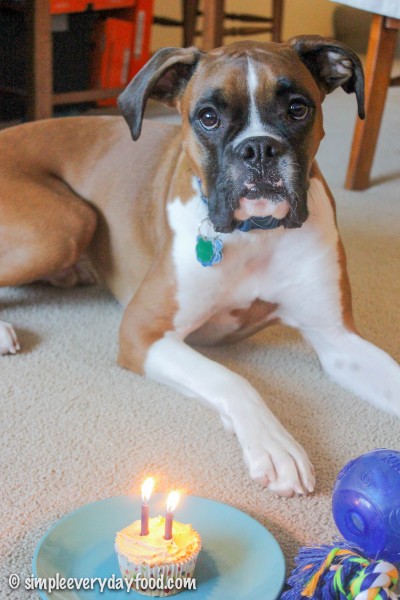
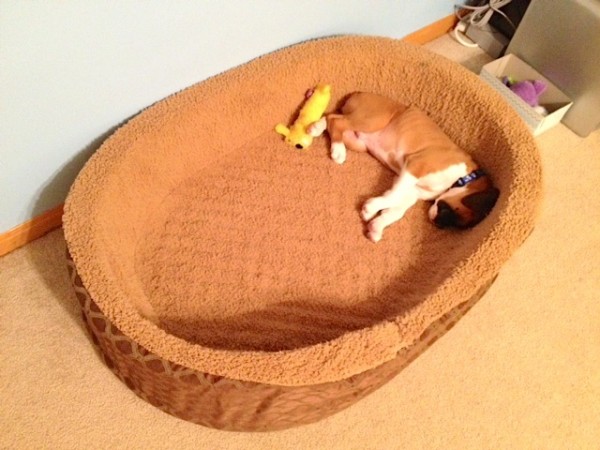
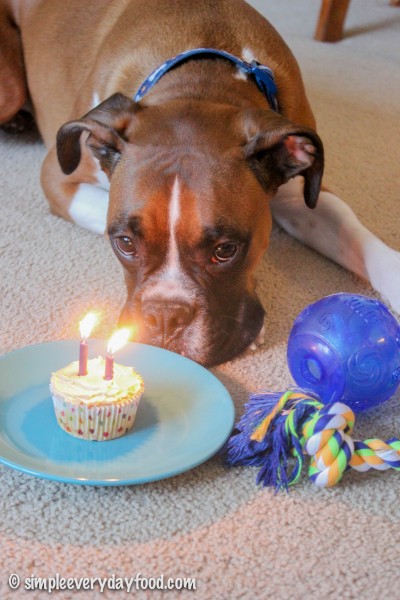
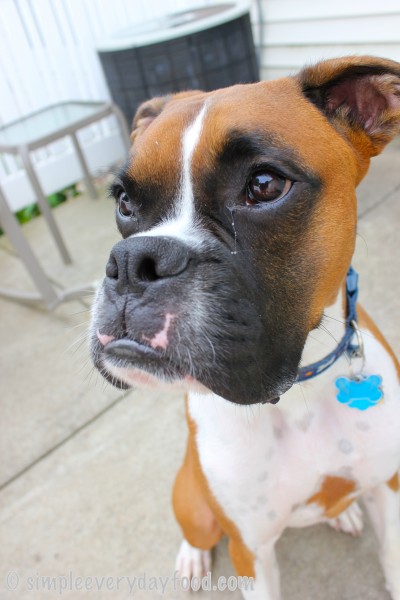
My little boy turned FOUR yesterday! Can you believe it? I can’t. I can’t believe we’ve had this little rascal for pretty much four years already.

11012942_10106329980560150_9159722262717385275_n

IMG_7040

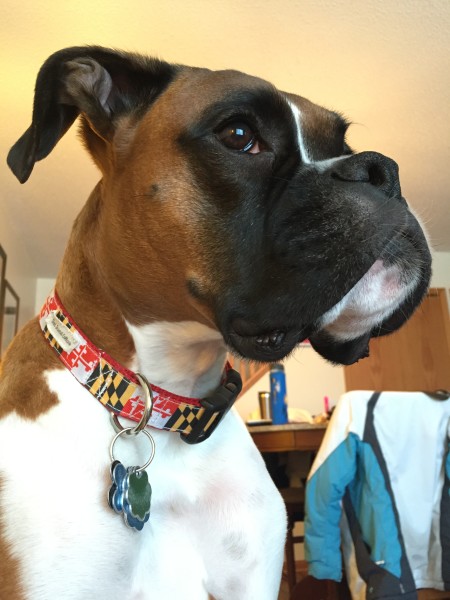
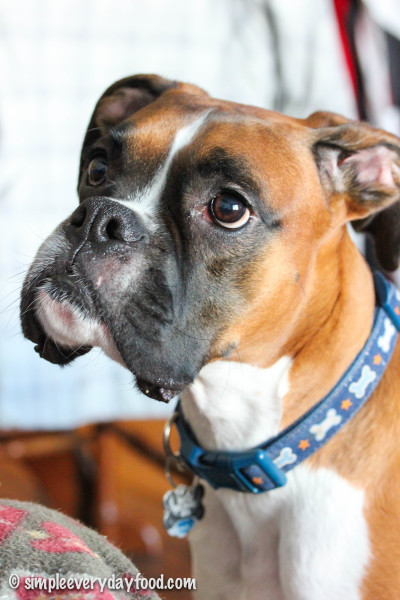
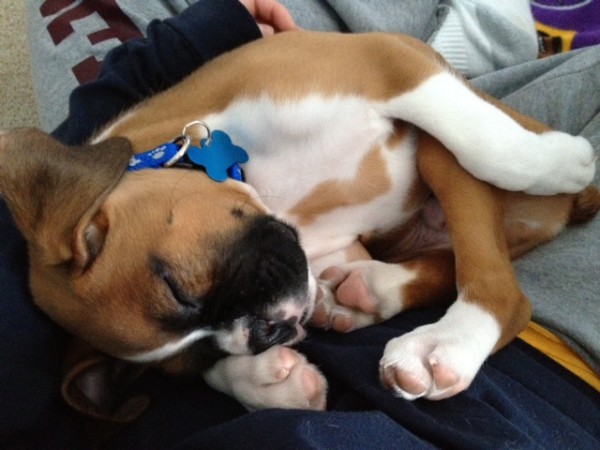
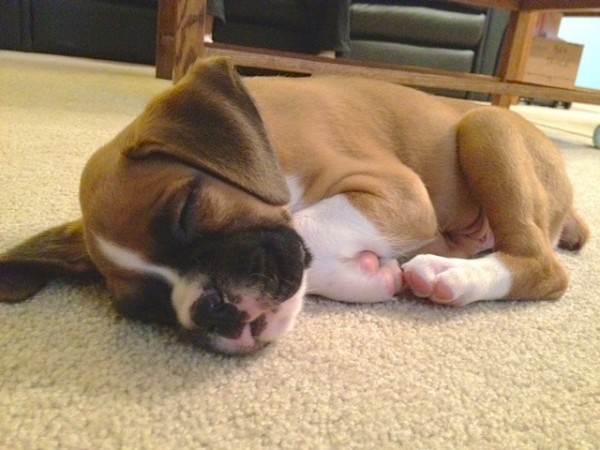
He may be the best decision both Brian and I have made together. Even though him and I had a little rough start during his first year (there was a alpha-struggle in the beginning as well as a minor anxiety attack that almost made me give him back to his breeder), he has grown into such a loving happy boy that we can no longer imagine our lives without him.

11888094_10106561455372770_984215001477800652_n

FullSizeRender 11

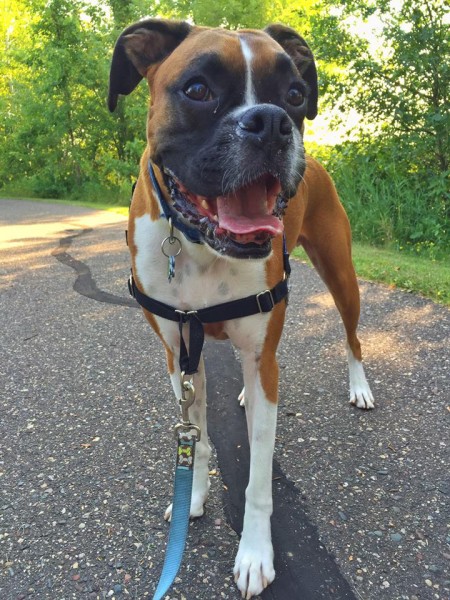
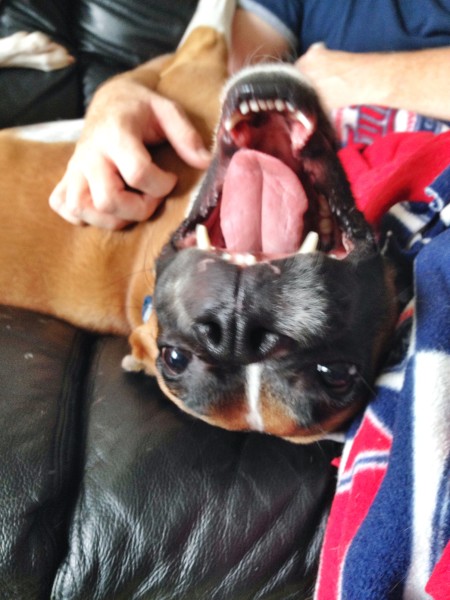
He has so much personality, bring us so much joy, makes me look forward to coming home after a long day of work, pushes our limits at times, tests our patience, and has taught us how to be good, caring, loving parents. Our love for him really is unconditional, and there’s no doubt in my mind that he’s going to be the best big brother for our little nugget.

11903964_10106618502709450_8832350090227358418_n

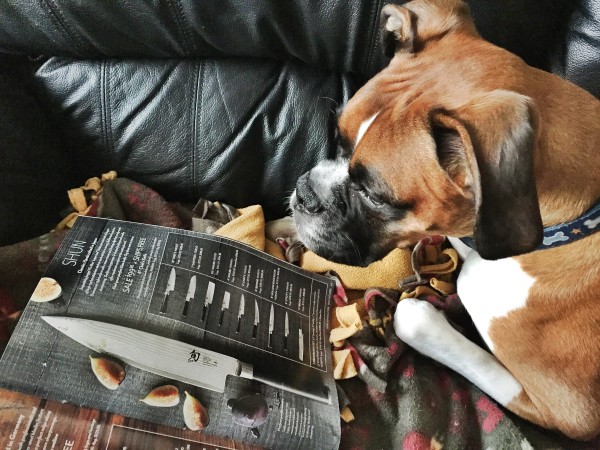
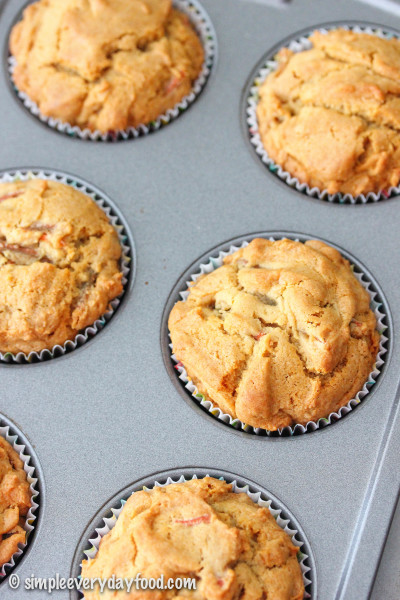
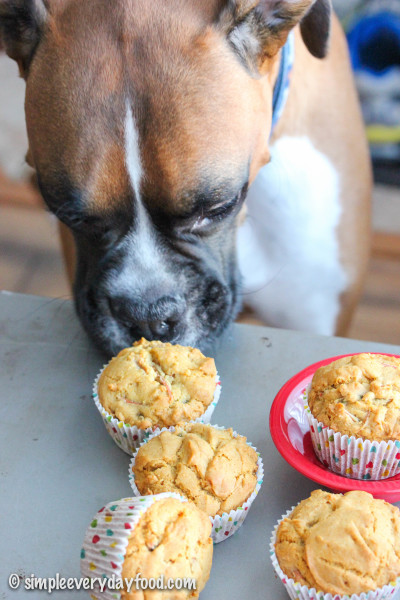
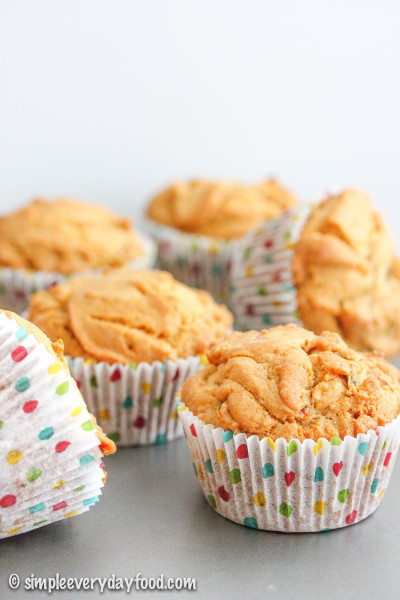
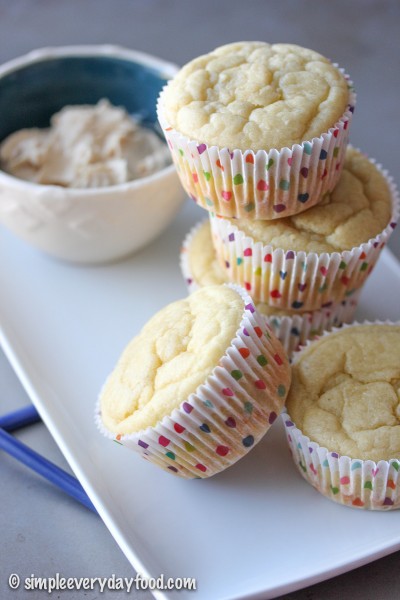
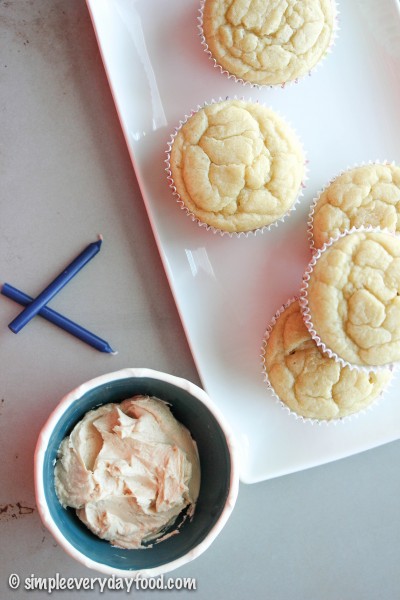
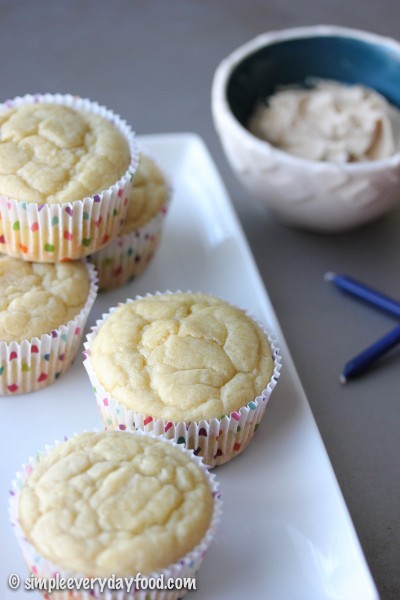
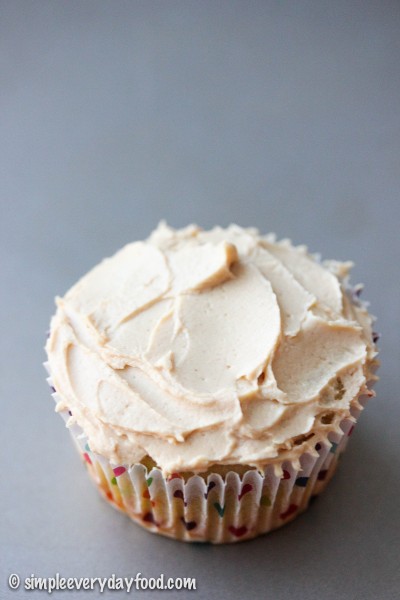
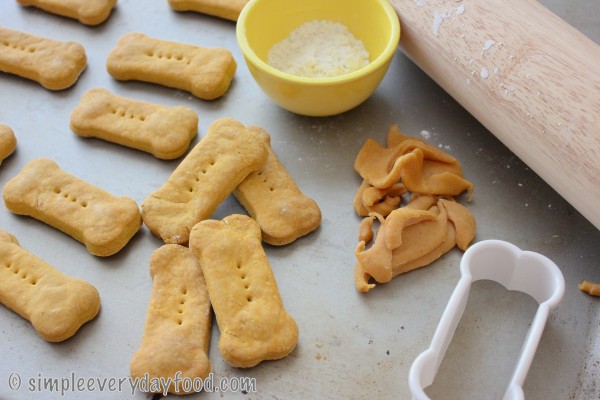
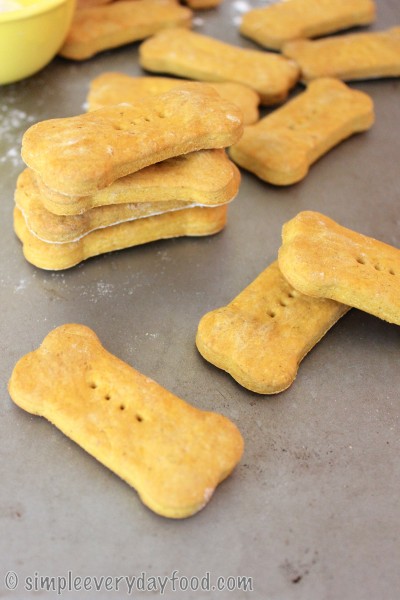
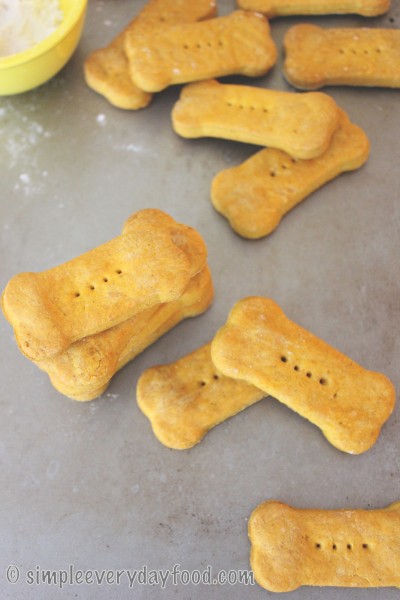
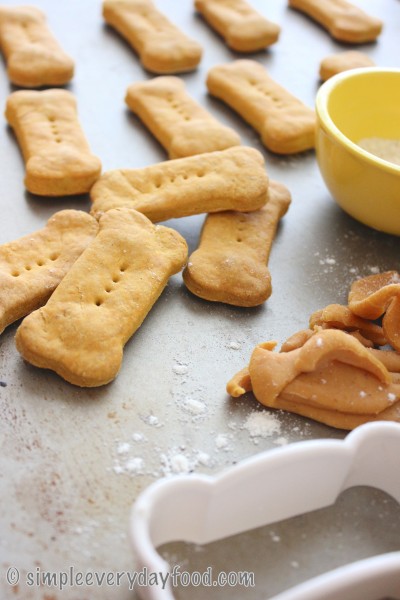
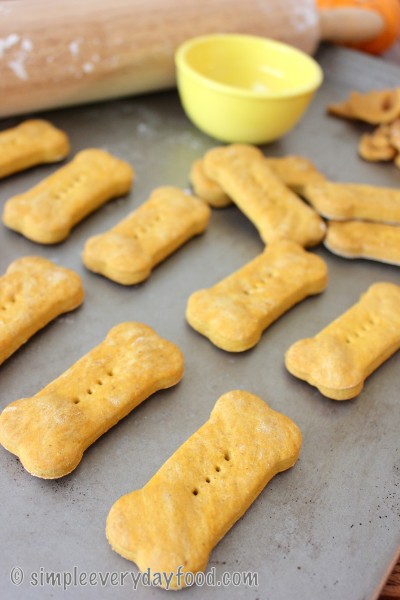
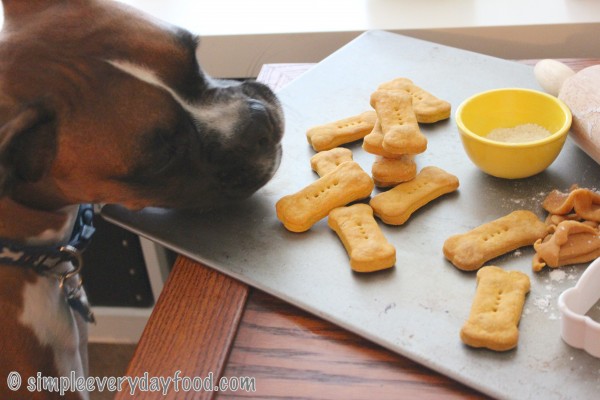
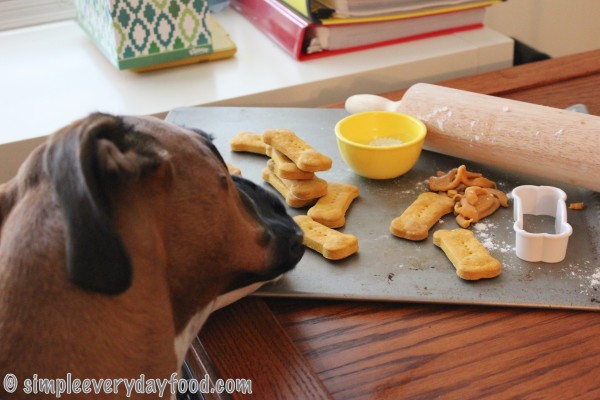
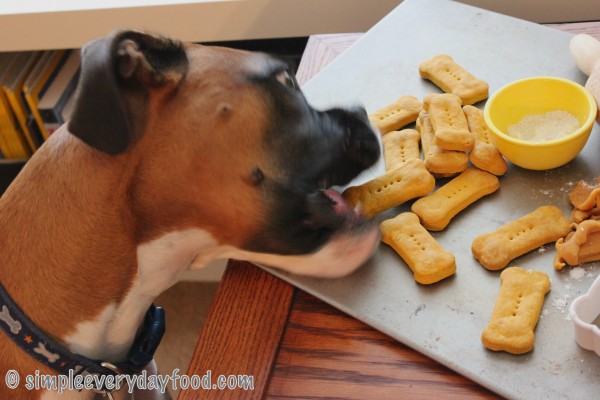
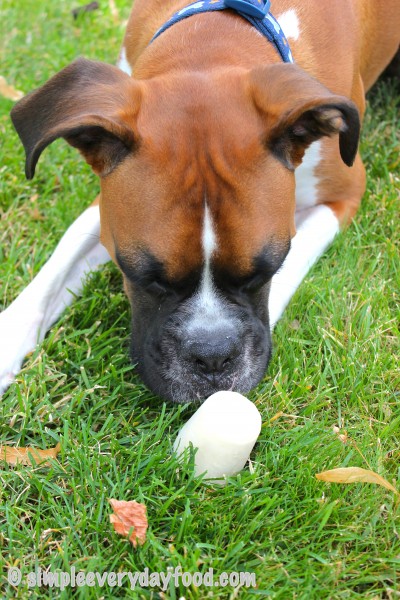
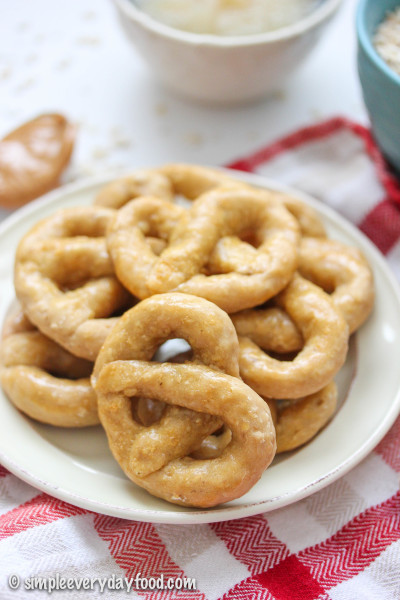
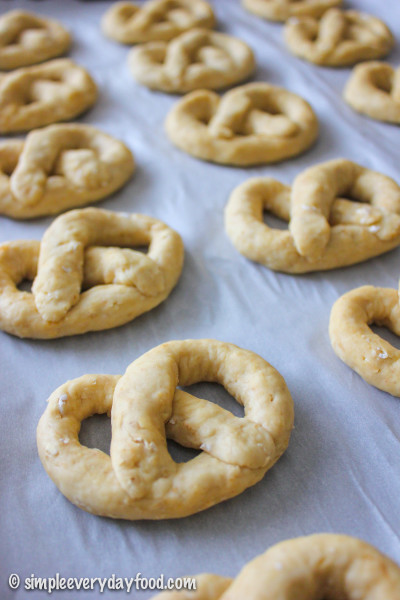
So to keep up with tradition, I’ve decided to make him some yummy homemade treats to celebrate his birthday.

IMG_6678 copy

IMG_6676 copy

IMG_6669 copy

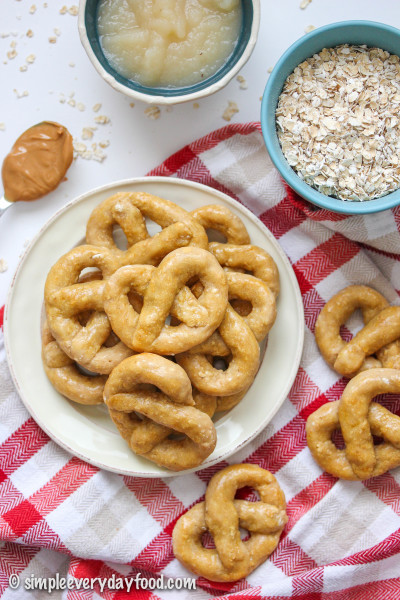
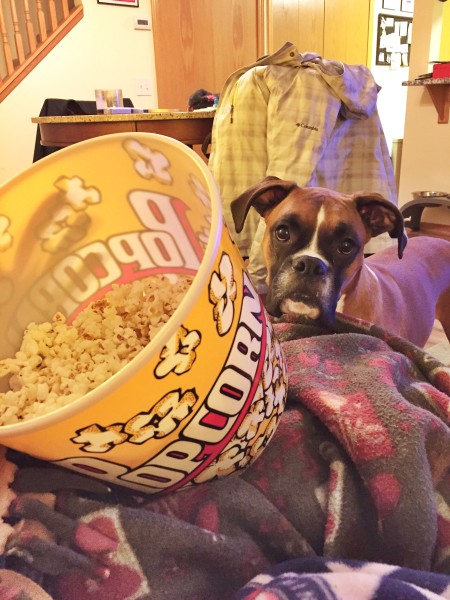
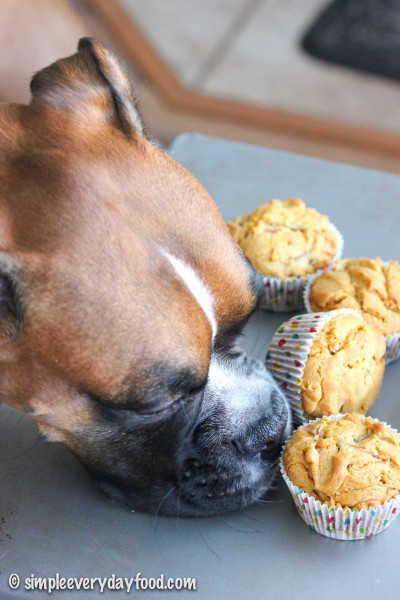
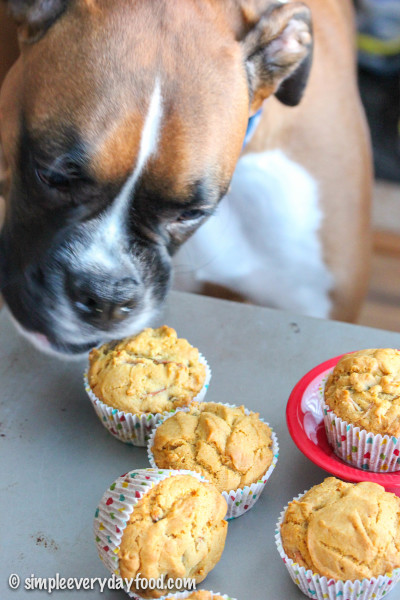
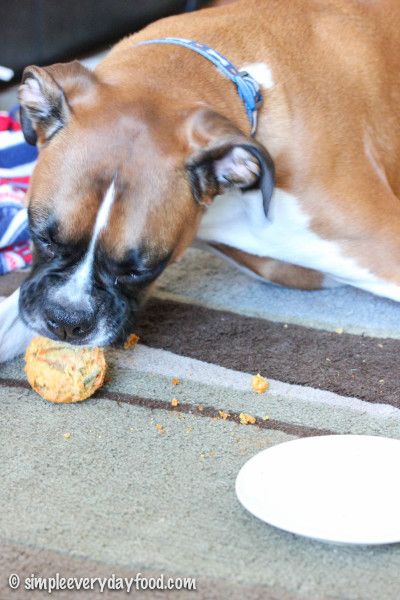
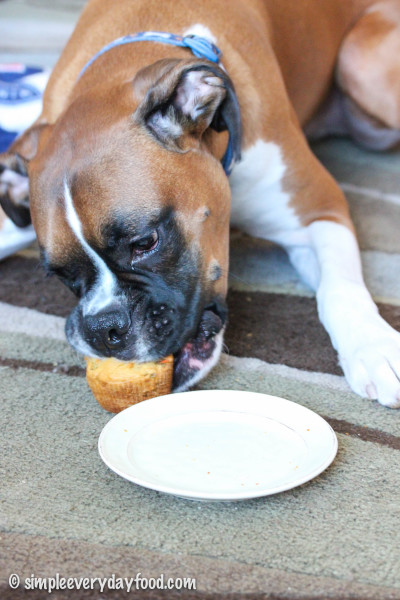
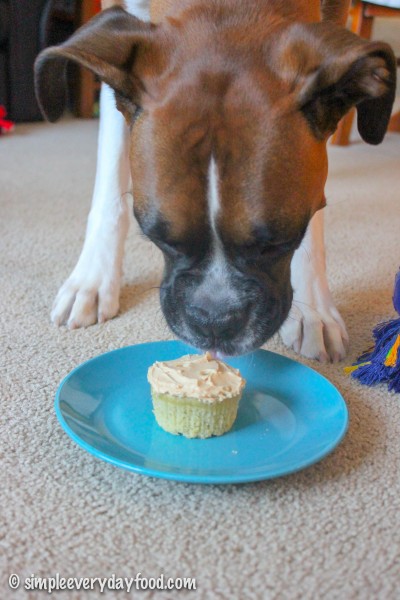
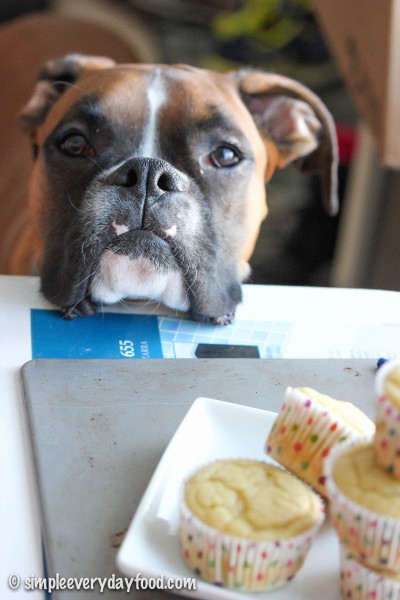
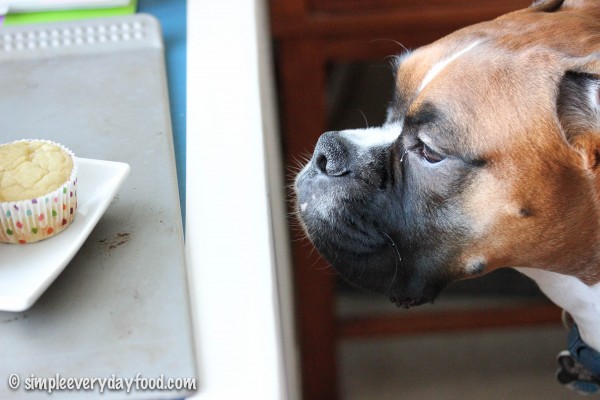
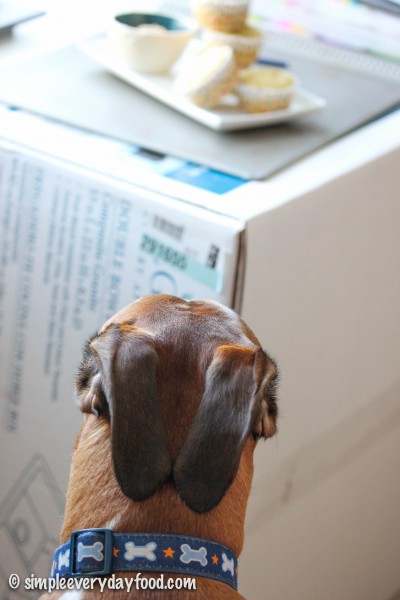
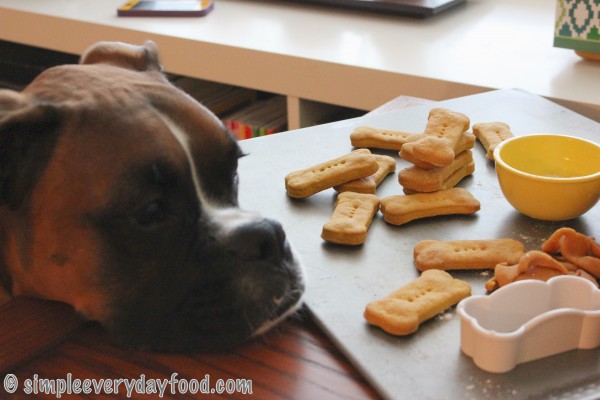
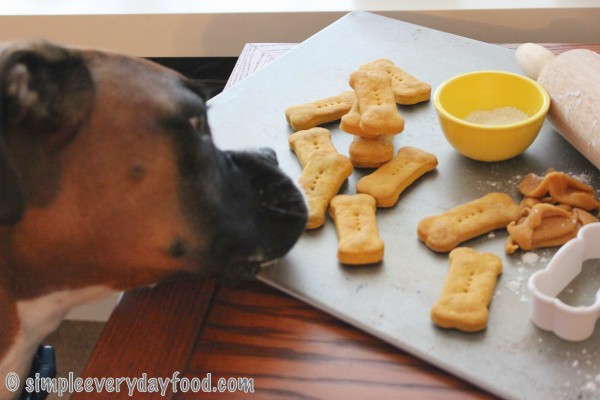
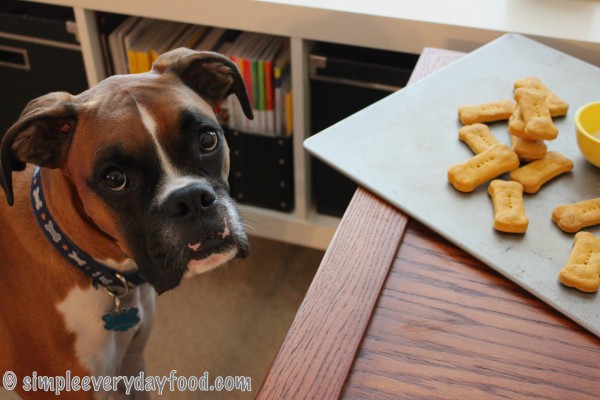
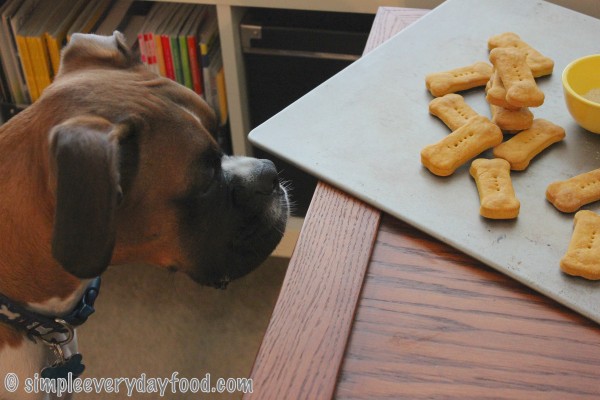
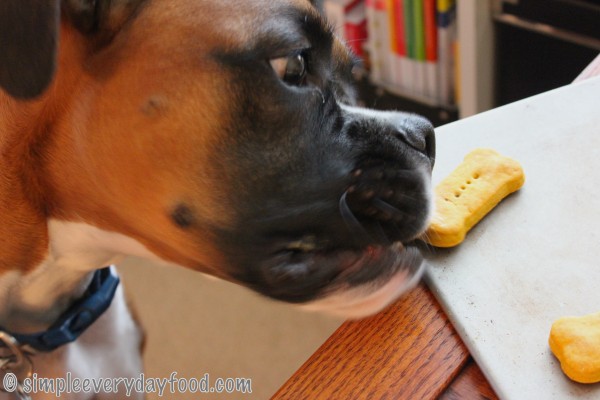
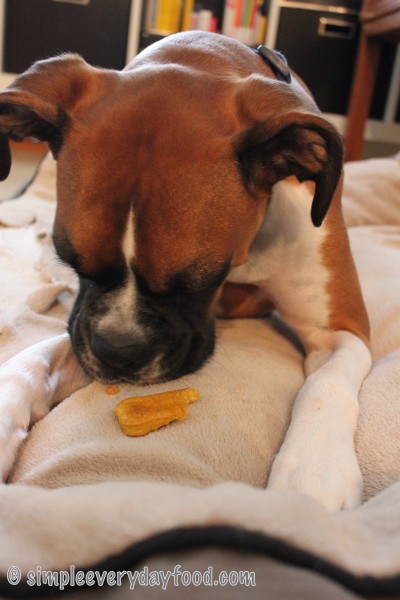
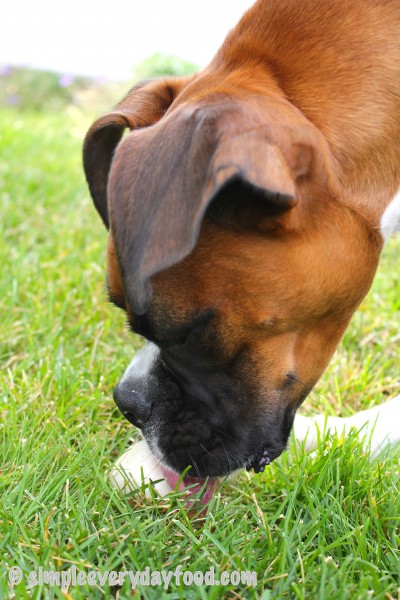
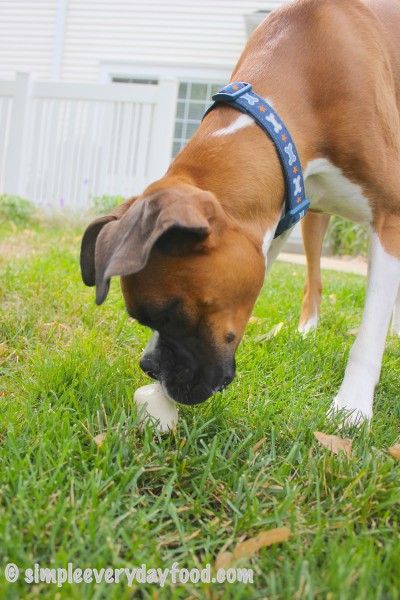
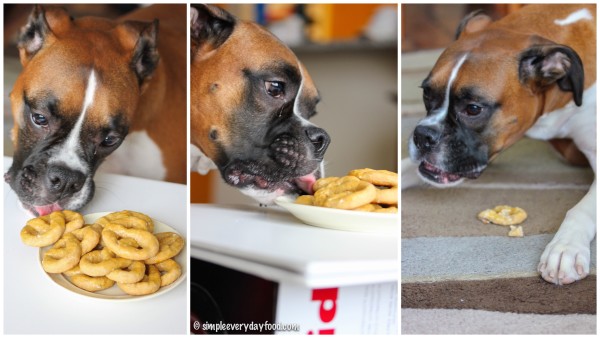
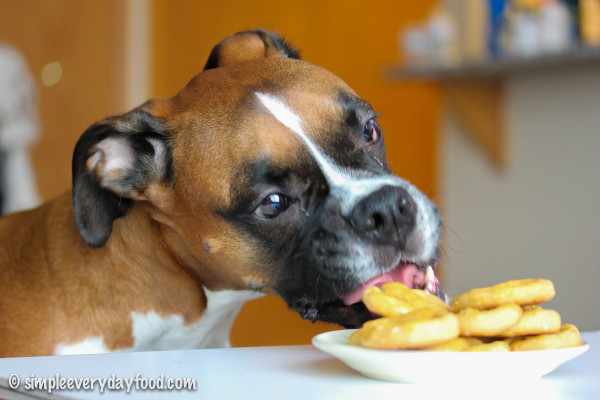
Bentley was not shy at helping himself to a couple of these during the photo shoot…

IMG_7100

IMG_6700 copy

IMG_6702 copy

You can find treats (and other dog-friendly treats) from previous years here.

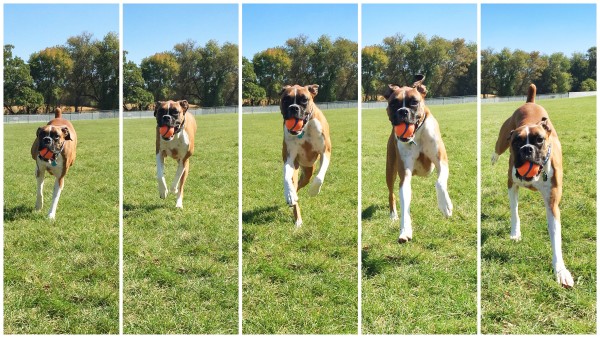
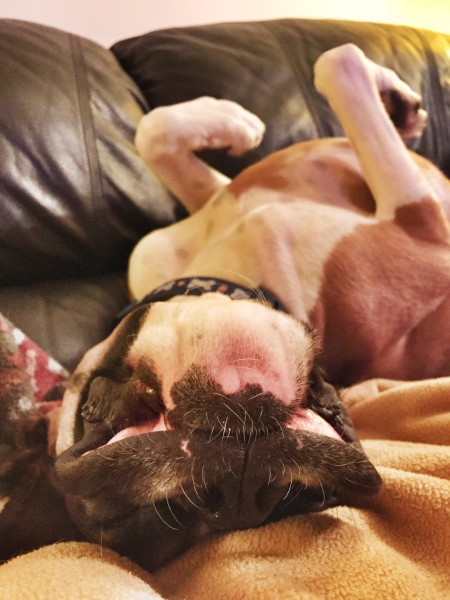
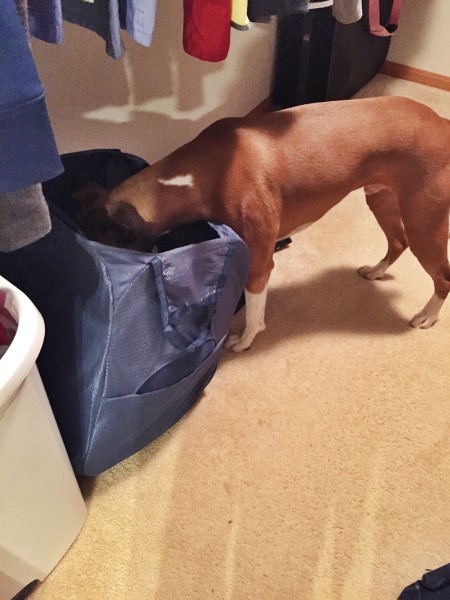
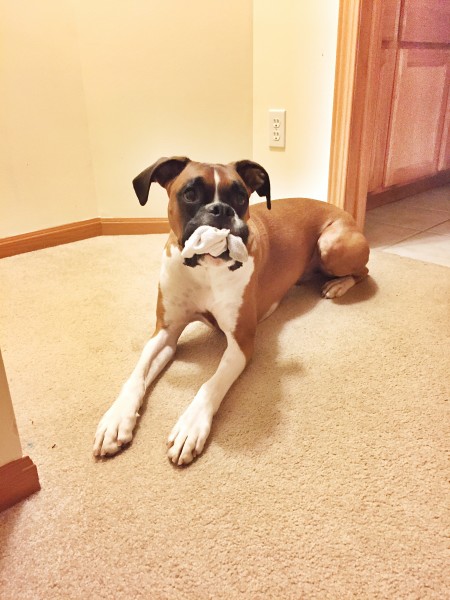
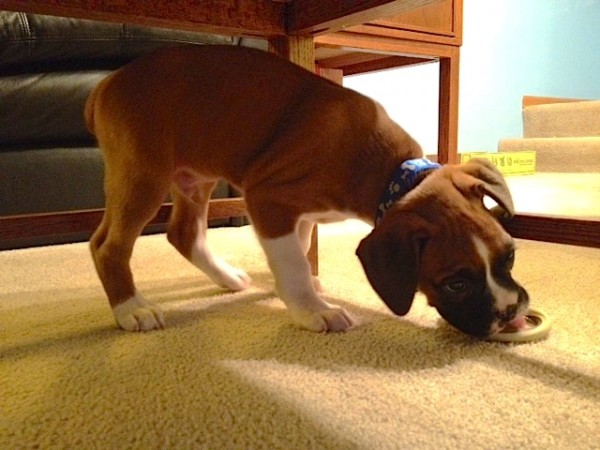
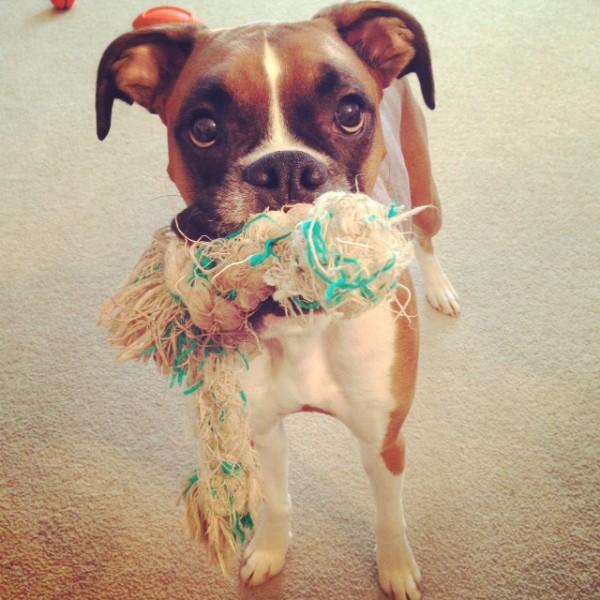
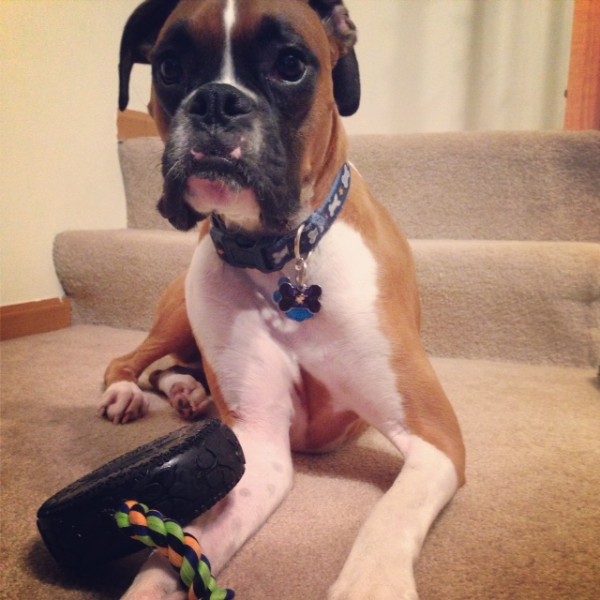
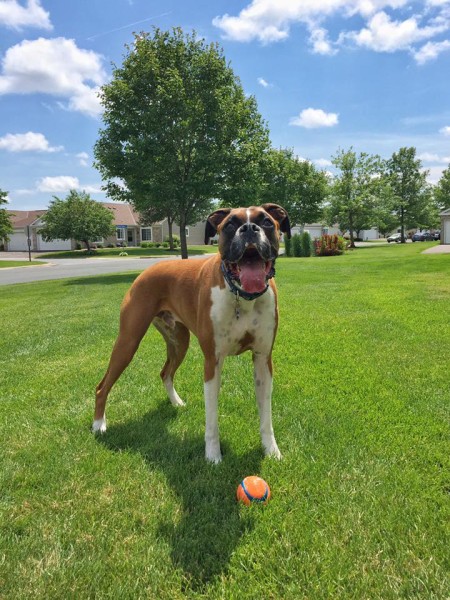
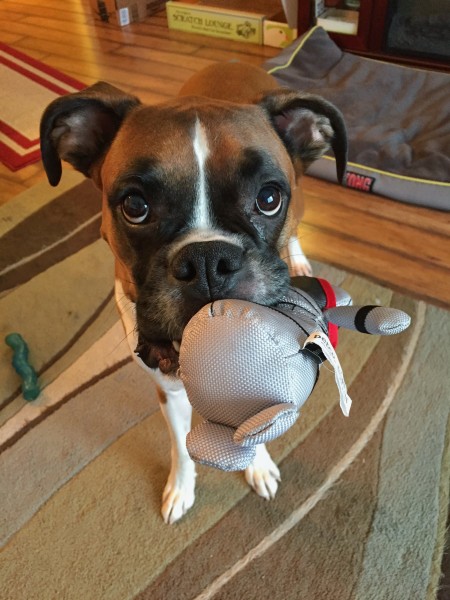
He also got two brand new toys that has kept him occupied for two days straight.

IMG_7102

IMG_6618 copy

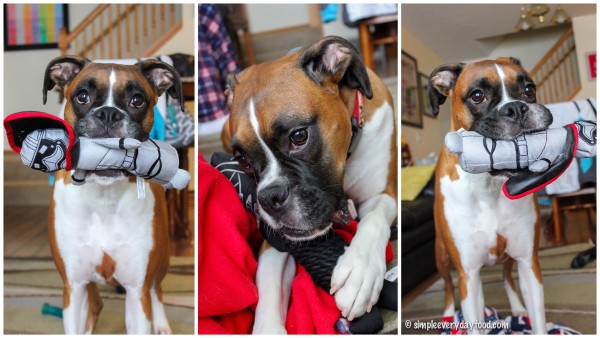
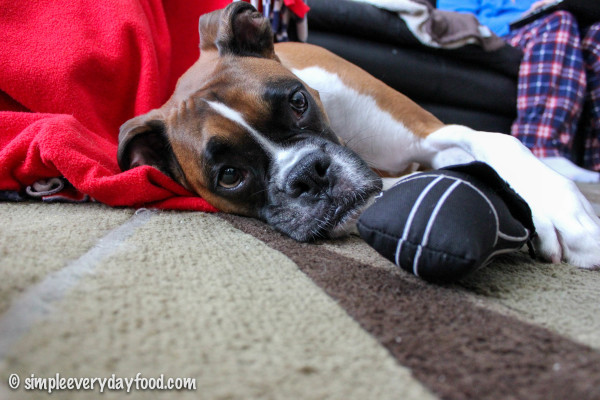
(yes, he’s spoiled…)

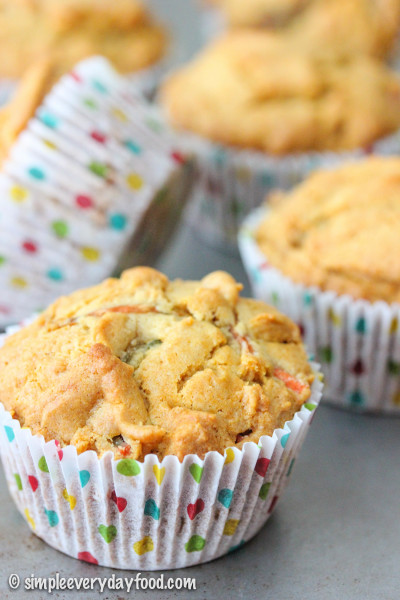
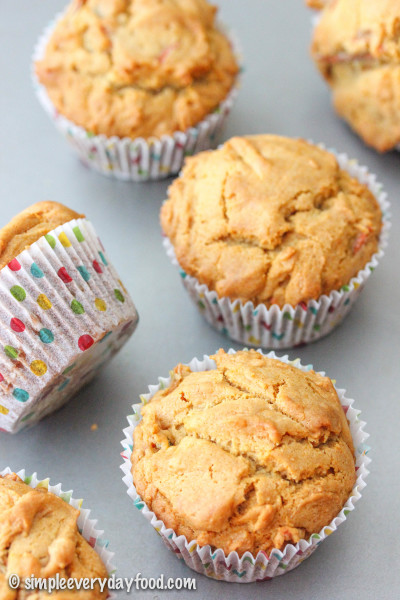
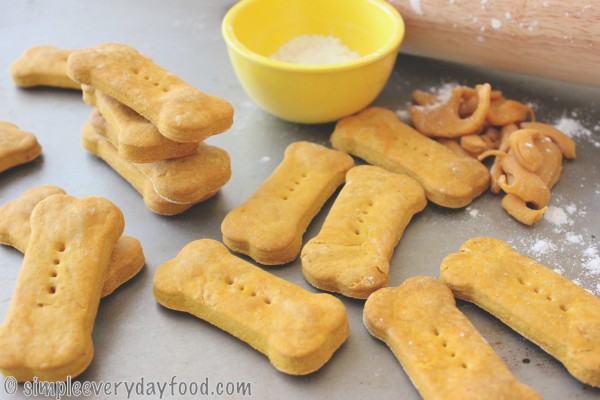
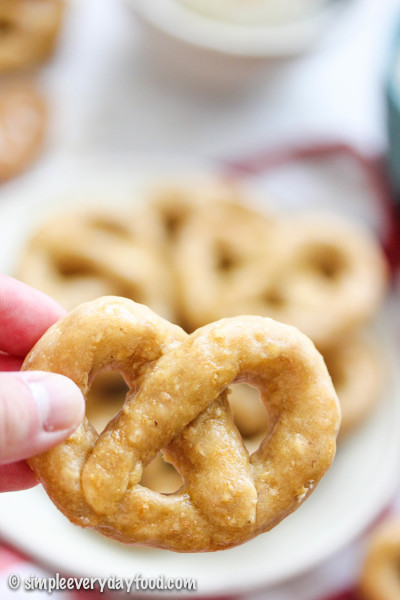
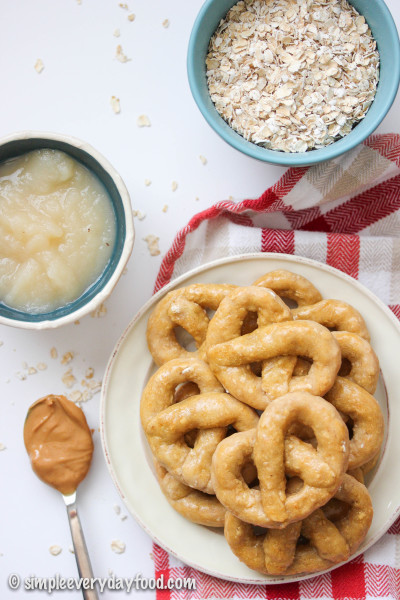
Just like all the other dog treats I’ve made in the past, these pretzels don’t contain any butter, sugar, artificial flavors, or preservatives of any kind. It’s cheap, easy to make, and you know exactly what goes in it. Not to mention they’re almost cute enough for people to eat! And I bet you probably have most of the ingredients sitting around in your pantry already!

IMG_6631 copy   IMG_6628 copy

IMG_6664 copy

So go ahead and make these for your beloved four-legged friends, even if it’s not their birthday. Shouldn’t their constant companionship and unconditional love for you deserve something as tasty as homemade dog treats?

peanut butter, apple, and oats dog pretzels
Print
Ingredients
  1. 2 cups all-purpose flour, plus more if needed
  2. 3/4 cup quick cooking oats
  3. 1 large egg, beaten
  4. 1 cup all natural (no sugar added) applesauce
  5. 3 teaspoons peanut butter - make sure it does NOT contain xylitol
Instructions
  1. Preheat oven to 350 degrees. Line a baking sheet with parchment paper or a silicon baking mat. Set aside.
  2. In a large bowl, combine the flour and oats and mix well. Add in all but 1 tablespoon of the beaten egg to the flour, reserving the rest of the egg for later. Then add in the applesauce and peanut butter.
  3. Mix everything together with a wooden spoon until the dough starts to come together (I actually found it easier to use my hands to incorporate all the ingredients). The dough should not be sticky to the point where it sticks to your hands. If it is, add in a few tablespoons of flour and mix some more until the dough is pliable and not sticky.
  4. Scoop the dough using a medium cookie scoop (~1.5 tablespoons) and roll the dough into an approximate 10" rope. Shape the "rope" of dough into a U shape, then take the ends of the "U" and fold it back down, cross-crossing it in the middle to form it into a pretzel. Repeat for the rest of the dough.
  5. Once all the pretzels are made, brush the tops with the remaining 1 tablespoon of beaten egg. Bake for 25-30 minutes until pretzels are hard and golden brown on top. Remove from oven and let cool for 5 minutes before transferring them to a wired cooling rack. Store in an airtight container for up to 1 week.
  6. Makes 18 pretzels
Notes
  1. * Some dogs may have allergies to certain ingredients - consult your veterinarian prior to making these if this is the case.
Adapted from The Cookie Rookie
Simple Everyday Food https://www.simpleeverydayfood.com/
Recipe adapted from The Cookie Rookie

© Simple Everyday Food. All images & content are copyright protected. Please do not use any of my images without prior permission. If you want to republish this recipe, please re-write the recipe in your own words, or kindly link back to this post for the recipe.

Sharing is caring! Email this to someonePrint this pagePin on PinterestShare on YummlyShare on FacebookShare on Google+Tweet about this on Twitter

Warning: lots and lots of cute puppy pictures ahead! :)

 My baby boy turned THREE (!!!) a few days ago! Oh man, where did the time go?!

IMG_1324

IMG_5313 copy

It’s been a fun-filled year for Mr. Bentley. He discovered the tastiness of blueberries, popcorn, cheese, and ice cream.

IMG_0853

IMG_8327

He still loves to be outside in the summer – I think if it were up to him, he’d be outside every single minute when it’s at least 60 degrees. But he did realize how wonderful it is to just lay outside and soak up the sun, and that not every single minute needs to be about running around.

IMG_9578

IMG_8215

IMG_8421

He’s mellowed out a bit since last year, but there are still days where all he wants to do is be goofy and crazy.

IMG_9951

IMG_8629

IMG_9777

He loves looking through Sur la Table catalogs that we receive in the mail…

IMG_0203

He loves staring at us while we eat at the dinner table…

IMG_0625

And his new (annoying) naughty habit involves trying to rip socks off of our feet. For some reason it has to be dirty socks. You can throw a pile of clean, fresh-out-of-the-dryer socks at him and it wouldn’t phase him. But a pair of socks on your feet? He’ll rip those off and run around the house with them like it’s some sort of game. I’ve even caught him multiple times with his head in my hamper, digging for socks.

IMG_0809

IMG_1120

Considering how much I love this boy of mine, it only made sense that I made him something (with love!) for his birthday. These turned out more like muffins instead of the cupcakes I initially envisioned, so I scratched the frosting idea. I don’t think Bentley minded, because he snatched one off the baking sheet right in front of me as I was taking pictures of them!

IMG_5276 copy

IMG_5305 copy

IMG_5315 copy     IMG_5318 copy

IMG_5316 copy     IMG_5319 copy

IMG_5321 copy     IMG_5326 copy

IMG_5338 copy     IMG_5333 copy

This recipe is super simple to make and only requires a few ingredients that you probably already have sitting around in your house. It also only requires a few mixing bowls, a whisk, and a spatula… Add ingredients in bowl, mix, spoon into muffin tins, and bake – no rocket science here!

 IMG_5285 copy

IMG_5289 copy

IMG_5306 copy

IMG_5355 copy

The batter only yields 6 muffins, which is a perfect amount! Bentley’s sharing a few with his friends, because he certainly doesn’t need all 6 muffins to himself, and it’s always more fun to share food with friends. And like I said last year, if your dog has certain dietary restrictions, please consult your veterinarian before making these.

IMG_5369 copy

IMG_5297 copy

And if you want a little frosting on top of these for your furry friend, you can definitely use the easy frosting recipe I used last year.

It’s been a great three years and I can’t imagine life without him. Thank you for being such a great puppy, Bentley! We love you!

IMG_5307 copy

peanut butter & carrot doggie muffins
Print
Ingredients
  1. 1 cup all-purpose flour
  2. 1 teaspoon baking soda
  3. 1 large egg, at room temperature
  4. 1/4 cup creamy peanut butter
  5. 1/4 cup vegetable oil
  6. 1/4 cup honey
  7. 1 cup shredded carrots
Instructions
  1. Preheat oven to 350 degrees. Line 6 muffin tins with cupcake liners and set aside.
  2. In a small bowl, combine the flour and baking soda. Set aside. In a medium bowl, combine the egg, peanut butter, vegetable oil, and honey. Whisk until thoroughly combined, then stir in the shredded carrots. Add the dry ingredients to the wet ingredients and mix until fully incorporated.
  3. Divide batter evenly between the prepared muffin tins and bake for 25-27 minutes, or until an inserted toothpick comes out clean. Remove from oven and let cool prior to serving. Muffins can be stored in an airtight container for up to 5 days.
  4. Makes 6 muffins
Notes
  1. * If your dog has certain dietary restrictions, please consult your veterinarian before making these.
  2. ** And please do not feed your dog all 6 of these muffins in one setting! :)
Adapted from Romp Rescue
Simple Everyday Food https://www.simpleeverydayfood.com/
Recipe adapted from Romp Rescue

© Simple Everyday Food. All images & content are copyright protected. Please do not use any of my images without prior permission. If you want to republish this recipe, please re-write the recipe in your own words, or kindly link back to this post for the recipe.

Sharing is caring! Email this to someonePrint this pagePin on PinterestShare on YummlyShare on FacebookShare on Google+Tweet about this on Twitter

Warning: if you’re not a big dog person, this post might not be for you…..

My baby boy turned TWO today! And I made him cupcakes to celebrate.

IMG_2904 copy

IMG_2929 copy

IMG_2941 copy

….please tell me I’m not the only one who makes cupcakes for their dog’s birthday…..

It really seemed like not that long ago we were making the trip to Hutchinson to bring our first ever puppy home… he was so tiny! Brian and I never owned a puppy before, so we weren’t really sure what we were getting ourselves into. Despite a few rough patches along the road, we are extremely pleased at how great of a dog we have raised together.

Bentley was only 7 weeks when we brought him home, and a few of his favorite things included sleeping…

sleeping 2

…sleeping, sleeping, and more sleeping.

sleeping

sleeping 3

And during the rare hours he would be awake, he’d be busy playing with his toys.

george

ring

Fast forward two years later, the little sleepy boxer puppy we once had has grown into a petite 55-lb dog with endless energy with a cheerful happy attitude, a protective instinct, endless curiosity, and the desire to play for hours.

rope

tire

pretzel

floppy ears

He does his best to be my little helper in the kitchen when I’m cooking and baking, so today I wanted to make something special for my little guy to celebrate another year of being part of our family.

IMG_2902 copy   IMG_2898 copy

IMG_2926 copy

IMG_2934 copy

IMG_2950 copy  IMG_2973 copy

These cupcakes are super easy to make – it only requires one bowl and a whisk. Add everything in the bowl in no particular order, whisk until combined, spoon into cupcake liners, bake in the oven, and you’re done. It’s that easy. This recipe only makes 5 decent sized cupcakes, which is great because 1. no dog in the world needs to eat that many cupcakes at once, and 2. it’ll be easier to store them later on. I usually just share the treats I make with Bentley’s puppy friends so there will be less of it sitting around the house.

Oh, and please please please don’t feed your dog all 5 cupcakes in one sitting – it can cause tummy upsets and can potentially make your dog very sick (just think of the last time you inhaled 5 cupcakes in a row… I bet you didn’t feel too good afterwards). And if your dog has certain dietary restrictions, please consult your veterinarian before making these :)

Bake these in the oven for about 15-17 minutes, and make the frosting while you’re waiting. It is important that the cupcakes and the frosting get stored separately. The frosting contains Greek yogurt, which cannot be left out in room temperature for long, so store it in the fridge, while the cupcakes can be stored at room temperature. Simply frost the cupcakes right before serving – your dog will love you forever…. I promise.

IMG_2943 copy

doggie cupcakes with peanut butter frosting
Print
For the cupcakes
  1. 1/2 cup all-purpose flour
  2. 1 teaspoon baking powder
  3. 1/3 cup no sugar added applesauce
  4. 1/3 cup canola oil
  5. 1 egg, at room temperature
  6. 1 tablespoon honey
  7. A pinch of cinnamon
For the frosting
  1. 3 tablespoons low-fat plain Greek yogurt
  2. 1 and 1/2 tablespoons peanut butter
Instructions
  1. Preheat the oven to 350 degrees. Line 5 cupcake wells with cupcake liners and set aside.
  2. In a medium bowl, combine all the ingredients and whisk until thoroughly mixed. Spoon cupcake batter into the cupcake liners, filling each well about 3/4 full.
  3. Bake for 15-17 minutes, or until an inserted toothpick comes out clean. Let cupcakes cool for at least 10 minutes, then remove onto wired cooling rack to cool completely.
  4. While the cupcakes are cooling, make the frosting by mixing the yogurt and the peanut butter together until smooth.
  5. Store cupcakes and frosting separately*, and frost cupcakes right before serving.
  6. Makes 5 cupcakes
  7. *store cupcakes in an airtight container in a dry cool place for up to 5 days. Store frosting in a separate airtight container in the refrigerator.
Adapted from The Scrumptious Pumpkin
Simple Everyday Food https://www.simpleeverydayfood.com/
The hardest part of this recipe is listening to your dog whine as these cupcakes cool. It’s seriously like they know these cupcakes were made specifically for him.

IMG_2916 copy

IMG_2918 copy

IMG_2920 copy

Happy birthday Bentley! Thank you for being such a great puppy the past two years – we sure are lucky to have you in our lives!

IMG_2947 copy

photo(1)

Recipe adapted from The Scrumptious Pumpkin

© Simple Everyday Food. All images & content are copyright protected. Please do not use any of my images without prior permission. If you want to republish this recipe, please re-write the recipe in your own words, or kindly link back to this post for the recipe.

Sharing is caring! Email this to someonePrint this pagePin on PinterestShare on YummlyShare on FacebookShare on Google+Tweet about this on Twitter

Warning: the following post contains A LOT of pictures.

So not only are my coworkers and Brian benefiting from my latest baking-with-pumpkin spree, even Bentley got lucky today and got some homemade pumpkin treats as well!

IMG_1944 copy

IMG_1956 copy   IMG_1954 copy

Can’t forget my little guy, right?

I figured I should get all the baking I want to get done here the next few weeks, since once my internship goes into full swing, who knows when I’m going to be able to bake “just because”?

I have to say though, although I’m a little nervous and anxious about starting this internship, the anxiousness is also mixed with a little bit a lot of excitement. I’m excited to start utilizing all the skills I’ve learned in class into everyday practice and to see how much I’ve learned (and retained) within the past two years. And it also means I’m that much closer to graduating! Wish me luck – I hope I make everyone proud :)

These biscuits do not require any special ingredients (other than the pumpkin), and I bet you have most of them in your cupboards already! They was inspired by a very simple biscuit recipe I used to make for Bentley, but instead of adding bananas, I substituted them with pumpkin puree instead – you know, ever since Bentley discovered the yummy goodness of canned pumpkin a few weeks ago, he’s just as big of a fan of it as I am.

IMG_1948 copy

pumpkin peanut butter dog biscuits
Print
Ingredients
  1. 2 cups all-purpose flour (or you can use whole wheat flour)
  2. 1 large egg
  3. 1/8 cup all natural creamy peanut butter
  4. 1/2 cup pumpkin puree
  5. A pinch of salt
  6. 1/4 teaspoon ground cinnamon
Instructions
  1. Preheat oven to 350 degrees. Line baking sheet with parchment paper or silicone baking mat.
  2. Add all the ingredients into a mixing bowl, whisk until thoroughly combined.
  3. Transfer dough onto a floured surface. Using a rolling pin, roll dough out until it's about 1/2" thick.
  4. Cut into desired shapes and bake for 30-40 minutes, or until biscuits are dry and hard. Transfer to wired cooling rack and let cool. Store in airtight container for 7 days.
Simple Everyday Food https://www.simpleeverydayfood.com/
IMG_1934 copy

IMG_1959 copy

These are way healthier and cheaper than buying those store-bought doggie treats! No preservatives, no artificial flavors. They’re made with all natural ingredients that you can pronounce and you can feel good about giving them to your favorite pup.. or pups :)

Bentley had to check them out during my photoshoot session…

IMG_1983 copy    IMG_1986 copy IMG_1985 copy    IMG_1984 copy

“Ooops… BUSTED!”

IMG_1987 copy

“I’m gonna try again….”

IMG_1988 copy    IMG_1991 copy IMG_1990 copy

“Almost there!”

IMG_1994 copy

“YESSSS!! I got one!!”

IMG_2005 copy   IMG_2006 copy

“Mwahahahahaha…. I’m sneaky. Mommy didn’t even notice.”

IMG_2007 copy

© Simple Everyday Food. All images & content are copyright protected. Please do not use any of my images without prior permission. If you want to republish this recipe, please re-write the recipe in your own words, or kindly link back to this post for the recipe.

Sharing is caring! Email this to someonePrint this pagePin on PinterestShare on YummlyShare on FacebookShare on Google+Tweet about this on Twitter

Can you believe it’s August already?! Where did my summer go???? Next thing we know, the leaves are going to be turning red, falling off of trees, it’s going to be cold, and there’s going to be snow on the ground.

Ugh, I don’t even want to think about snow right now. It’s August, folks! August is the last month of summer in my opinion, and therefore all of the remaining hot sunny days need to be treasured. I’m already looking forward to the Minnesota State Fair that starts August 22nd! We’ve already bought our tickets and Blue Ribbon Book, and I’ve already read about all the new vendors/foods-on-a-stick that are going to be at the fair! And for those of you that are big State Fair fans nerds like me, there are going to be 40 new fair foods this year!

Jalapeno corn dogs. Comet corn. Breakfast sausage corn dogs. Cajun pork rinds. Funnel cake sundaes. Idaho nachos. Mini donut batter crunch ice cream (!!).. and much more that I want to try!

And then there’s always the all-time favorites: root beer floats, cheese curds, pronto pups, deep-fried chocolate chip cookie dough on a stick, chocolate dipped keylime pie on a stick, sweet corn ice cream, mac & cheese on a stick, the corn roast, Sweet Martha’s cookies, Tom Thumb’s mini donuts, cream puffs, potato skins, Dole Whip floats (!!), french fried mushrooms, porcupine meatballs on a stick, walleye fries, Minneapple pies….. whew. Should I go on?

And once again, I’m going off track here… at the beginning of this summer, I wanted to buy some popsicle molds and make some homemade popsicles. I also wanted to buy an ice cream maker attachment for the KitchenAid mixer, but figured we should wait until we sell the house and move before adding more things to my kitchen collection. Since I didn’t get to make any popsicles or ice cream this summer, I figured I can make Bentley some doggie popsicles instead.

This recipe really is super simple. It only requires 4 ingredients and a blender. It only takes a total of 5 minutes to make (excluding freezing time). And there’s only a total of 5 simple steps. FIVE! It’s that easy – no reason not to make these for your four-legged canine kids.

Step 1: Blend ingredients.

Step 2: Pour into Dixie cups.

IMG_1544

Step 3: Freeze overnight.

IMG_1546

Step 4: Peel away Dixie cup from popsicle.

IMG_1547

Step 5: Give to dog, and wait to receive a cute “thank you you’re the best, mom!” look with a muzzle full of melted popsicle drippings <3

IMG_1561

IMG_1577

This is more like his “awww my treat is gone! Can I have another one?” look. Hard to say no to that, but I stood my ground (for 6 hours).

doggie peanut butter yogurt popsicles
Print
Ingredients
  1. 32 oz plain yogurt
  2. 3 tablespoons creamy peanut butter
  3. 1 tablespoon honey
  4. 1 banana
  5. 15-17 mini Dixie cups
Instructions
  1. In a blender, combine the yogurt, peanut butter, honey, and banana. Blend until smooth.
  2. Fill mini Dixie cups about 3/4 full with mixture. Place in freezer and freeze overnight.
  3. When ready to serve, peel off the Dixie cup from the popsicle. The bottom part of the cup may stick to the popsicle, but should be easily peeled off with a little help of your fingernails.
  4. Give to your four-legged canine friend outside or on a easily cleanable surface (hardwood floors, tiles).
  5. Makes about 15 mini Dixie cup popsicles
Notes
  1. If you have a mini muffin pan, I found out that the mini Dixie cups fit pretty well in those and make it easier to transport all of them into the freezer. Otherwise you can place the Dixie cups in a cake pan or rimmed cookie sheet as well.
Simple Everyday Food https://www.simpleeverydayfood.com/
We used mini Dixie cups, but if you have any extra ice cube trays laying around the house, those would work too! I chose to use Dixie cups because 1. they hold a little bit more than an ice cube well would, 2. it’s easier to pick one and give it to Bentley (as opposed to trying to pop them out from a tray), and 3. they’re disposable (read: less things to wash).

Now this can be a little messy to eat, so I would strongly encourage you to give these to your furry babies outside… unless you’re willing to clean up trails of sticky melted peanut butter yogurt ice cream :-)

Bentley was able to enjoy his in the yard today! It was a beautiful day out, perfect for something popsicles! It was his first time having any sort of a popsicle so he wasn’t quite sure what to do with it in the beginning… he spent 99% of the time licking his frozen treat and pushing it around the yard with his nose, it was comical.

IMG_1550

IMG_1560

I didn’t personally try it, so I can’t tell you guys how it tastes, but it’s Bentley approved!

© Simple Everyday Food. All images & content are copyright protected. Please do not use any of my images without prior permission. If you want to republish this recipe, please re-write the recipe in your own words, or kindly link back to this post for the recipe.

Sharing is caring! Email this to someonePrint this pagePin on PinterestShare on YummlyShare on FacebookShare on Google+Tweet about this on Twitter