everyday food made simple

As 2013 comes to a close and we welcome the arrival of 2014, let’s look back at all the fun things that happened this year:

2013 was the year of firsts…

First and foremost, this was the year I finally took the plunge and started my own food blog. I’m not sure when and how this obsession with food started, but if it weren’t for Brian’s encouragement to do this, SEF wouldn’t even exist. And thank you to all of you who have visited my little space on the internet – it’s been exciting to watch this site grow everyday! I’ve also had a lot of fun learning about food photography, baking, and food styling. It’s crazy to see how far my pictures have come since SEF started back in February. I still have a lot to learn but I’m excited to see what the future brings!

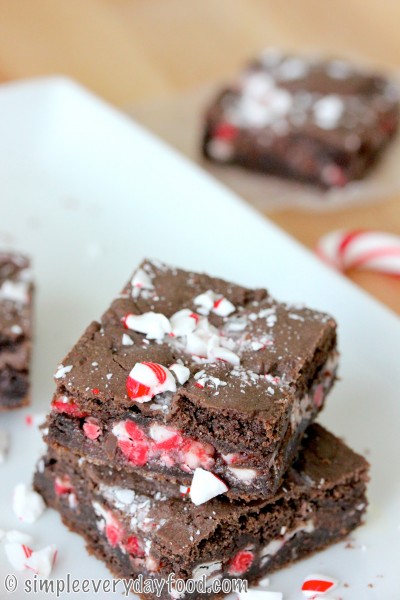
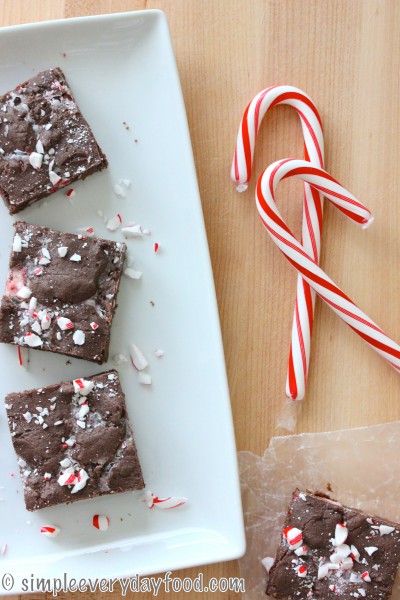
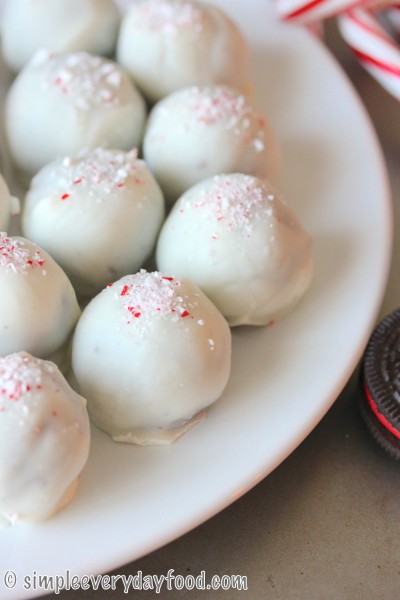
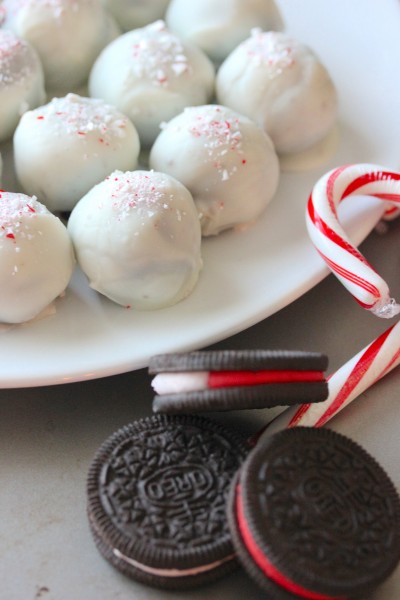
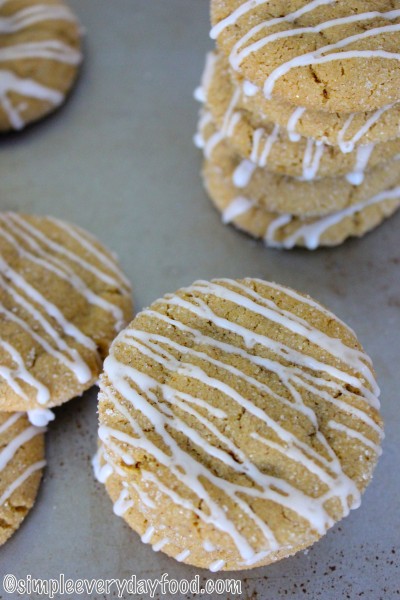
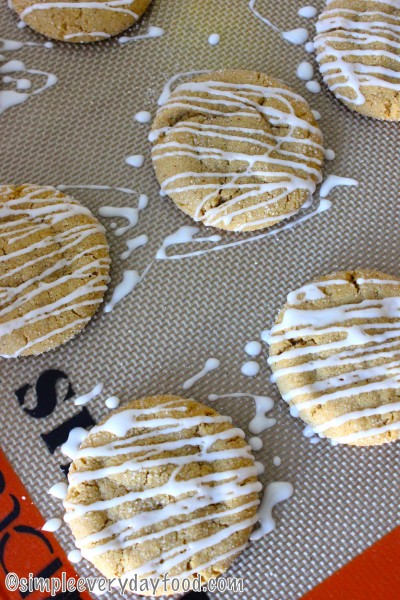
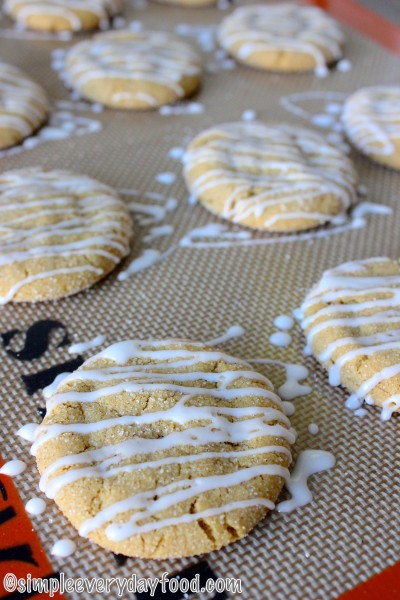
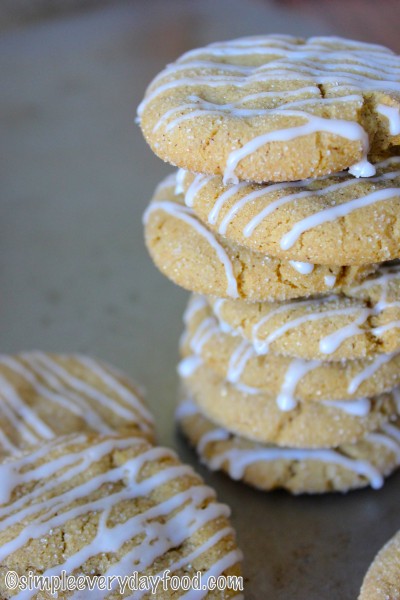
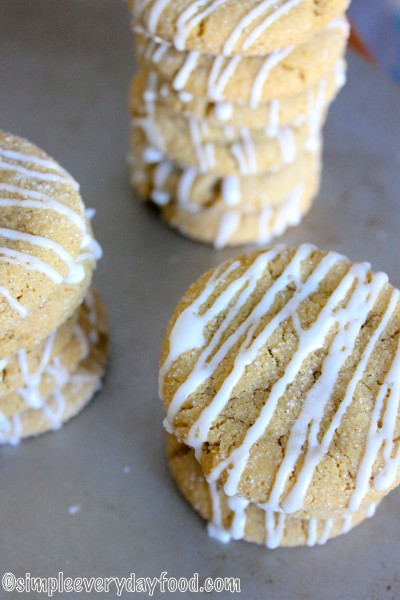
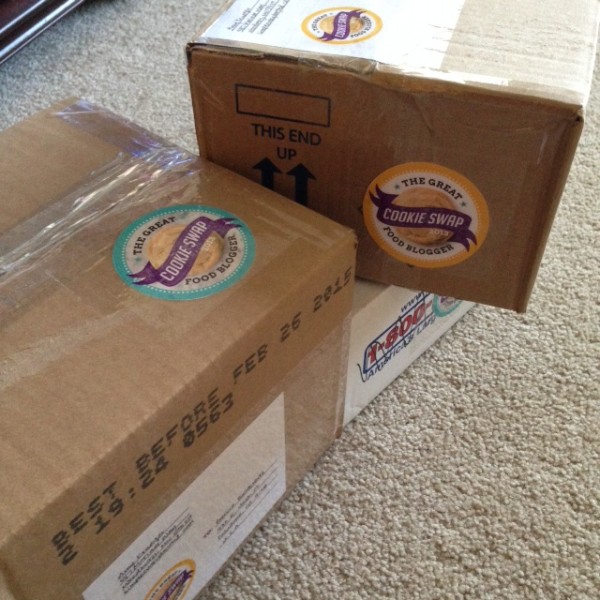
I participated in my first food blogger event this year – the Great Food Blogger Cookie Swap! It was such a fun event for a great cause… I’ll definitely be doing it again next year!

cookie swap

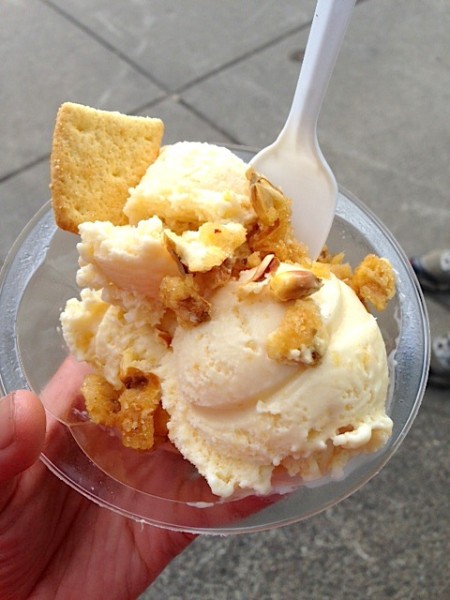
We went to Nelson’s in Stillwater and had ginormous ice cream cones. Pictured here, a “kids” sized cone is served with 5 generous large scoops of ice cream for less than $3 (if my memory is correct). I definitely recommend that place – there are so many different flavors to choose from!

nelsons

Bentley turned one and his momma made him a homemade 2-layered cake

birthday

Shortly after his 1st birthday, Bentley got an anal gland abscess and had to wear the infamous cone of shame for the first time.

cone

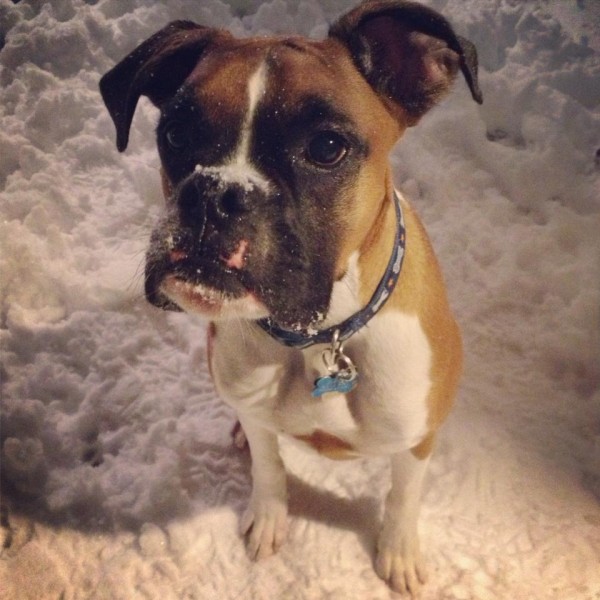
Bentley also enjoyed his first winter here in Minnesota! He really is a snow bunny at heart (his parents are not though).

923109_10103071202058390_21838851_n

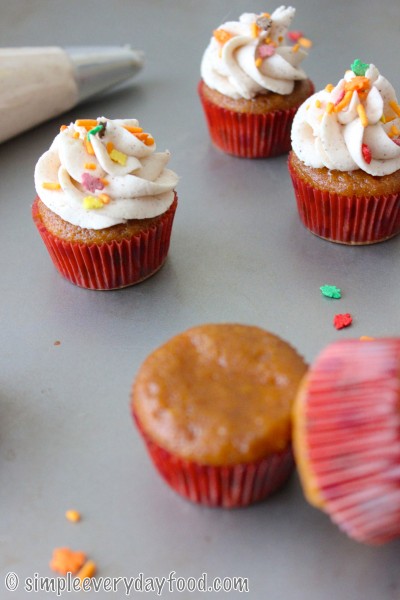
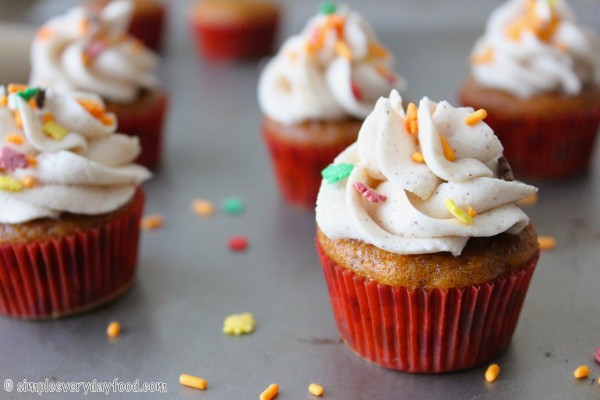
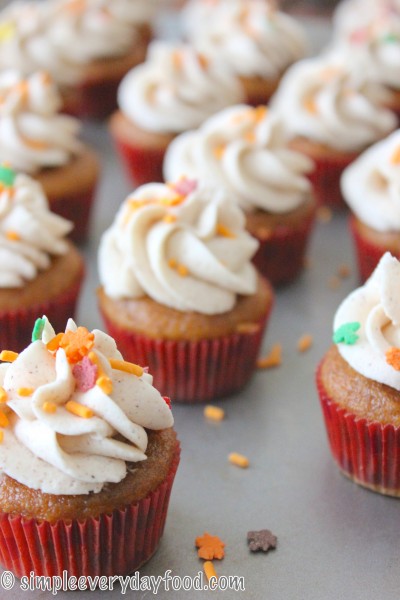
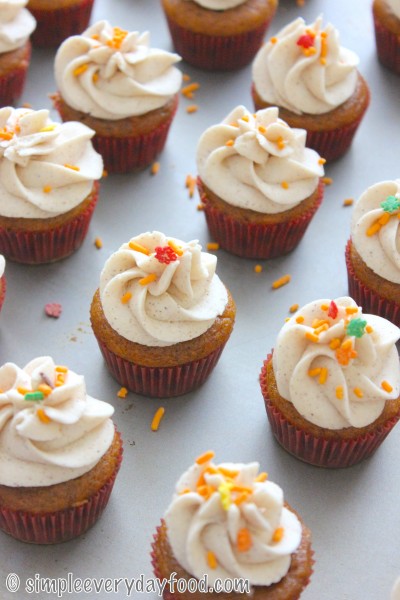
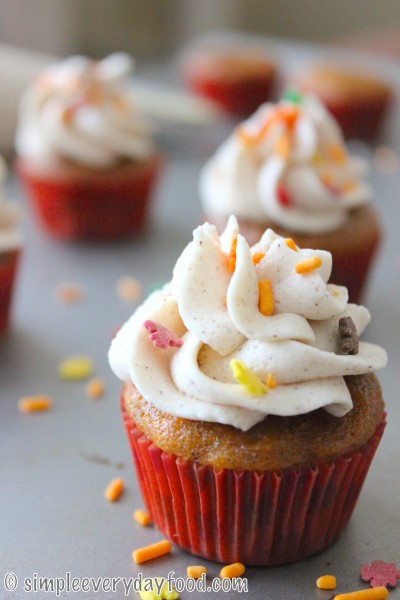
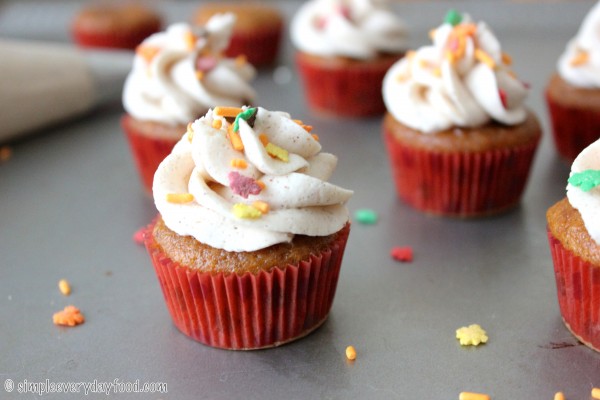
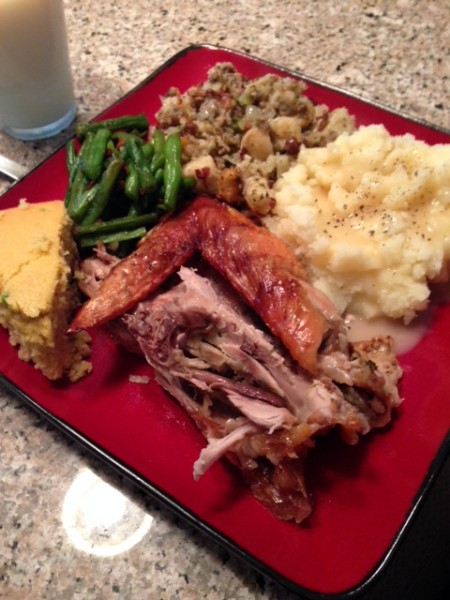
We had our very first thanksgiving together, complete with a 15-lb turkey, homemade stuffing, bacon green beans, honey jalapeno corn bread, pumpkin cream cheese cupcakes, and mashed potatoes and gravy.

thanksgiving

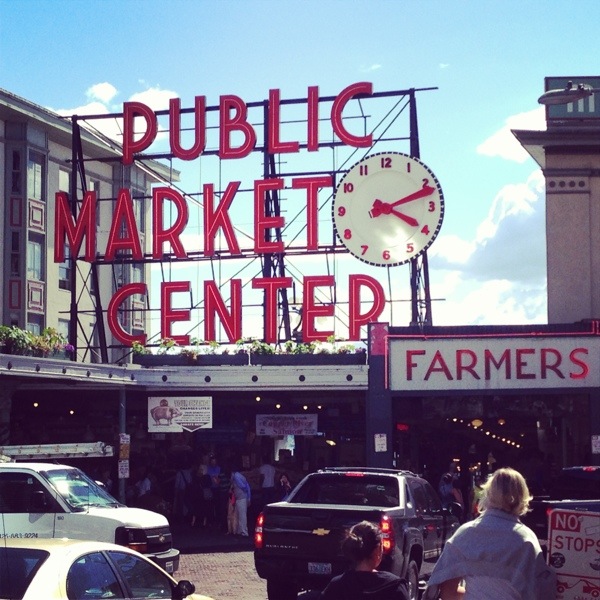
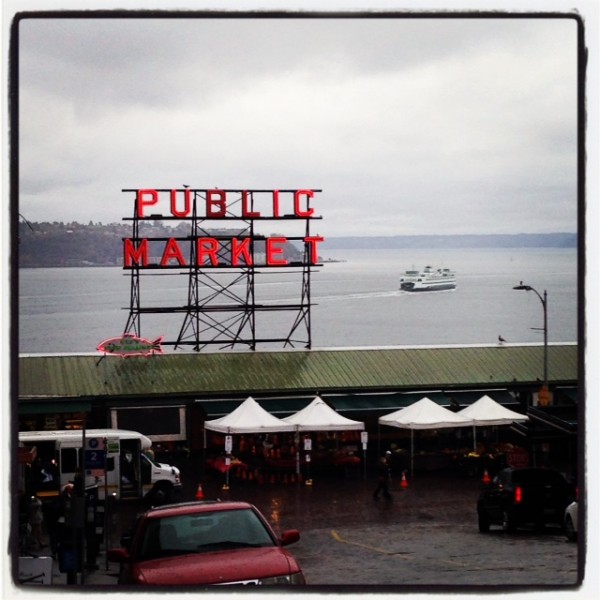
We also went to Seattle for the first time ever! Oh man oh man was I in food heaven! All the seafood, all the Taiwanese food… the ocean, the mountains, Pike Place Market…. I’m totally in love with that city – it feels like home. You can read all about our first trip there here. We actually loved the city so much that we went back for a second time as an anniversary present to ourselves. Maybe one day we’ll be able to move there and go shopping at Pike Place Market every Saturday morning…

20130621-075040.jpg

pikeplace

I’ll be perfectly content if I can have donuts and coffee for breakfast every morning…

breakfast

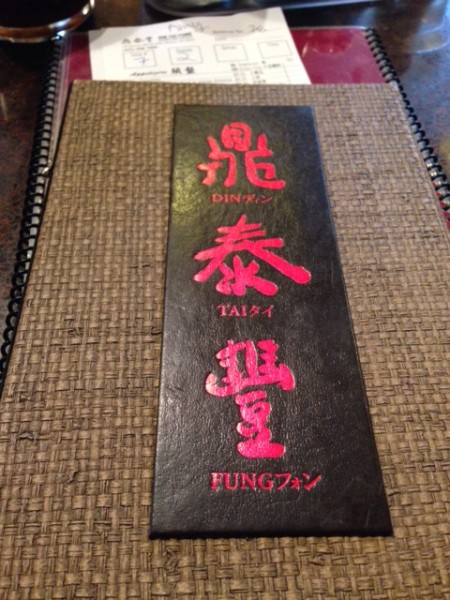
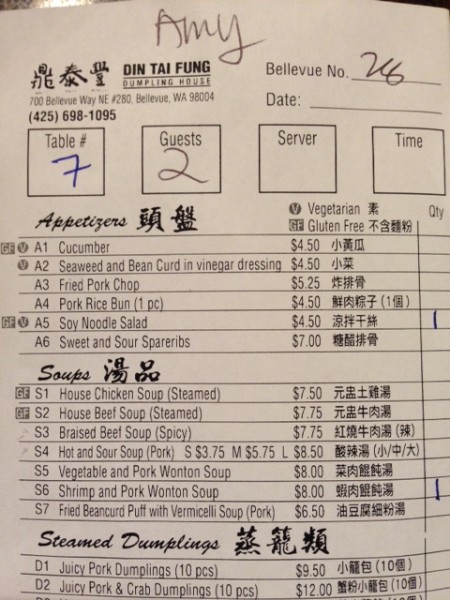
…and Ding Tai Fung for lunch everyday

dingtaifung

menu

wontons

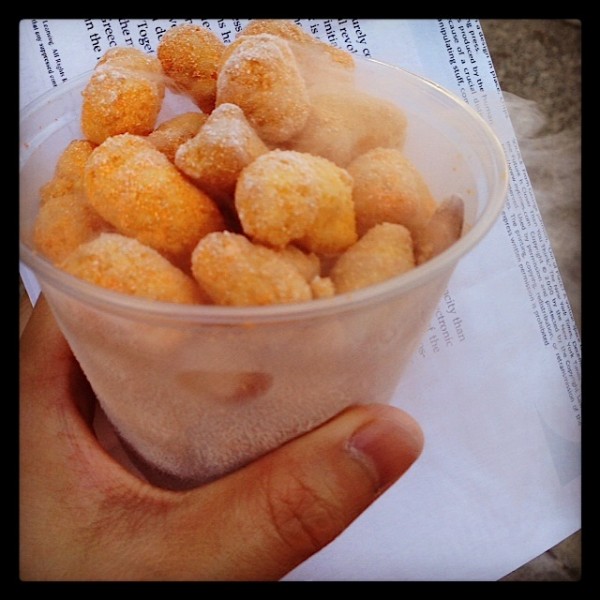
And as usual, we went to the Minnesota State Fair at the end of summer and ate a bunch of food.. you can read about my recap of my Fair experience here.

photo

photo 3 copy 

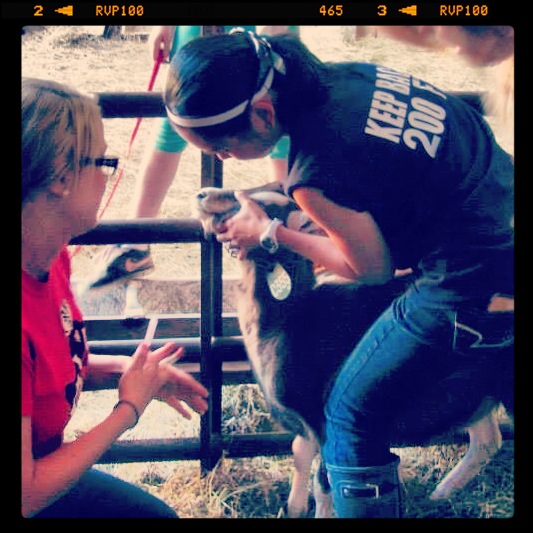
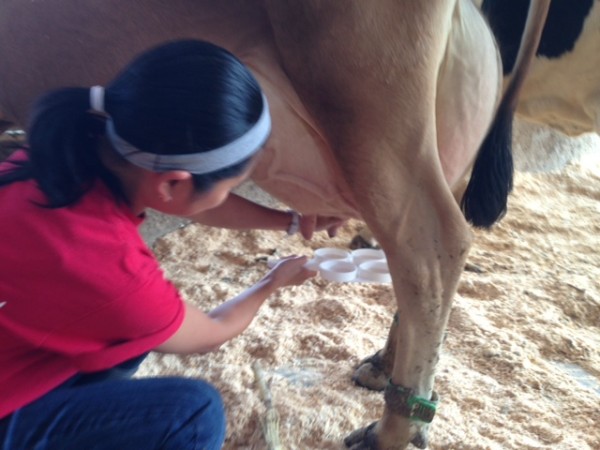
I also graduated from vet tech school this winter! It has really been a fun two years… I’ll miss my instructors and classmates, but I’m excited to go out to the real world and apply what I have learned in school! It’s kind of weird now that I have all this free time on my hands though… I must say, the class that surprised me the most theses two years was my large production animal class. I wasn’t (and till am not) a fan of large animals, but I sure had fun on our field trips to the farm!

We got to wrestle goats for blood draws, learn how to milk cows for the California Mastitis Test, run around with alpacas and much much more.

goat  cow

I’ll still always be a city girl at heart though.

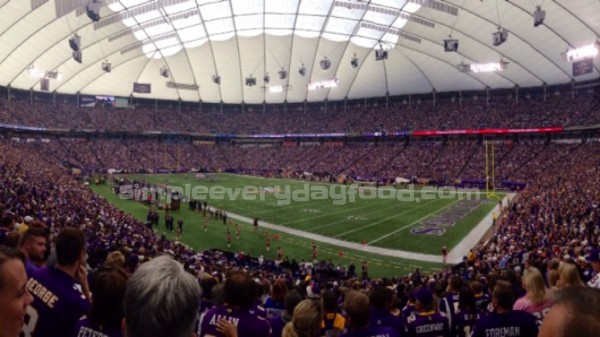
And of course, we’ve went to plenty of sports games…

Minnesota Vikings football

vikings

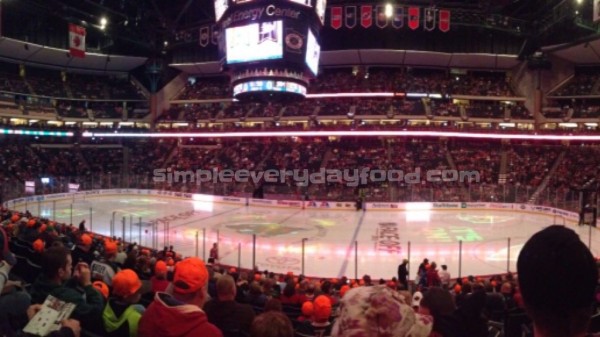
Minnesota Wild hockey

wild

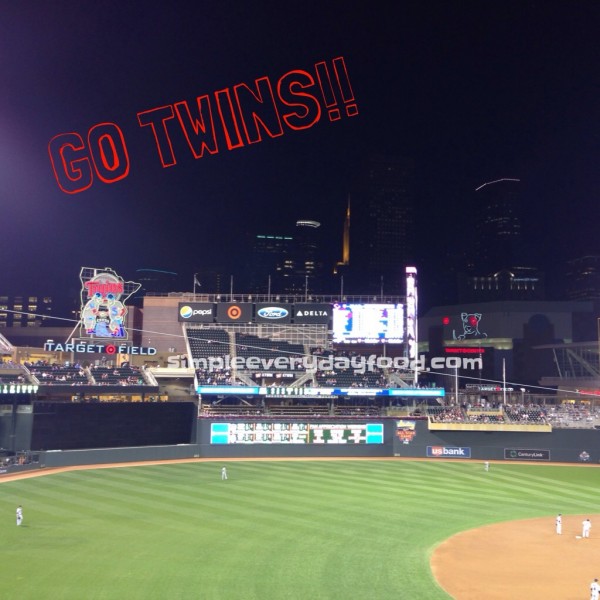
Minnesota Twins baseball

twins

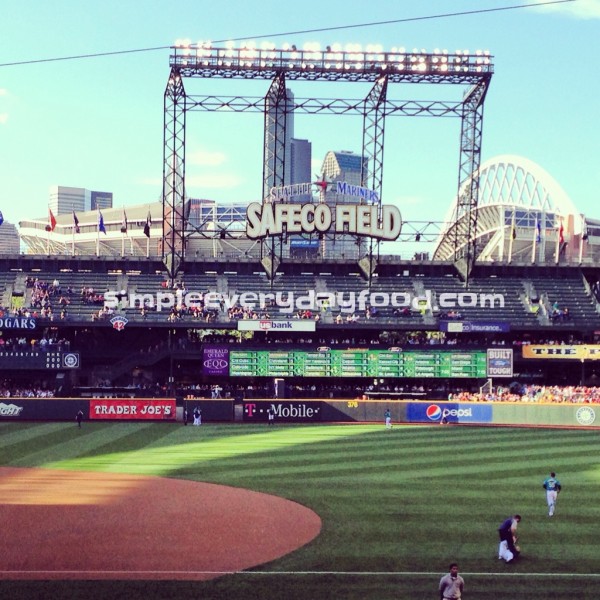
Seattle Mariners baseball

mariners

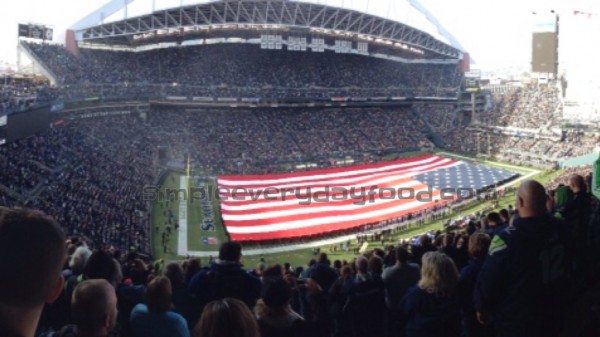
Seattle Seahawks football

seahawks

These are just a fraction of what happened in 2013 – I’m excited to see what 2014 brings!

Happy early New Year everyone!

© Simple Everyday Food. All images & content are copyright protected. Please do not use any of my images without prior permission. If you want to republish this recipe, please re-write the recipe in your own words, or kindly link back to this post for the recipe.

Sharing is caring! Email this to someonePrint this pagePin on PinterestShare on YummlyShare on FacebookShare on Google+Tweet about this on Twitter

Merry Christmas everyone! I hope everyone is having a splendid holiday filled with love, laughter, relaxation, and spending time with friends and family. Since it’s Christmas, it only makes sense that I post something chocolate-and-peppermint-related, right?

On Cyber Monday, I finally broke down and bought myself Adobe Lightroom 5. I have actually been eying it for the last 6 months, but just couldn’t get myself to spend $100+ dollars on it…. so when I saw it was over 50% off, I went ahead and bought myself an early Christmas present :)

You know who else bought me an early Christmas present?

Brian.

He bought me a new Canon 60mm macro lens, had it shipped to the house when I was at work, wrapped it up and put it underneath the tree. Although he repeatedly said I would have to wait for Christmas to open my present, he just wasn’t able to wait that long. So my Christmas is basically over 3 weeks ago….. oh well. That boy couldn’t keep anything in when it comes to presents. I swear I’ve never opened a present on the actual day – he’s always so excited to give me the present or tell me what he got for me. I think the only way I’ll ever get anything on the actual day of a holiday is if he shops for it the night before…

So I’ve been super excited finding new things to make, just so I can take pictures with my new lens – it took some time to get used to, but I love it so far!

Before I try to talk your ear off about how decadent and delicious these bars are, let me just say one thing first: I’m sorry. This post contains a few more pictures than what I usually post, but I just couldn’t choose a couple because I was absolutely in love with a bunch of these pictures and wanted to share them all with you! (even though a few of them are very similar).

IMG_2488 copy

IMG_2480 copy

IMG_2460 copy

Okay, now about these bars: these bars are uh-mazing. Simply amazing, you guys. They’re soft, chewy, gooey, chocolate-y, and peppermint-y – it’s got everything I love in a dessert. If I could eat any kind of dessert for the rest of my life, these just might be it. The sweetened condensed milk keeps it gooey and moist. The chocolate chips and Andes peppermint baking chips are like a match made in heaven. The crushed candy canes on top gives an extra crunch, which is contrasted well with the soft and chewiness of the bars.

IMG_2490 copy

IMG_2491 copy

Ugh. So good.

gooey peppermint bars
Print
Ingredients
  1. One 15.25 oz box of chocolate fudge cake mix
  2. 1/2 cup unsalted butter, softened to room temperature
  3. 1 large egg
  4. 1/2 cup semi sweet chocolate chips
  5. 1 cup Andes Peppermint Crunch baking chips
  6. 1/2 cup sweetened condensed milk
  7. 2 regular sized candy canes, crushed (optional)
Instructions
  1. Preheat the oven to 350 degrees. Line a 9x9" pan with foil and spray generously with cooking spray.
  2. Using an electric mixer, combine the cake mix, butter, and egg. Beat on medium speed until the dough forms into a ball.
  3. Place about half of the dough in the bottom of the pan, press to form the crust, making sure all corners and sides are covered with dough.
  4. Sprinkle the chocolate chips and Andes baking chips over the top of the dough. Drizzle the sweetened condensed milk over the chips.
  5. Drop balls of remaining dough evenly over the top. Press lightly. Don't worry if the entire surface isn't covered by the dough balls - the dough will expand once cooked in the oven. Bake for 23-24 minutes, or until the edges slightly browned. Turn off oven and remove bars from the oven. Immediately sprinkle the crushed candy canes on top. Place the bars back into the cooling oven with the oven door cracked - this will help the candy canes to slightly melt and adhere to the bars.
  6. Cool completely and cut into bars. Store in airtight container for up to 7 days (if they even last that long).
  7. Makes about 16 squares.
Adapted from Crazy for Crust
Simple Everyday Food https://www.simpleeverydayfood.com/
IMG_2475 copy

IMG_2471 copy

I think I just found my new favorite dessert. Even Brian agreed that these has surpassed my gingersnap cookies that he claimed was his “favorite dessert item ever”.

Recipe adapted from Crazy for Crust

© Simple Everyday Food. All images & content are copyright protected. Please do not use any of my images without prior permission. If you want to republish this recipe, please re-write the recipe in your own words, or kindly link back to this post for the recipe.

Sharing is caring! Email this to someonePrint this pagePin on PinterestShare on YummlyShare on FacebookShare on Google+Tweet about this on Twitter

If you’re a fan of candy cane or anything involving mint and chocolate, you probably want to keep reading…. just sayin’.

These cute little truffle balls are a peppermint/candy cane lover’s dream dessert – they’re made with candy cane Oreos (my favorite!) coated with vanilla almond bark, topped with crushed candy canes. And let me tell you, THEY.ARE.AMAZING.

IMG_2424 copy

IMG_2450 copy

Brian came home one day from Target last month and surprised me with these. Instead of tearing them open and shoving them in my face right away, the food blogger in me racked my brain to think of something easy and delicious to make them with. And these little truffles were the first thing that came to mind.

You know you’re a food blogger when: the first thing that comes to mind when you see a food item is “what can I make with these?” And the second thing that comes to mind is “how can I style the food when I photograph it? What dishes and what props will I use?”

I don’t ever remember thinking this way about food a year ago….

IMG_2432 copy

candy cane oreo truffles
Print
Ingredients
  1. 1 package candy cane Oreos
  2. 6 oz low fat cream cheese
  3. 8 oz vanilla almond bark
  4. Crushed candy canes for topping, optional
Instructions
  1. Line a baking sheet with parchment paper. Set aside.
  2. Roughly break apart the Oreo cookies and place them in the food processor. Pulse until they turn into fine crumbs.
  3. Place Oreo crumbs into an electric mixer bowl. Using the paddle attachment and on medium speed, add in the cream cheese and mix until everything is well mixed.
  4. Roll the Oreo/cream cheese mixture into balls about 1" in diameter, place on baking sheet. Repeat until you have no "dough" left.
  5. Place the truffle balls into the freezer. Freeze for 1-2 hours, or until hardened.
  6. Using a double boiler, melt the candy melts. Using two forks, dip each truffle ball into the melted candy melts, making sure it's thoroughly covered. Remove truffle ball and place on the baking sheet for candy melt to harden. Sprinkle top with crushed candy canes, if desired. Keep truffles in refrigerator until ready to serve.
  7. Makes about 25 truffle balls.
Simple Everyday Food https://www.simpleeverydayfood.com/
Just like all my other truffle recipes, freezing the cookie balls is extremely important. Leave them in the freezer for at least an hour, but I do highly recommend freezing for at least 2 hours. This is because if they’re not hard and frozen, the cookie balls will start to crumble and fall apart when you place them in the warm candy melt mixture… and no one wants little brown specks of Oreo crumbs in the candy coating. I actually left my cookie balls in the freezer until the very last minute when my candy melts were completely smooth and melted.

IMG_2440 copy

If you’re like me and are a lover of anything and everything that has mint chocolate in it, then stay tuned this winter season because I already have a ton of recipes lined up for you guys!

© Simple Everyday Food. All images & content are copyright protected. Please do not use any of my images without prior permission. If you want to republish this recipe, please re-write the recipe in your own words, or kindly link back to this post for the recipe.

Sharing is caring! Email this to someonePrint this pagePin on PinterestShare on YummlyShare on FacebookShare on Google+Tweet about this on Twitter

I know it’s December, and December is the month for all things mint chocolate, but I can’t help but share these pumpkin cupcakes with you guys. I made these for thanksgiving this year and they were a hit!

IMG_2332 copy

IMG_2338 copy

I’ve never made mini cupcakes before, but I found some cute Thanksgiving mini cupcake liners at Michael’s a few months back, and decided what better cupcakes to make for these than pumpkin ones? And let me tell ya, these babies are GOOD.

I was afraid the cupcakes were going to be slightly on the drier side because of their smaller size, but the pumpkin spiced cream cheese filling kept the cupcakes nice and moist. Every single bite is filled with cinnamon-y, nutmeg-y, pumpkin-y goodness…. oooh yeah, my mouth waters just thinking about them. Good thing this this recipe yielded almost 40 cupcakes, because the other dessert I initially had planned failed miserably (sigh. maybe I’ll try it again some other time). I don’t think anyone (i.e. Brian) minded only having one dessert since these cupcakes were so good and there were so many to go around.

IMG_2351 copy

pumpkin cream cheese cupcakes
Print
Ingredients
  1. 1 cup all-purpose flour
  2. 1 teaspoon pumpkin pie spice
  3. 1 teaspoon baking powder
  4. 1/2 teaspoon cinnamon
  5. 1/2 teaspoon baking soda
  6. 1/4 teaspoon nutmeg
  7. 1/4 teaspoon salt
  8. 1 cup pumpkin puree
  9. 1/2 cup granulated sugar
  10. 1/3 cup brown sugar
  11. 1/2 cup vegetable oil
  12. 2 large eggs
For the filling
  1. 4 ounces cream cheese, at room temperature
  2. 1/3 cup granulated sugar
  3. 1/2 teaspoon pumpkin pie spice
For the vanilla buttercream
  1. 2 sticks unsalted butter, softened
  2. 3 cups powdered sugar
  3. 2 tablespoons milk
  4. 2 teaspoons vanilla extract
  5. 1 teaspoon pumpkin pie spice
Instructions
  1. Preheat oven to 350 degrees. Line a mini cupcake pan with cupcakes liners and set aside.
  2. Using an electric mixer, make the filling first by beating the cream cheese, sugar, and pumpkin pie spice on medium speed until light and fluffy. Transfer to a large Ziploc bag. Snip off a small portion of a corner and set aside.
  3. In a large bowl, combine the flour, pumpkin pie spice, baking powder, cinnamon, baking soda, nutmeg, and salt. Set aside.
  4. In another large bowl, whisk together the pumpkin puree, sugars, vegetable oil, and eggs. Slowly add the dry ingredients into the wet ingredients, stir until just combined.
  5. Scoop small spoonfuls of the batter into the bottom of the cupcake wells, covering about 1/4 of the well (or just enough to where it covers the bottom). Squeeze small dollops (~1/4 teaspoon) of the cream cheese filling mixture into each well. Top with remaining batter to completely cover the filling, making sure each well is only about 2/3 full. Bake for 13-14 minutes, or until a toothpick comes out clean. Remove from oven and cool completely on a wired cooling rack.
  6. While the cupcakes are cooling, make the frosting: using an electric mixer, beat the butter and powdered sugar on medium~medium high speed until light and fluffy. Turn the speed down to low and add the milk, vanilla, and pumpkin pie spice. Beat until combined, then increase speed back up to medium and beat for another 2-3 minutes.
  7. Using an offset spatula or your favorite frosting tip, pipe frosting onto cupcakes and serve immediately. Cupcakes can be stored in an airtight container for 3-5 days.
  8. Makes 35 mini cupcakes
Adapted from Damn Delicious
Simple Everyday Food https://www.simpleeverydayfood.com/
IMG_2354 copy

I’m usually not a fan of eating cream cheese in its regular form (i.e. the mushy form), but I actually really liked the filling – maybe because I figured if I shoved the entire cupcake in my mouth, all the flavors and textures would play out harmoniously in my mouth and I wouldn’t be able to concentrate so much on the mushy cream cheese. And sure enough, it worked, because I’ll definitely be making these again sometime soon.

IMG_2336 copy

IMG_2343 copy

Hey, nobody ever said pumpkin desserts are only for the fall!

Recipe adapted from Damn Delicious

© Simple Everyday Food. All images & content are copyright protected. Please do not use any of my images without prior permission. If you want to republish this recipe, please re-write the recipe in your own words, or kindly link back to this post for the recipe.

Sharing is caring! Email this to someonePrint this pagePin on PinterestShare on YummlyShare on FacebookShare on Google+Tweet about this on Twitter

I was super excited to be participating in my first ever food blogger event this winter – The Great Food Blogger Cookie Swap!

The Great Food Blogger Cookie Swap 2013
This event has been made possible by two wonderful food bloggers, Julie from The Little Kitchen and Lindsay from Love & Olive Oil for the past three years. As a brand spanking new food blogger that just started less than 10 months ago, this seemed to me like the perfect way to get to know some amazing people in the food blogging circle.

It’s basically a “secret Santa”, with dozens of cookies instead. You mail out three dozen cookies to fellow food bloggers around the country (and the world), and you get three dozen different cookies from three different bloggers in return. I had so much fun this year that I’m definitely going to be participating in it again next year!

Now, on to the cookies I made this year. It’s a classic, and I haven’t met a single person that isn’t a fan of gingernsnaps.

According to my memory, these are the first ever cookies I remember making. Most people start out with something simple and classic – like chocolate chip, oatmeal raisin, or M & M cookies. For some reason, these were the ones I chose to make – I’m weird, I know. And now I’m going to make you think I’m even more weird – that was only a mere 5 years ago. That’s right, I don’t recall ever making cookies on my own up until 5 years ago. I guess I’ve lived a sheltered life up until then…

IMG_2316 copy

These cookies were also the ones that won Brian over. I remember making these one day before going to work a few years back and brought them to work one night. They worked like a magic love potion, because after he tasted how amazingly soft these spiced cookies were, he immediately fell in love with me and we lived happily ever after after that.

Okay okay, maybe that’s not exactly how it happened,  but I can promise you that these cookies are pretty dang good – so good in fact that it actually is Brian’s favorite dessert item out of everything I’ve ever made.

IMG_2296 copy

IMG_2287 copy

In our household, gingersnap cookies are considered one of the classic holiday cookies, along with beautifully decorated sugar cookies and anything with mint and chocolate. To me, it is what kick starts the Christmas holiday season – it smells like the holidays, reminds me of the holidays, and tastes just like the holidays…

I like my cookies soft and chewy in the center while having a slight crispy exterior, which is why this cookie is so amazing. It is also why it’s one of the regular cookies in our cookie rotation. It’s rolled in sugar and slightly flattens out a bit after it cools from the oven. And even if it doesn’t seem like it has a whole lot of classic gingersnap crinkles when you take them out of the oven, those crinkles somehow magically appear after sitting out to cool for a while – see, they are magical little cookies.

IMG_2305 copy

soft and chewy gingersnap cookies
Print
Ingredients
  1. 3 sticks (1.5 cups) butter, at room temperature
  2. 2 cups granulated sugar, plus 1 cup for rolling
  3. 2 eggs
  4. 1/2 cup molasses
  5. 4.5 cups all-purpose flour
  6. 3 teaspoons baking soda
  7. 2 teaspoons ground cinnamon
  8. 1 teaspoon ground ginger
  9. 1 teaspoon ground cloves
  10. 1/2 teaspoon salt
  11. 1/2 teaspoon nutmeg
For the drizzle
  1. 1 cup powdered sugar
  2. 1-2 tablespoons milk
Instructions
  1. In a large bowl, combine the flour, baking soda, cinnamon, ginger, cloves, salt, and nutmeg. Stir and set aside.
  2. Using an electric mixer, cream the butter and 2 cups of sugar. Add eggs, one at a time, beating well after each addition. Add molasses and beat under medium speed for 2-3 minutes. Slowly add in the dry ingredients, beat for a few more minutes until thoroughly combined. You might have to stop the mixer and scrap the bottom and edges a bit with a rubber spatula, then mix some more to make sure everything on the bottom is combined.
  3. Cover and chill in the refrigerator for at least an hour.
  4. Preheat the oven to 350 degrees. Line two baking sheets with parchment paper or silicon baking mats.
  5. Place the remaining 1 cup of sugar in a shallow medium bowl. Roll cookie dough into 1" balls, roll in sugar, and place about 2" apart on your baking sheets. Bake for 8-10 minutes or until cookies are slightly puffy and lightly browned. Remove from oven and let cool for at least 5 minutes before moving them onto a wired cooling rack. Cool completely.
  6. Drizzling these cookies are completely optional. To make the drizzle, whisk the powdered sugar and milk in a medium bowl. Add more milk if mixture is too thick. Place the powdered sugar mixture in a Ziploc bag, cut a small hole on a corner of the bag, and drizzle over cookies.
  7. Makes 65-70 cookies
Simple Everyday Food https://www.simpleeverydayfood.com/
These cookies are crispy, sugary on the outside that is followed by soft, chewy cookie dough spiced with plenty of cinnamon, nutmeg, cloves, ginger, and molasses on the inside. Heavenly, I tell ya.

IMG_2290 copy

IMG_2319 copy

The drizzle on top of these are completely optional – I’ve never drizzled glaze over my gingersnaps up until this year. They turned out to be a nice addition though. If you’re a soft chewy cookie kind of person like me, these are definitely for you!

Have I sold you on these yet? I hope so, because these are definitely a must for the holiday season!

**Disclaimer: This recipe was actually adapted from someone else’s recipe I found online a few years ago. Unfortunately I never wrote down whose original recipe it was – if you happen to stumble upon my post and realize the recipe looks familiar, please let me know and I’ll give you credit for it!

© Simple Everyday Food. All images & content are copyright protected. Please do not use any of my images without prior permission. If you want to republish this recipe, please re-write the recipe in your own words, or kindly link back to this post for the recipe.

Sharing is caring! Email this to someonePrint this pagePin on PinterestShare on YummlyShare on FacebookShare on Google+Tweet about this on Twitter