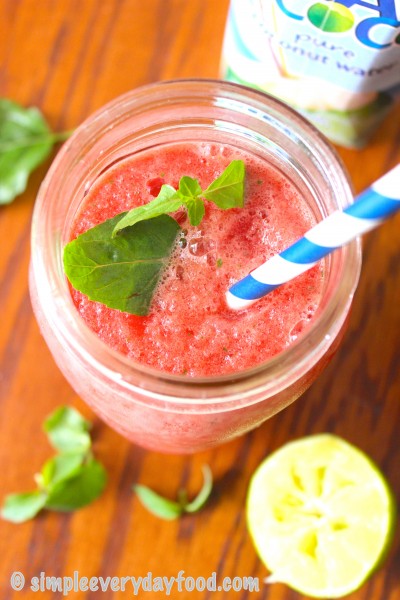
I’ve been on a real huge “lime” kick this summer. I’ve been adding it in drinks…

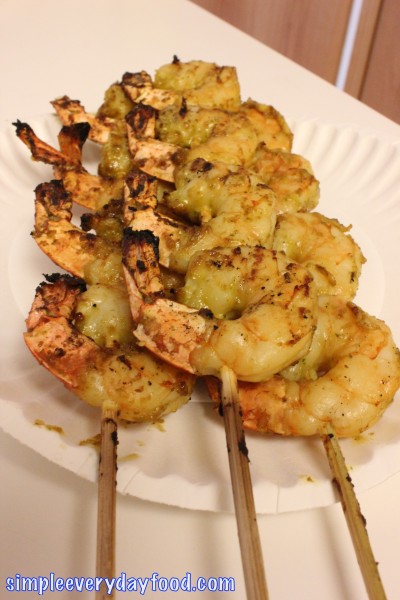
In main dishes…


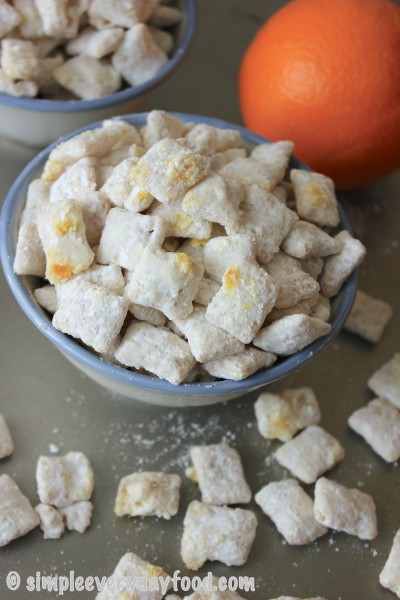
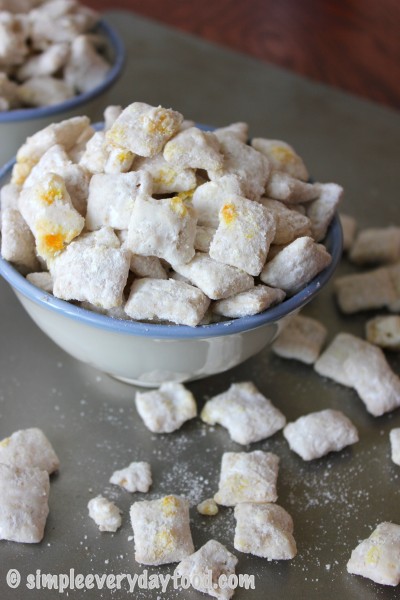
In appetizers…
…And in an assortment of baked goods such as bars…

(okay, these are key lime pie bars, but still close enough to “limes”)
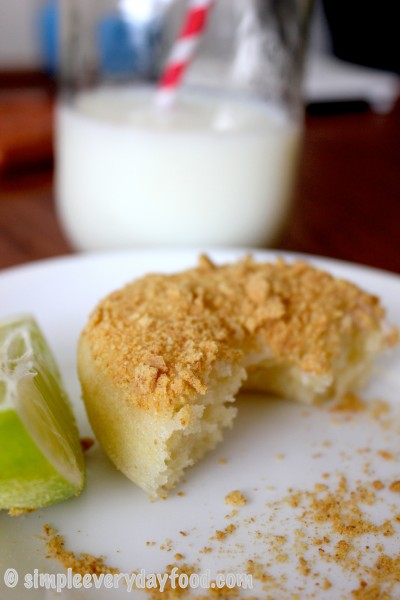
Donuts…
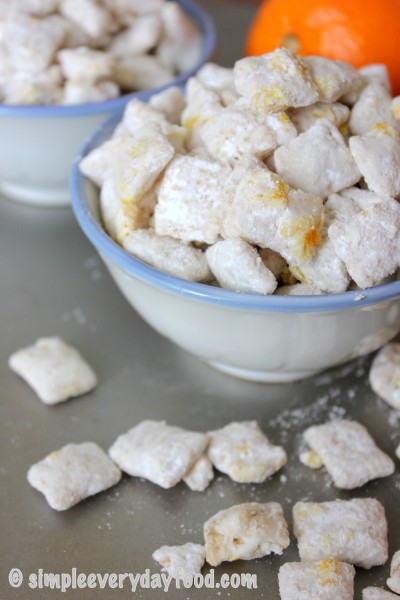
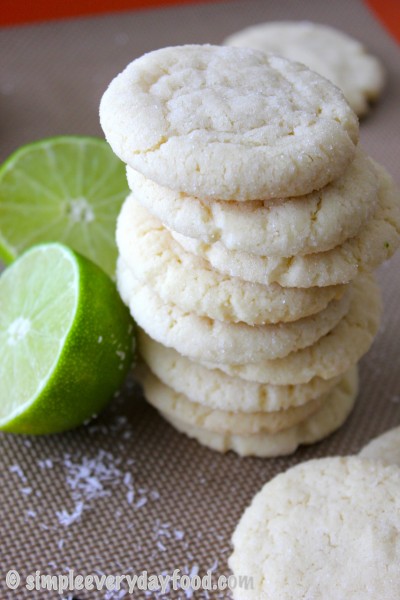
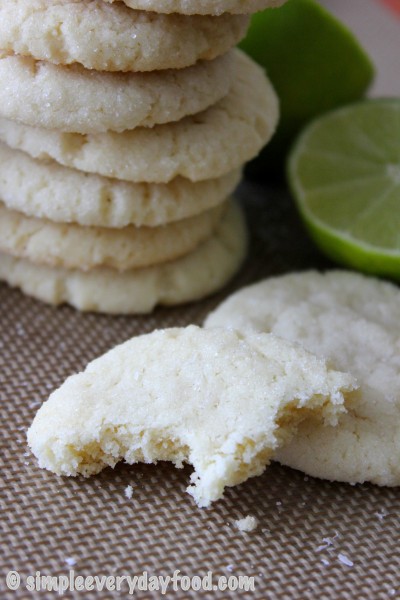
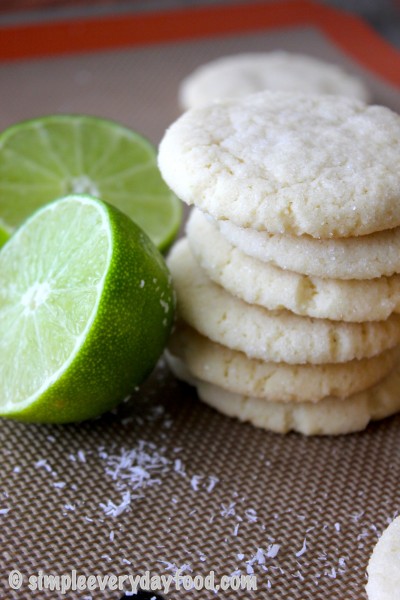
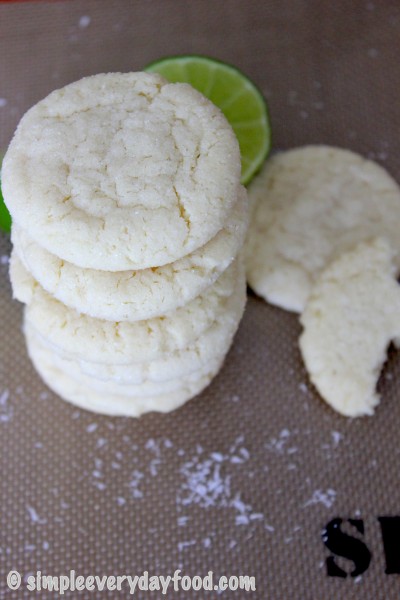
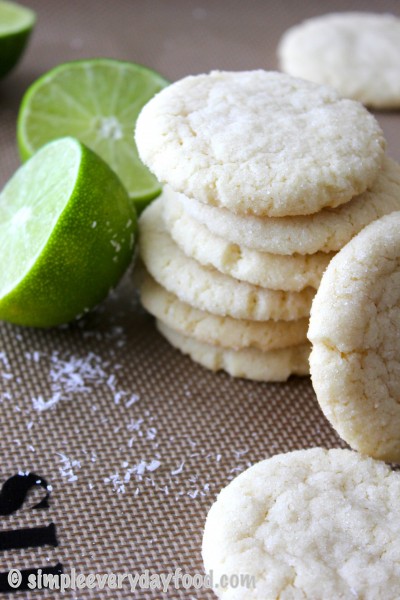
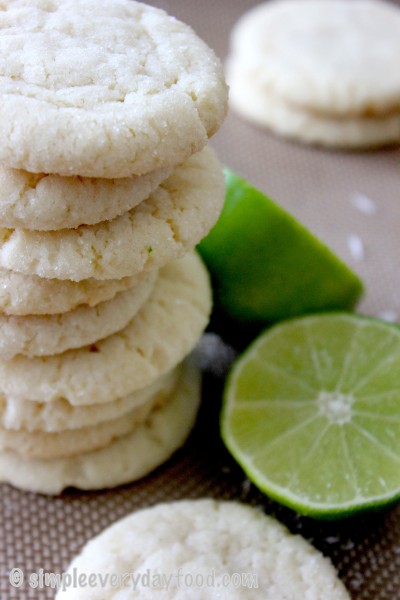
And now… cookies!
I’m a big fan of coconut and coconut flavored anything, so even though the recipe says to toast 1/2 cup of shredded coconut, I “accidentally” spilled a little bit more onto the baking sheet…. oops :)
If you’ve never toasted coconut before, you really have to stand right by the oven to keep an eye on it. It was my first time toasting coconut – I set the timer for 5 minutes, and when I peaked at it after 2-2.5 minutes, they were already brown and on the way to being burnt! The second time I only had them in there for 1.5 minutes and they turned out way better.
Before you put the cookie dough balls into the oven, slightly press the dough balls down with a few fingers to flatten them out a bit. This allows the cookie to spread out a bit more as they cook in the oven, resulting in a nice round flat cookie complete with little crinkles and cracks on the top :)
- 2 3/4 cups all-purpose flour
- 1 teaspoon baking soda
- ½ teaspoon baking powder
- ½ teaspoon salt
- 1 cup (2 sticks) butter, at room temperature
- 1 ½ cups white sugar
- 1 egg
- ½ teaspoon vanilla extract
- Zest of one large lime
- 3 tablespoons fresh squeezed lime juice
- ½ cup unsweetened shredded coconut
- ½~1 cup sugar for rolling cookies
- Preheat oven to 350 degrees and line baking sheets with parchment paper or silicone baking mats.
- First, toast your coconut. Place the shredded coconut on a baking sheet. Spread it out as much as possible. Place in oven and toast for 1-2 minutes, keeping an eye on it the entire time - they can burn fast! Once done, remove from oven and let cool.
- In a medium bowl, combine the flour, baking soda, baking powder, and salt.
- In an electric mixer bowl, beat the butter and sugar on medium~medium high until smooth and fluffy. Add in the egg, vanilla extract, lime zest, and lime juice. Mix well.
- Slowly add in the flour mixture and toasted coconut while mixing under medium speed until everything is thoroughly combined.
- Drop tablespoon sized dough balls into the sugar and place onto the baking sheet, about 1.5" apart. Gently press the dough balls down with your fingers so they're slightly flat. Bake for 8-9 minutes. Remove from oven and cool on cookie sheet for 2-3 minutes, then remove cookies onto wired cooling rack and cool completely.
- Makes about 4 dozen.
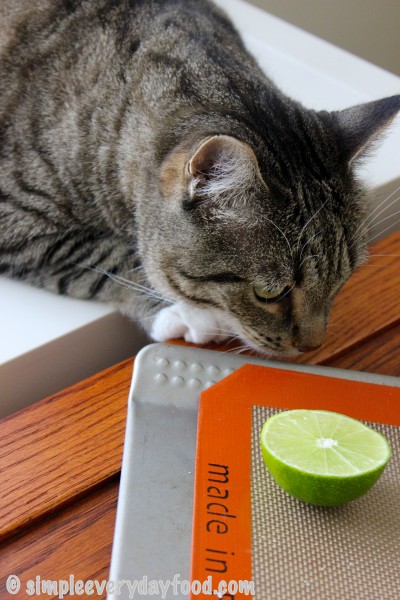
I even had a little visitor during my photoshoot :)
Even Brian, who complained I didn’t make something “more traditional” (a.k.a. peanut butter cookies), ended up having at least 5 or 6 as they sat on the counter to cool. I don’t think he was as disappointed with my choice of cookie in the end… he even admitted that they were pretty good, even though I was secretly hoping he wouldn’t like it so I could have all of it! Mwahahaha!
Enjoy!
Recipe adapted from The Girl Who Ate Everything
© Simple Everyday Food. All images & content are copyright protected. Please do not use any of my images without prior permission. If you want to republish this recipe, please re-write the recipe in your own words, or kindly link back to this post for the recipe.