everyday food made simple

Do you know a crazy pet lover? You know, those people that make their pets dress up in some silly costume for Halloween? Those that make (or buy) their dogs birthday cakes? Those that pretty much let their dog(s) run their life?

Yep, I’m totally one of those.

Before we got Bentley, my now 1-year-old boxer, I always thought those people were crazy. “Seriously? Why is your poor dog wearing that ridiculous costume?” “Why are you wasting so much time and money when they don’t know it’s even their birthday?”

Well, I finally now can relate, and I have to admit, I’m now “one of those people”.

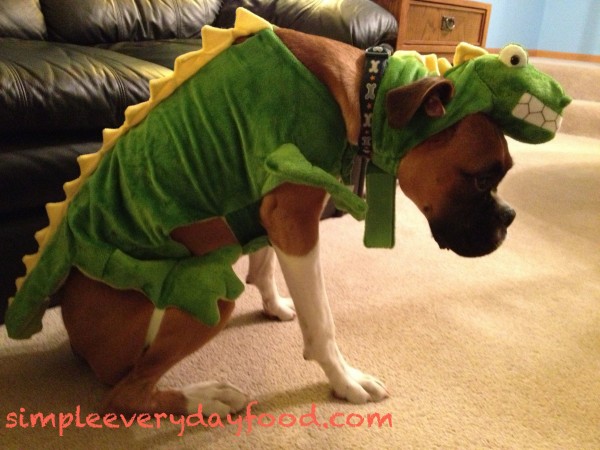
For example, Bentley got a dinosaur outfit for Halloween last year and was not at all thrilled about wearing it. In fact, the only way we were able to get him to sit still was by putting a treat right in front of him. Poor dog.

IMG_3958

Then for his 1st birthday last month, I made him a cake. A two-layered cake, for that matter. No cake is complete with frosting, I also frosted it with some puppy-friendly frosting, complete with some piped lettering.

IMG_4420

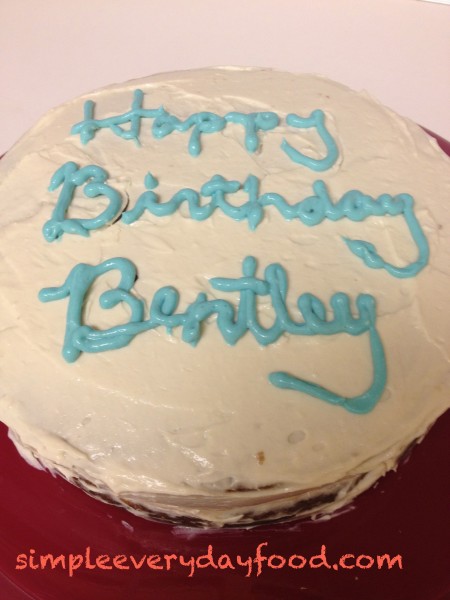
Yep. My dog is spoiled.

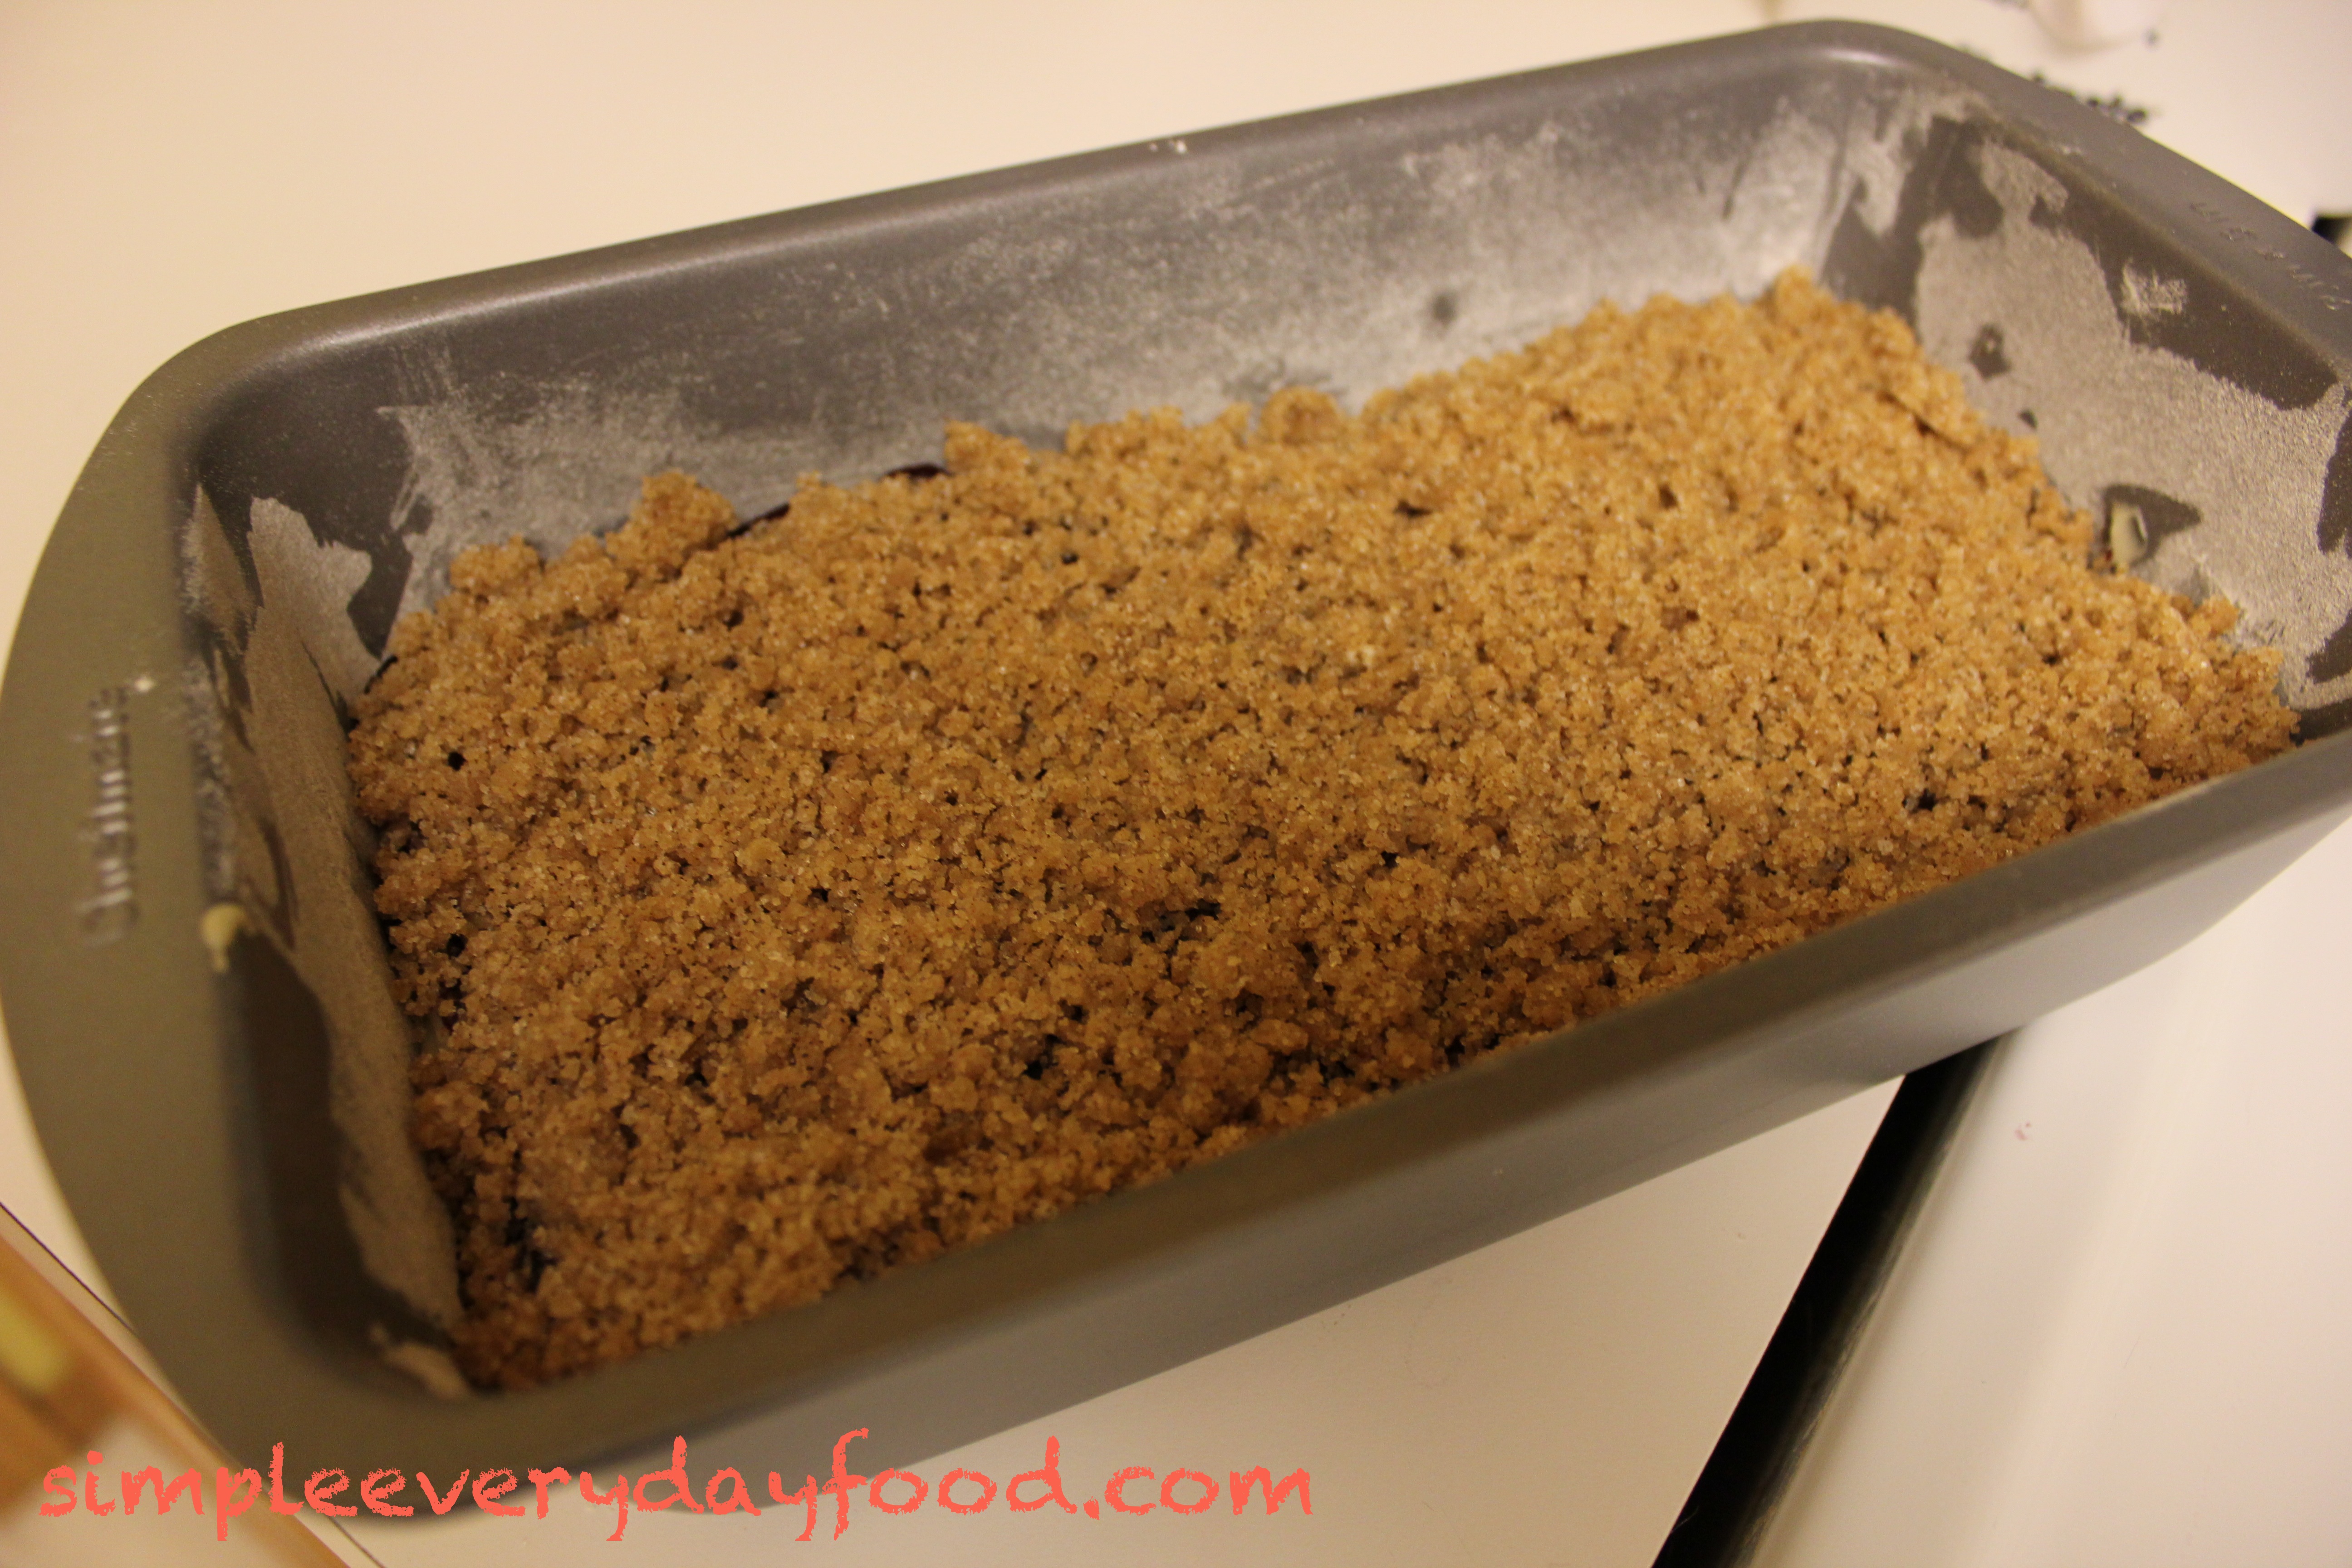
Anyway, now that I’m in vet tech school and learning all about the nutritional values of dog food and dog treats, I quickly realized that it’s a lot healthier to make your own dog biscuits. Not only is it more economical, it also doesn’t contain a list of ingredients that you usually can’t even pronounce (let alone know what it is).

I make Bentley doggie treats on a pretty regular basis. It’s actually pretty simple, and a lot of recipes you find out there usually contains less than 10 ingredients. The one in this post is my original one that contains all puppy-friendly ingredients.

Ingredients:

  • 2 cups whole wheat flour (regular all-purpose flour works just fine as well)
  • a dash of salt
  • 1 egg
  • 1/2 cup smooth peanut butter
  • 1/2 cup water
  • 1/2 cup apple sauce

Directions:

  • Preheat oven to 325 degrees.
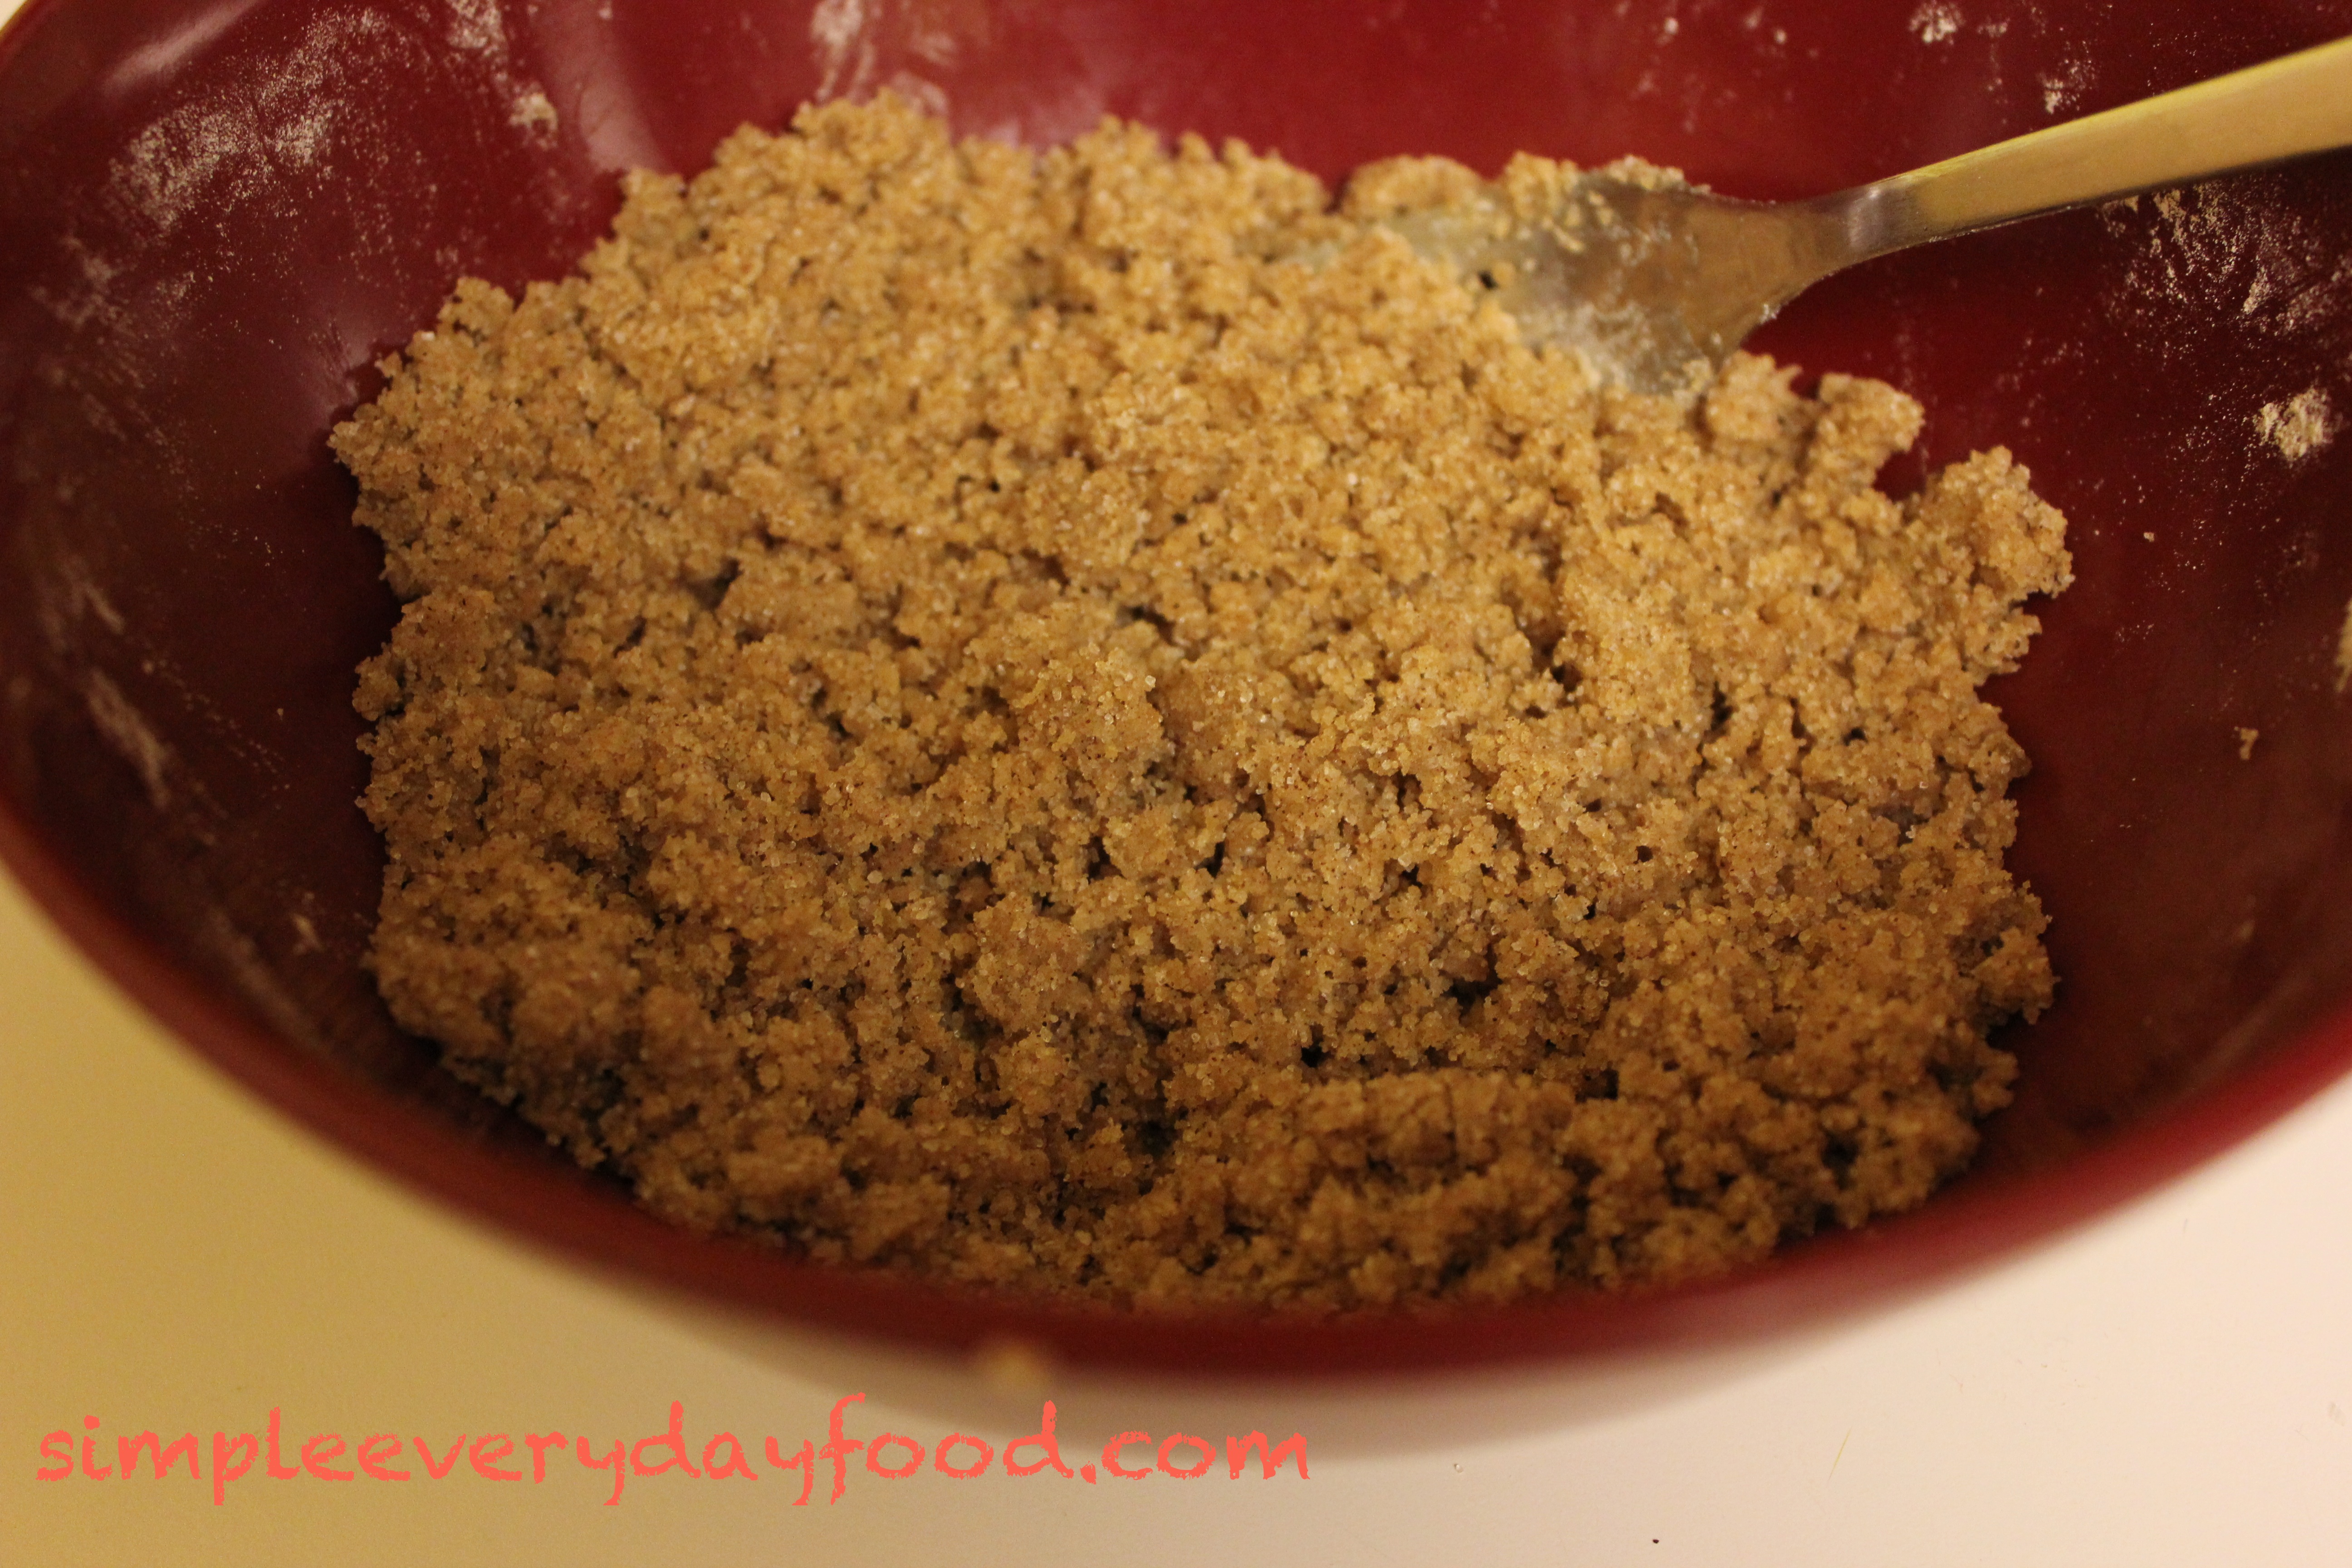
  • In an electric mixer, combine flour and salt.
  • On medium speed, combine the water, peanut butter, apple sauce, and eggs until everything is well mixed together.
  • Find a decent sized flat working surface and lightly flour it.
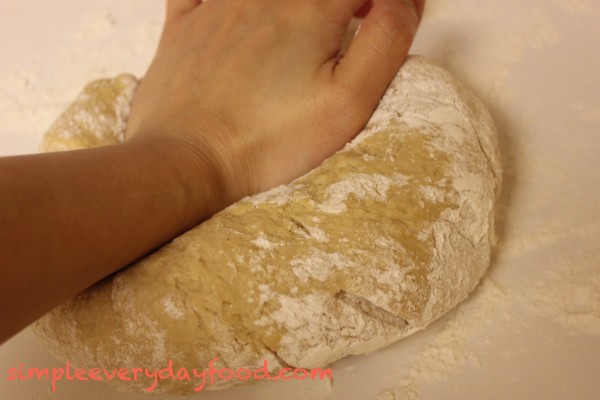
  • Transfer the dough (it will be a little sticky) to your floured surface and knead until it’s no longer sticky. It’s a lot easier if you use the heel of your hand and stand directly over your work surface so you’re using your upper body to knead the dough. Add more flour to your surface if needed.

IMG_0557

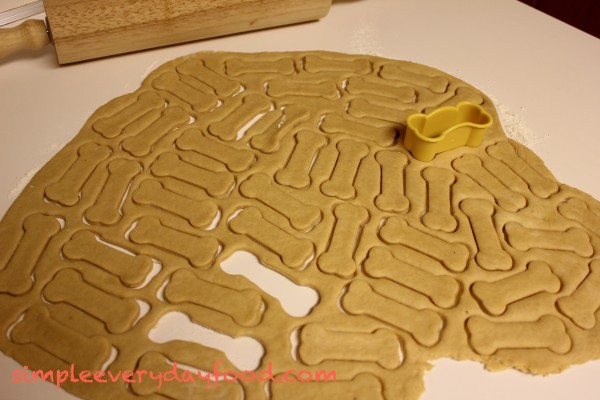
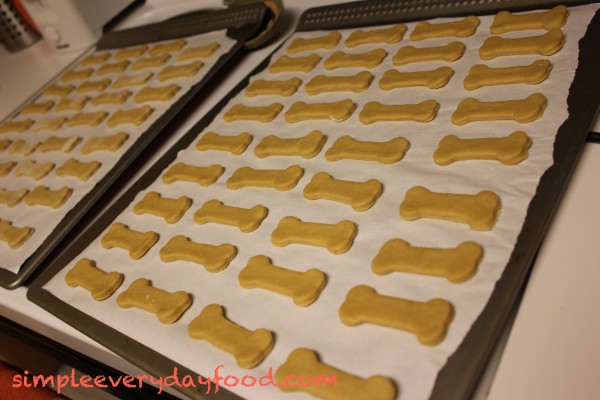
  • Using a rolling pin, roll the dough out to about 1/2 inch thick. Using a cookie cutter, cut out shapes and transfer to a baking sheet lined with parchment paper.

IMG_0563

IMG_0566

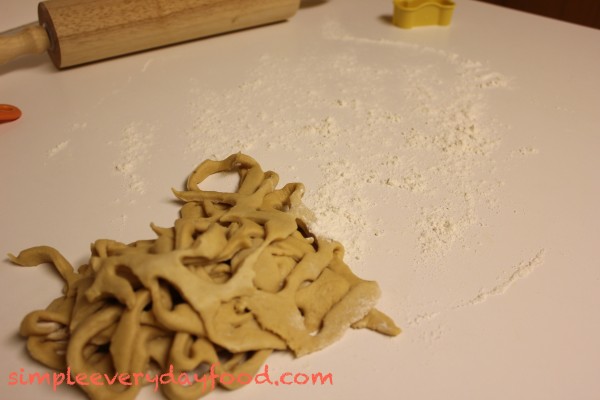
  • Roll the remaining dough up in a ball, re-flour your surface, and repeat the steps above until you no longer have enough dough to cut out anymore shapes.

IMG_0565

  • Bake for about 20 minutes, and transfer to a wire rack to cool. Once the biscuits are cooled, store them in an airtight container.

Just as a warning: Bentley was super whiny and sat in the kitchen almost the entire time these were sitting out to cool.

IMG_0569

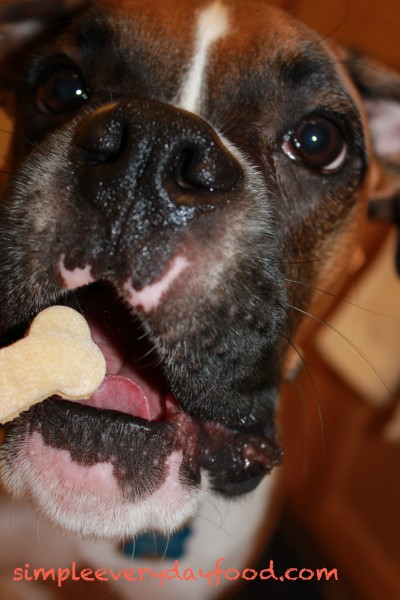
Be prepared to see sad looking faces such as this one! “Can I please have a biscuit? Please?”

IMG_0571

Finally! They were finally cool enough for a taste test. “Gimmie!”

IMG_0581

Enjoy!

Sharing is caring! Email this to someonePrint this pagePin on PinterestShare on YummlyShare on FacebookShare on Google+Tweet about this on Twitter

Minnesota is known for three things: its cold snowy winters, its 10,000 lakes and its walleye. I’m sure it’s known for a lot of other things, but those are the first three things that came to mind :)

Let’s talk about that walleye – if you’ve never had a beer battered walleye sandwich before, I highly suggest you to come visit someday and try it out. If a restaurant has it on the menu, it’s very difficult for me to order something else. The batter is usually hot, crispy, and fresh from the fryer while the flaky fish just melts in your mouth…

Just thinking about it is making my mouth water….

Anyway, back to why my blurb about walleye had anything to do with this post – as much as how amazing walleye sandwiches are, I know they’re not all that great for you. So today instead of going out for a walleye sandwich, I decided to make my own healthier version of a fish sandwich, and topped with some spicy mayo to give it a kick of flavor.

I didn’t have any freshly caught walleye, so I compromised with some cod instead (which was still very tasty!). If you don’t have any fresh fish available, you can also use some of those wild-caught frozen fish filets that they sell at your local grocery store.

Ingredients:

  • 2 cod filets (or walleye, or any other kind of white flaky fish)
  • 1 egg
  • 1/2 cup panko bread crumbs
  • for the panko bread crumb seasoning:
    • 1/4 teaspoon salt
    • 1/4 teaspoon black pepper
    • 1/4 teaspoon paprika
    • 1/4 teaspoon garlic powder
    • 1/4 teaspoon onion powder
    • 1/4 teaspoon dried parsley leaves
  • for the spicy mayo:
    • 1/3 cup mayo
    • 1/4 teaspoon paprika
    • 1/4 teaspoon garlic powder
    • 1/4 teaspoon onion powder
    • 1/4-1/2 teaspoon hot sauce, depending on taste
  • 2 club rolls (or hoagie buns, or any kind of your favorite bread)
  • any other kind of toppings – lettuce, tomatoes…

Directions:

  • Preheat oven at 350 degrees.
  • Place cod filets on a plate and pat dry with paper towels. Season with salt and pepper.
  • In a large bowl, whisk the egg – this will function as your egg wash.
  • Combine all the ingredients for the panko bread crumbs (and its seasonings) in a large plate.

IMG_0545

  • Dip a filet into the egg wash. Toss and swish it around a couple times – you want to make sure it’s thoroughly coated with it before moving on!

IMG_0547

  • Transfer the filet to the plate containing the bread crumbs. Flip it around a couple times, making sure that every inch of it is covered with the bread crumbs (this is what will make the filet nice and crispy later).

IMG_0548

  • Transfer the panko-coated filet onto a baking sheet.
  • Repeat with other filet and bake for about 20 minutes, or until fish comes apart easy.

IMG_0551

  • While the fish is cooking, combine all the ingredients for the spicy mayo in a medium-sized bowl. This would also be a good time to prepare any toppings that you would like on top of your sandwich.

IMG_0546

  • Assemble your sandwich and enjoy!

IMG_0555

Note: I usually like to line my baking sheet with some aluminum foil with the edges folded up (kind of like a fence). That way not only will I catch any liquid that may be created during the cooking process, it also saves me from washing the baking sheet when I’m done – all I have to do it crumble the foil up and toss it in the trash!

This is a perfect quick meal that can be healthy and tasty at the same time – instead of the greasiness of the fried fish, the panko bread crumbs gave it a lighter texture and also made me feel better about eating something I enjoy. Plus, not a whole lot of dishes that needs to be cleaned in the end!

Sharing is caring! Email this to someonePrint this pagePin on PinterestShare on YummlyShare on FacebookShare on Google+Tweet about this on Twitter

Well, the weekend’s coming to an end, and tomorrow’s everyone’s favorite day of the week: Monday. In our household, every other weekend are the only days my husband and I get to spend quality time with each other – this usually means doing homework together, running errands together, and cooking together (and making enough so we’ve got plenty of leftovers for tomorrow’s lunch). We like to try new recipes, and deciding whether we should add them to our “remake”or “meh I didn’t really care for it” recipe box.

The stacked enchiladas we made tonight are a twist on regular enchiladas. Instead of serving them like they traditionally do, we stacked them, turning them into a “enchilada lasagna”.

What else goes well with enchiladas?

Rice. Cilantro lime rice. The kind they have at Chipotle – my favorite Mexican joint. Next time I’m making some carnitas and making my own burrito!

First, enchiladas…

Ingredients:

  • 1 green pepper, chopped
  • 2 teaspoon olive oil
  • 1 garlic clove, minced
  • 1.5-2 cups shredded chicken – we roasted a chicken last night so we used the leftovers
  • 1/3 cup green onions, thinly sliced
  • 1/2 cup enchilada sauce
  • 1/2 cup picante sauce
  • 4 8″ corn tortillas
  • 1 cup shredded cheese
  • other toppings of your choice – sour cream, shredded lettuce…

IMG_0533

Note: if you like black beans in your enchiladas, you can also add one cup of canned black beans as well.

Directions:

  • Preheat oven at 350 degrees
  • Grease a 9″ pie plate, set aside.
  • In a large skillet, saute the green pepper in the oil for about 2-3 minutes. Add the garlic and cook for another 2-3 minutes, or until the green pepper is crisp-tender.
  • Stir in the chicken, green onions (and black beans if desired), cook for another minute. Transfer to a bowl and set aside.

IMG_0534

  • In the same skillet, combine the enchilada sauce and picante sauce. Coat both sides of a tortilla with the sauce mixture, then place it in the pie plate. Top with 1/3 of the chicken mixture and 1/4 cup of cheese.

IMG_0535

  • Repeat the layers twice. Top with remaining tortilla, sauce, and cheese.
  • Bake at 20-22 minutes or until heated through. Cut into wedges and serve with sour cream or lettuce if desired.

Now, for the rice….

Ingredients:

  • 1 cup basmati rice
  • 2 cups water
  • 1 bay leaf
  • 1/2 teaspoon salt
  • Juice of 1/2 a lime
  • 2 tablespoons cilantro, minced
  • 1 tablespoon oil

Directions:

  • In a large pot, saute the rice in the oil for about a minute. Add the water and bay leaf, bring to a boil.
  • Once the water boils, turn heat down, cover, and simmer for 15 minutes.
  • Remove from heat while still keeping the cover on the pot. Let stand for about 30 minutes. Remove bay leaf, then transfer rice to a large mixing bowl.
  • In the meantime, combine the salt and lime juice in a small bowl. Whisk until all the salt is dissolved, then add in the cilantro.

IMG_0537

  • Pour lime juice & cilantro mixture over rice. Toss until rice is evenly coated.

IMG_0540

IMG_0542

Enjoy!

Recipes adapted from: Taste of Home Magazine & Em Maliks Kitchen

Sharing is caring! Email this to someonePrint this pagePin on PinterestShare on YummlyShare on FacebookShare on Google+Tweet about this on Twitter

So for the longest time, I thought “coffee cake” contained coffee… until I came across this recipe. Apparently, “coffee cake” got its name from:

  1. being served alongside with coffee as a gesture of hospitality when you have guests over, or
  2. eaten during a coffee break

Ha! Silly me. I guess you learn something new everyday.

In my defense, every time I see a cake in the form of “coffee cake”, the name only calls it “blah blah blah cake“. Not “blah blah blah coffee cake“.

Since we’ve been on a “healthy diet” for the past two weeks, I only found it fair to reward ourselves with something sweet and healthy at the same time – blueberries are good for you even in dessert, right? Anyway… this coffee cake is delicious and it’s really simple to make.  I didn’t even bother using my KitchenAid mixer for it because it really didn’t require a whole lot of mixing. There are a few steps that you need to do before assembling the whole cake together, but trust me, it’s totally worth it (not to mention how amazing your house smells while it’s baking!).

Ingredients:

  • For the struesel:
    • 1/4 cup brown sugar
    • 1/4 cup granulated white sugar
    • 1/4 cup flour
    • 3 tablespoons butter, at room temperature
    • 1 teaspoon cinnamon
  • For the cake:
    • 1.5 cups all-purpose flour
    • 2.5 teaspoons baking powder
    • 1/2 teaspoons salt
    • 1 egg, beaten
    • 3/4 cup white sugar
    • 1/3 cup butter, melted
    • 1/2 cup milk
    • 1 teaspoon vanilla extract
    • 1.5 cups frozen blueberries

Directions:

  • Preheat oven at 375 degrees
  • Grease and flour a cake pan or loaf pan – I used a 5 x 9″ loaf pan

IMG_0515

  • Combine the ingredients for the streusel topping until crumbly, set aside – some people prefer to mash the butter up with a fork.. I find it way easier to crumble and mix everything up with my hands. Don’t be afraid to roll up your sleeves and get your hands dirty!

IMG_0510

  • In a small saucepan on medium heat, combine 1 cup of the frozen blueberries with 1 teaspoon of sugar. Stir constantly while mashing up the blueberries with a spoon to release all the juice. Heat until the liquid has thickened. Remove from heat. Once cooled, strain the blueberry syrup mixture into a bowl so you’re only left with the syrup. This may take some patience since the syrup is slightly thicker and may take some time to get through the strainer. You should end up with a couple tablespoons of liquid.

IMG_0509

IMG_0511

  • In a bowl, sift together the flour, baking powder, and salt. In a separate bowl, add the sugar to the beaten egg, then add the melted butter. Add milk and vanilla. Then mix in the flour mixture.
  • Pour about half the batter into the greased and floured pan. Add the remaining 1/2 cup of frozen blueberries, then top with half of the streusel.

IMG_0517

  • Top with remaining batter and drizzle the strained blueberry syrup over the top. Swirl with a toothpick to mix in the syrup with the batter. Top with remaining streusel.

IMG_0521

IMG_0523

  • Bake for 35-45 minutes, or until a toothpick comes out clean.
  • Cool on wire rack. Serve and enjoy!

My husband was too eager to cut into the cake and try some, so I wasn’t able to get a picture of the finished product. Just an excuse to make it again in the future! Here is, however, a picture of my clean plate!

IMG_0524

Our house smelled just like a Cinnabon factory. I can’t wait to make this in the summer time with all the windows open, just to see how many people I can get to gather outside our house! Ha! :)

Recipe adapted from Just A Pinch Recipes

Sharing is caring! Email this to someonePrint this pagePin on PinterestShare on YummlyShare on FacebookShare on Google+Tweet about this on Twitter

Chili.

Who doesn’t like chili? It’s perhaps one of the classic winter comfort foods – hearty, meaty, and flavorful.

You can also do so much with it (with the help of some cheese) – add it on a hot dog and you get a chili cheese dog. Add it to some fries and make some chili cheese fries. Or just eat it by itself with shredded cheese, sour cream, and some oyster crackers and you get a hearty meal all by itself.

Now, here’s something else you can add chili to: spaghetti.

Apparently “chili + spaghetti = “Cincinnati chili”. Why is it called Cincinnati chili? I have no idea. I’ve never been to Cincinnati before, but I love chili and I love spaghetti, so it automatically sounded like a delicious combo.

Turns out Cincinnati did create something great. We had friends over for dinner last night and everyone said it was amazing. If you love spaghetti and you love chili, this is definitely a must-try.

As always, I tweaked the recipe to make it a little bit healthier for everyone without sacrificing taste.

Ingredients:

  • 2 tablespoons of olive oil
  • 1 large yellow onion, diced
  • 1-1.25 pounds ground turkey
  • salt and black pepper
  • 4 cloves garlic, minced
  • 1 15-oz can of tomato sauce – I used the “no salt added” kind to decrease sodium intake
  • 2 medium tomatoes, diced
  • 1/4 cup apple cider vinegar
  • 1/4 cup chili powder
  • 2 tablespoons paprika
  • 1 tablespoon ground cinnamon
  • 2 teaspoons ground cumin
  • 1/2 teaspoon ground allspice
  • 1/4 teaspoon ground cloves
  • 1/4 teaspoon cayenne pepper
  • 16-oz spaghetti, cooked
  • a variety of toppings – pinto beans, extra onions, shredded cheddar cheese, oyster crackers…

IMG_0500

Directions:

  • Heat the olive oil in a large pot over medium-high heat. Brown the ground turkey, breaking it up into crumbles, then add the onions and cook until translucent, about 5 minutes. Sprinkle with 1/2 teaspoon each of salt and pepper. Cook until turkey is no longer pink.
  • Stir in the garlic and cook for an additional minute or two.
  • In the mean time, combine the tomato sauce, vinegar, chili powder, paprika, cinnamon, cumin, allspice, cloves, and cayenne pepper in a medium bowl.

IMG_0495

  • Add sauce mixture along with 1 cup of water into the meat mixture. Stir to combine. Bring to a simmer, then turn heat down to medium-low and cook until the chili is slightly thickened, about 1 hour.

IMG_0503

  • Serve the chili over the spaghetti and top with desired toppings.

We chose to keep it simple and only topped it with some shredded cheddar cheese.

IMG_0505

Note: My husband, who helped me combine all the spices/tomato sauce ingredients together, secretly added twice the amount of cayenne in the mix. This is a great idea for those that love their chili with a kick (he didn’t tell me until I made a comment about how spicy it was). However, for those that aren’t a fan of the heat, keep it at 1/4 teaspoons – or none at all.

Enjoy!

Recipe adapted from Food Network Magazine

Sharing is caring! Email this to someonePrint this pagePin on PinterestShare on YummlyShare on FacebookShare on Google+Tweet about this on Twitter